How to use aperture and depth of field to give your model that extra POP
While flipping through a magazine, have you ever noticed how the models often seem to jump off the page and grab your attention? And did you wonder, “How did they do that?”
Hint: It has everything to do with aperture and the resulting effect on depth of field.
I recently did a photo shoot for a clothing line and had the pleasure of using the FUJIFILM X-T1 crop sensor camera with the XF56mm f/1.2 lens. This lens is an excellent choice for portraits and models because of its shallow depth of field.
Watch as I demonstrate how various aperture settings impact the depth of field of your photo and the effect this has on your subject. I will show you just how important this is when working with models or taking portraits.
Watch this video
In this episode:
(00:39) – 1st image
(01:46) – Effects of various apertures on depth of field
(02:53) – Take away
(03:10) – 2nd image
(04:20) – Effects of various apertures on depth of field
(05:05) – Take away
(05:30) – Conclusion
Standing Out From a Busy Background
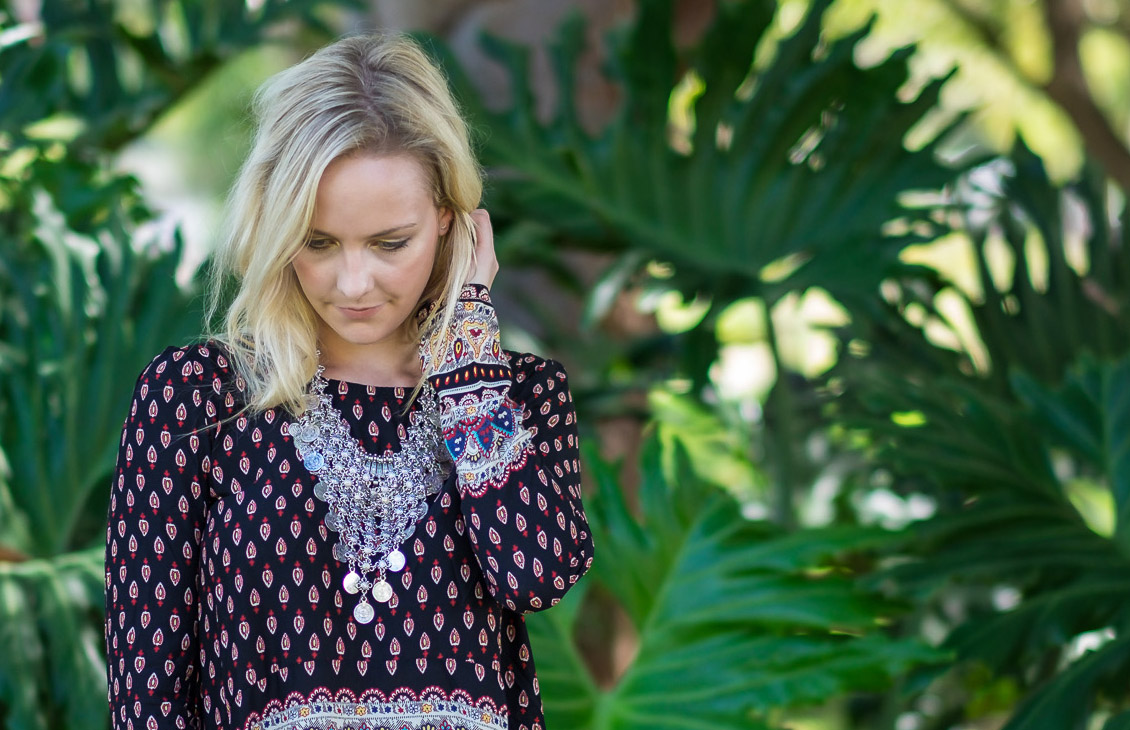
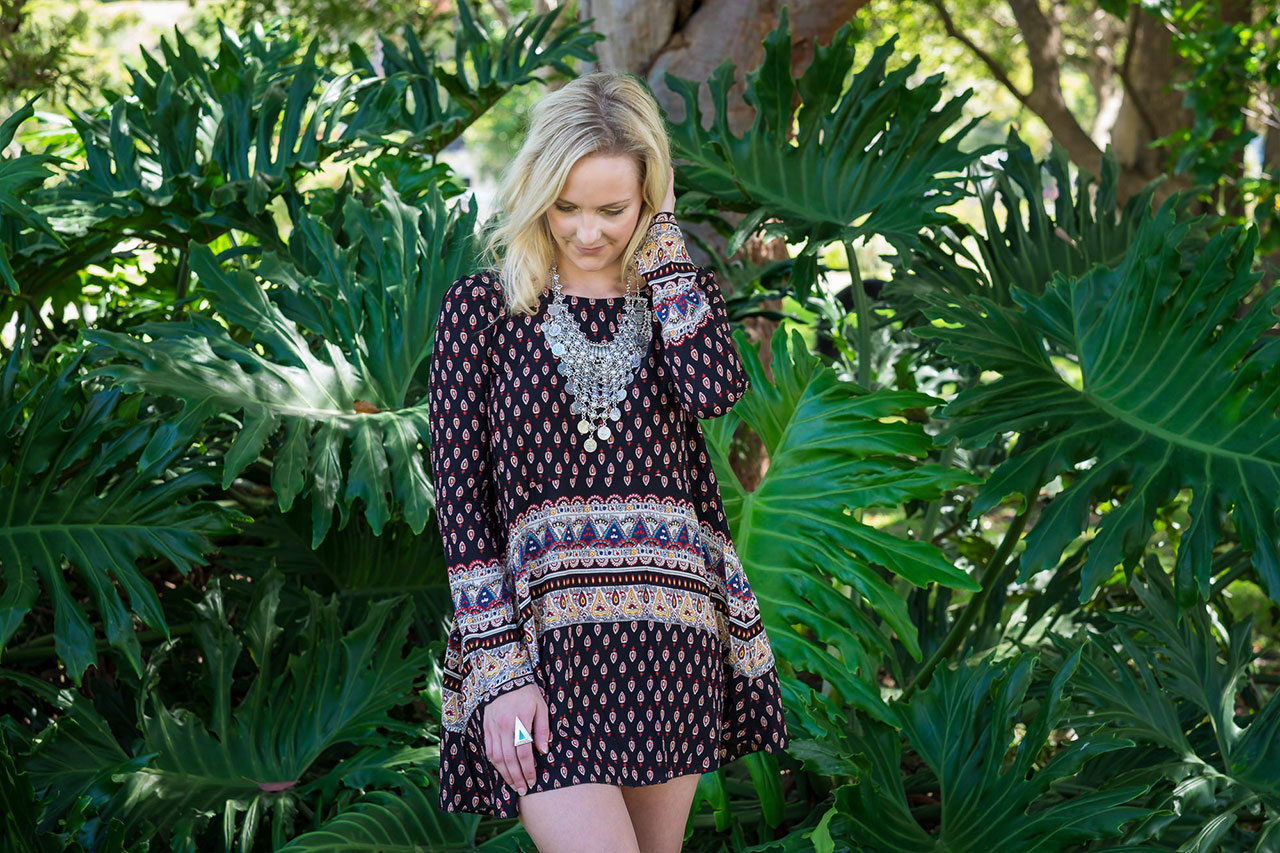
While photographing Joanna against a busy background, my goal was to be sure that she really stood out in the image. Because this image was taken for a fashion shoot, it was important that she (and her clothes) capture the audience immediately.
In this first image, I used an aperture of f/1.2. Notice how the model, Joanna, really jumps off of the background. Her eyes are focused and the background is totally blurred.
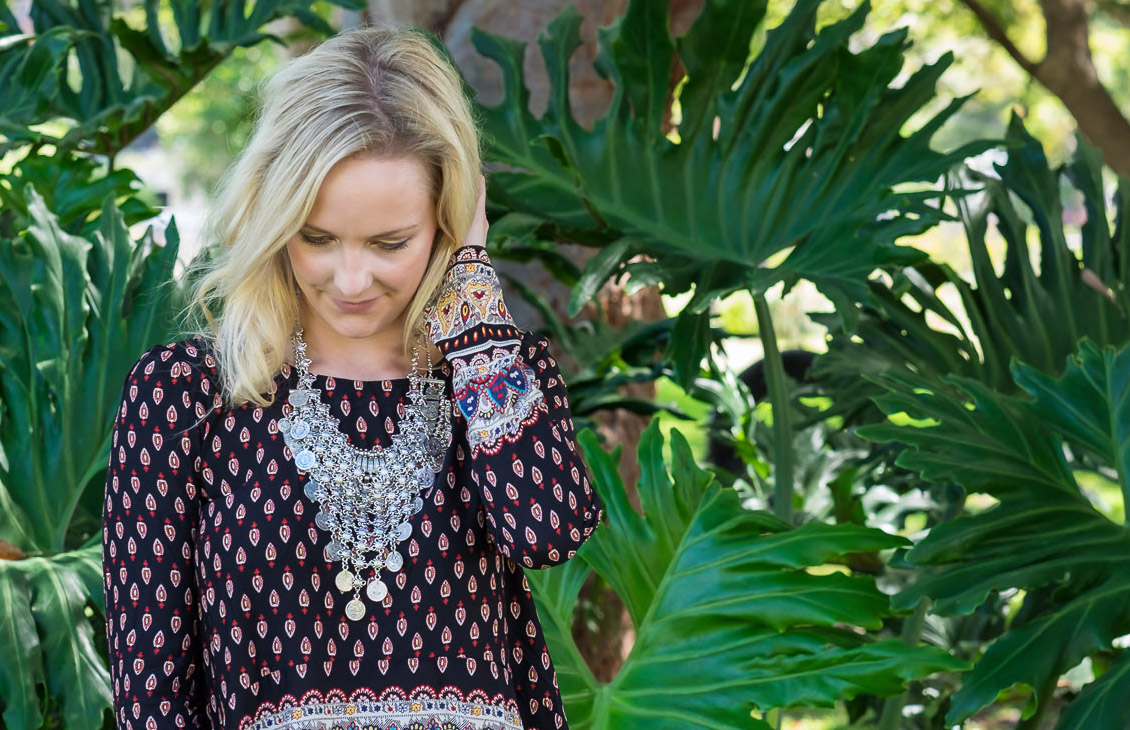
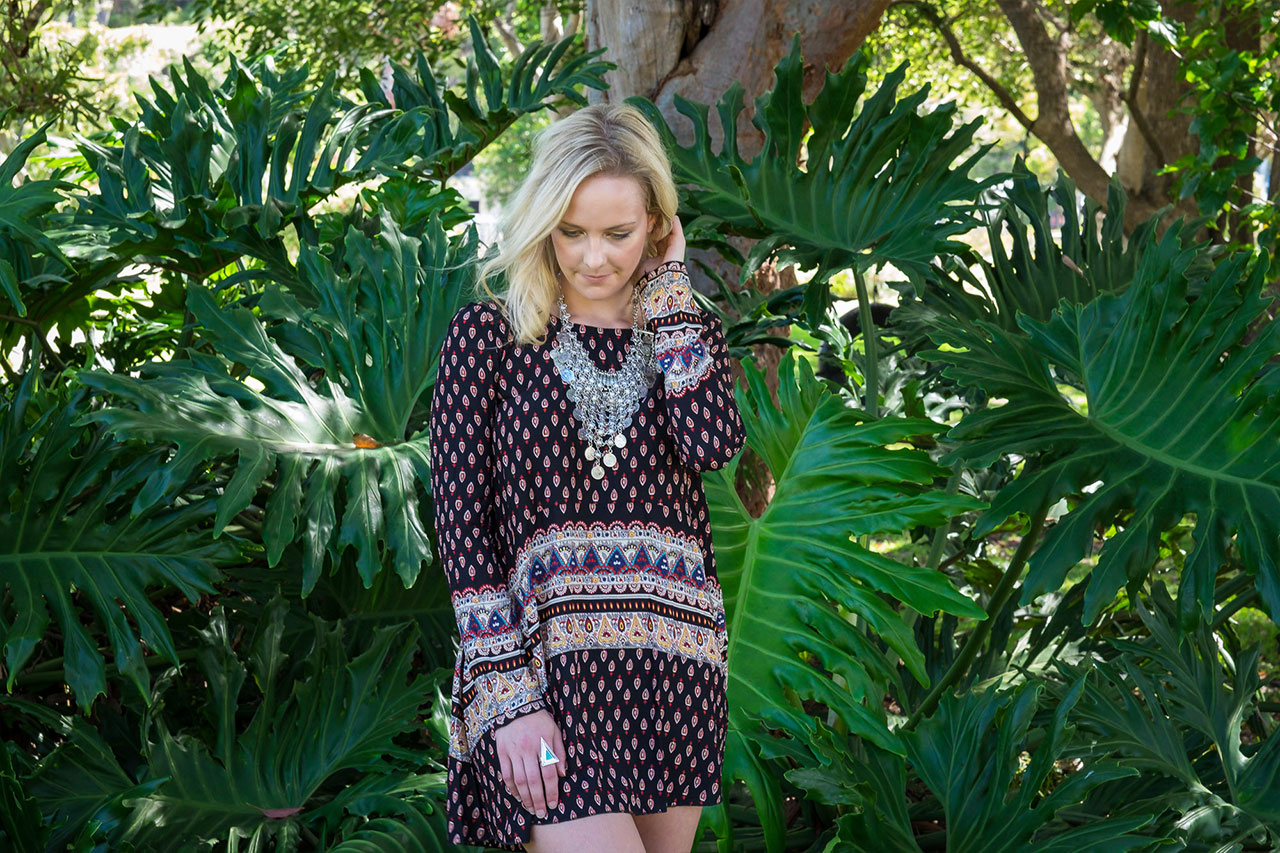
With an aperture of f/2.8, the leaves begin to get a little bit sharper.
At aperture f/4, they are even more in focus and Joanna no longer jumps out of the background
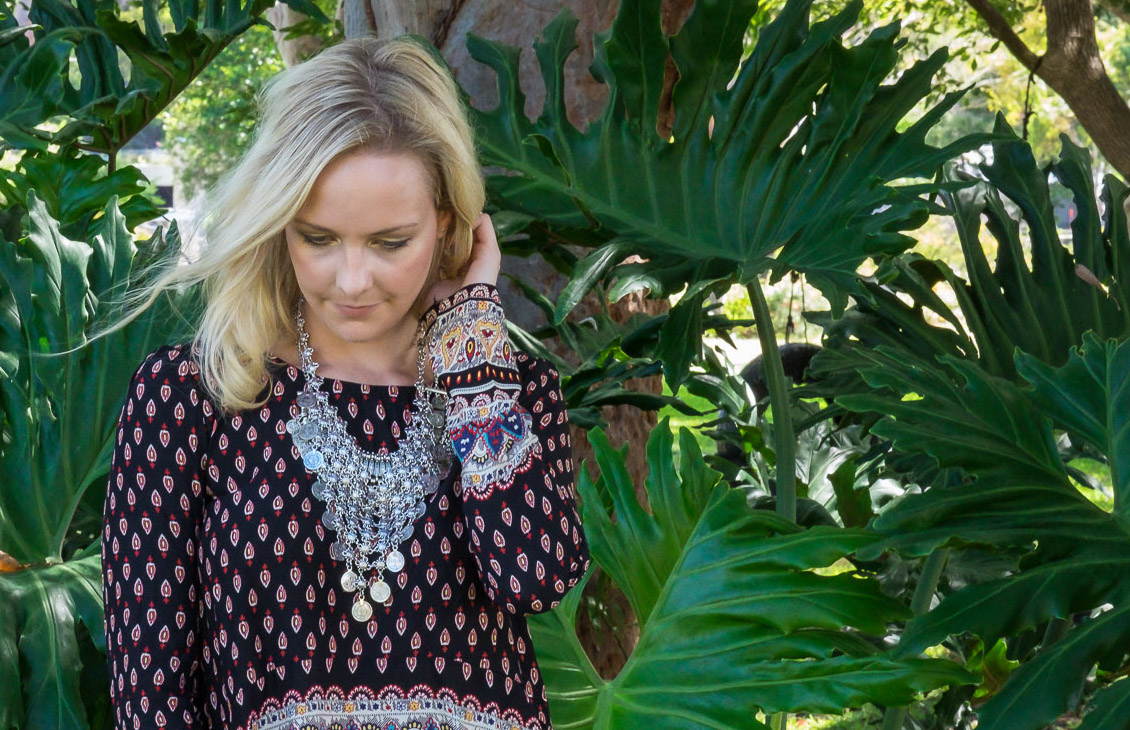
At aperture f/8, both Joanna and the background are in focus.
And finally, at f/14, the entire image is in focus and you can begin to see noise as a result of the increased ISO to accommodate the smaller opening in the aperture.
Click the thumbnails to view full-size images

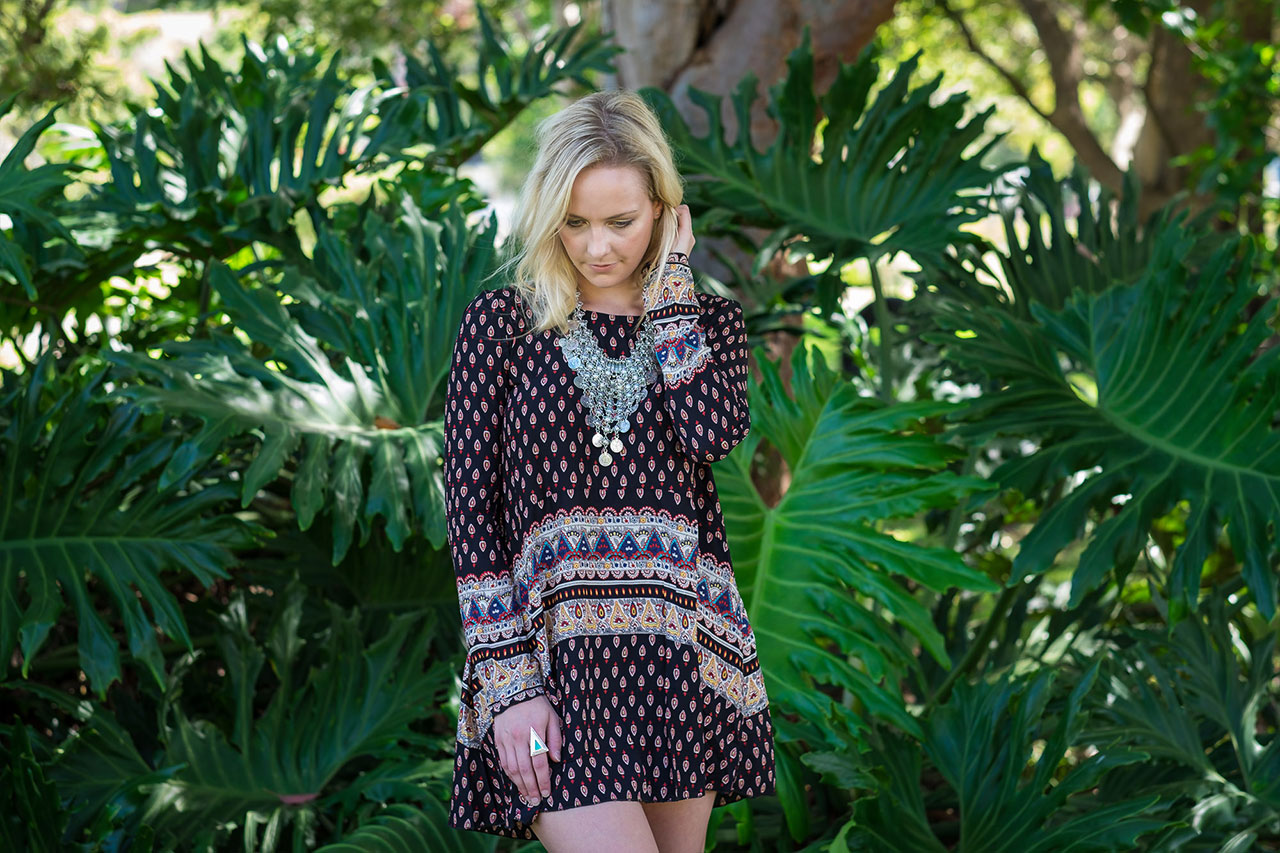
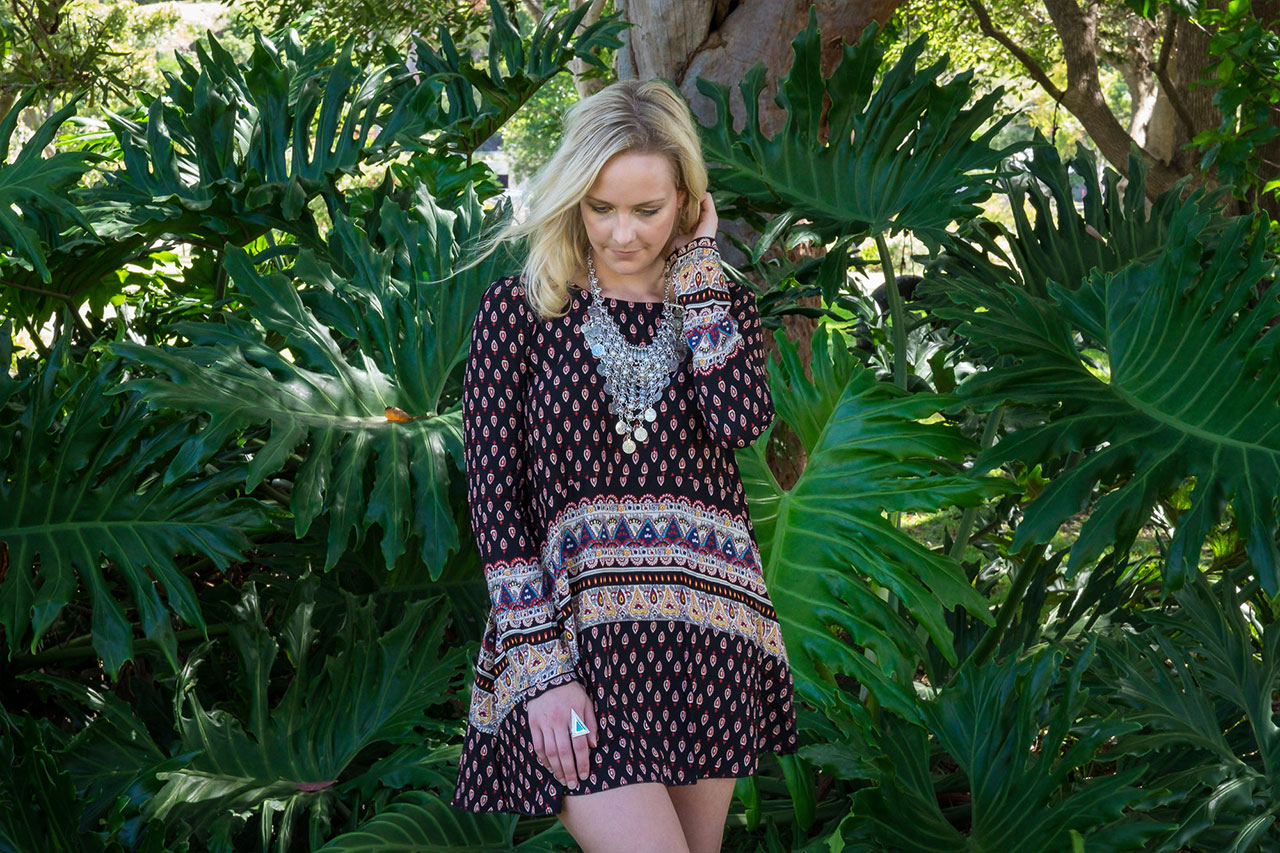
Take away: When shooting models or portraits, it is best to shoot with the widest aperture (shallowest depth of field) that your lens will allow. This will give you the nice blurred background, which will make your subject really stand out.
Getting Up Close and Personal
Now that we’ve seen how depth of field is impacted when the photo is taken from a bit of a distance, let’s have a look at what happens when we move closer.
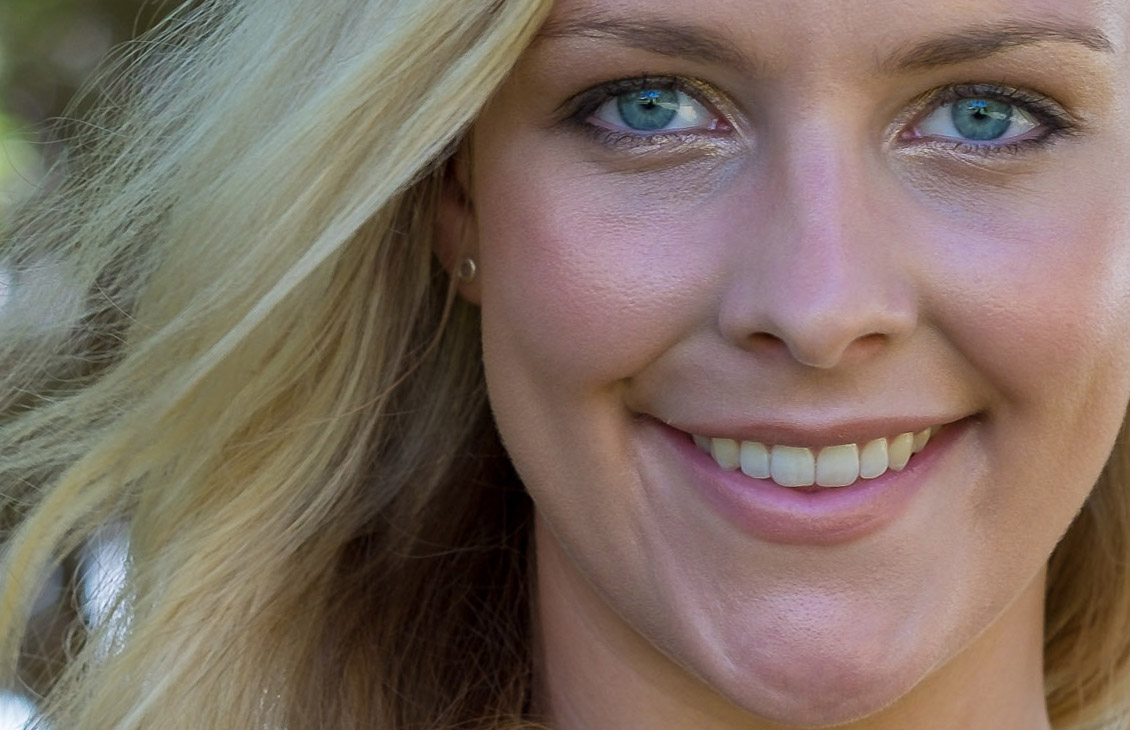
I took this close up picture of Joanna close at f/1.2. Her eyes are in focus, which we want to see, and you’ll notice that her ears, hair and the background are nicely out of focus; however, her teeth are soft. I would like to see a bit more of her face in focus, so let’s see if we can improve on that.

f/2 gives us a little bit more focus on the ears, and her teeth are now in focus.
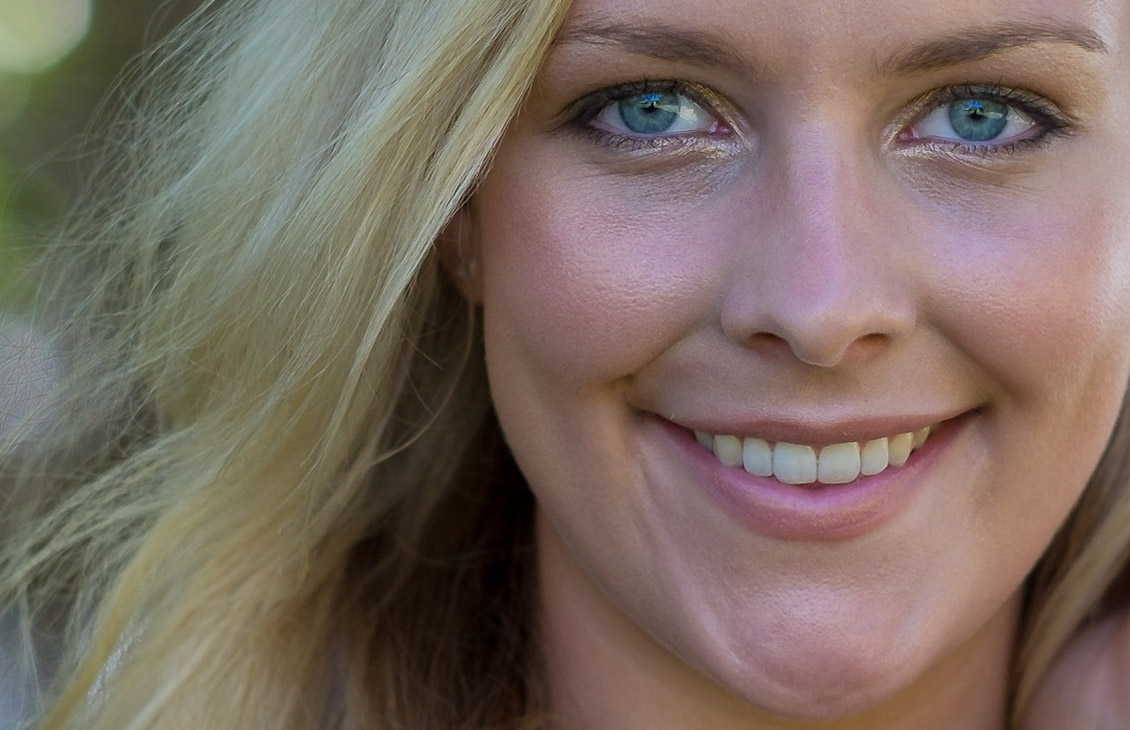
And finally, at f/4, Joanna’s face is entirely in focus including her arm and some of her hair. Notice how the background is coming more into focus as well. She’s slowly losing that POP that we’re really looking for, which tells me we’ve gone too high on the aperture.
Take away: When shooting close up head shots, you will get a better result if you use a slightly smaller aperture, around f/2 or f/2.8, than when shooting half body shots. This will keep your model’s eyes and other facial features nicely focused and yet allow him or her to really stand out against the soft background.
Summing it All Up
When shooting portraits or models, you want to use a wide aperture to be sure your subject jumps out of the image. This is what gives the background the soft dreamy feel that makes your model pop.
When your subject is further back, use the widest aperture available on your lens. If you are shooting a close up or head shot, close the aperture down one or two stops to keep facial features reasonably sharp while maintaining the blurry background.
What Is Your Experience?
What has your experience been when shooting portraits or models?
What lens do you use and what aperture do you like using best?
What other types of tutorials would you like to see?
Let me know in the comments section below. I’d love to hear your stories!
Checkout this FREE Portrait Photography Course
Grab My FREE Portait Photography Course
Enjoy! Brent.