What I learned from my Daughter:
Hi guys, my daughter and I recently photographed the surfer’s at a little coastal community called Crescent Head; a beautiful place for learning how to surf – the beaches are just gorgeous. What I’ve let my daughter do is, photograph the surfers the way she thinks they need to be photographed. I helped her a little bit and then I photographed the last couple of images myself. Let’s have a look at the images and let’s find out how to photograph surfers the proper way to get those great images, and let’s see what little mistakes Brookie made.
Highlights from this video:
0:55 Brookie
1:14 Images by Brookie
6:49 Images by Brent
9:54 Summary
Here’s my daughter, Brookie. I took a little snap shot of her with the big camera. She’s only just turned 9 years old, so she’s doing really well.
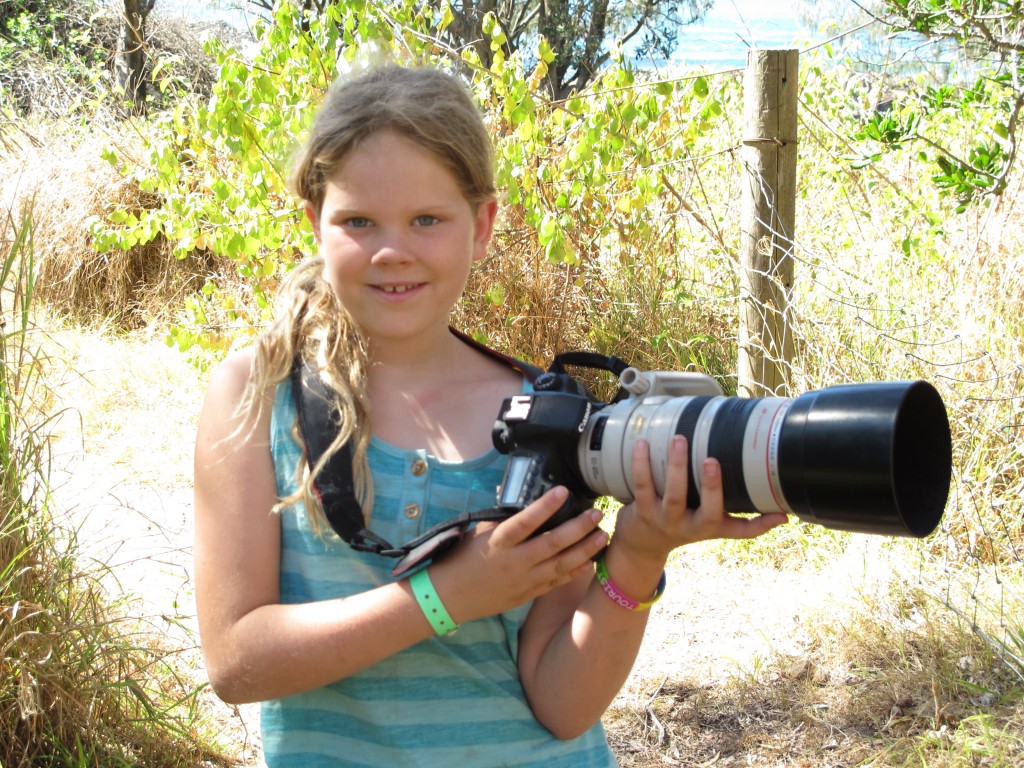
I set the camera in auto mode, which most people photograph in, and I just let the camera decide on the different settings. Let’s run through a couple of images that she took.
Brookes Images in Auto Mode:


What Brooke did Wrong!
Here are a few thing Brooke did wrong when photographing in auto mode: (watch the video for a detailed review of each image)
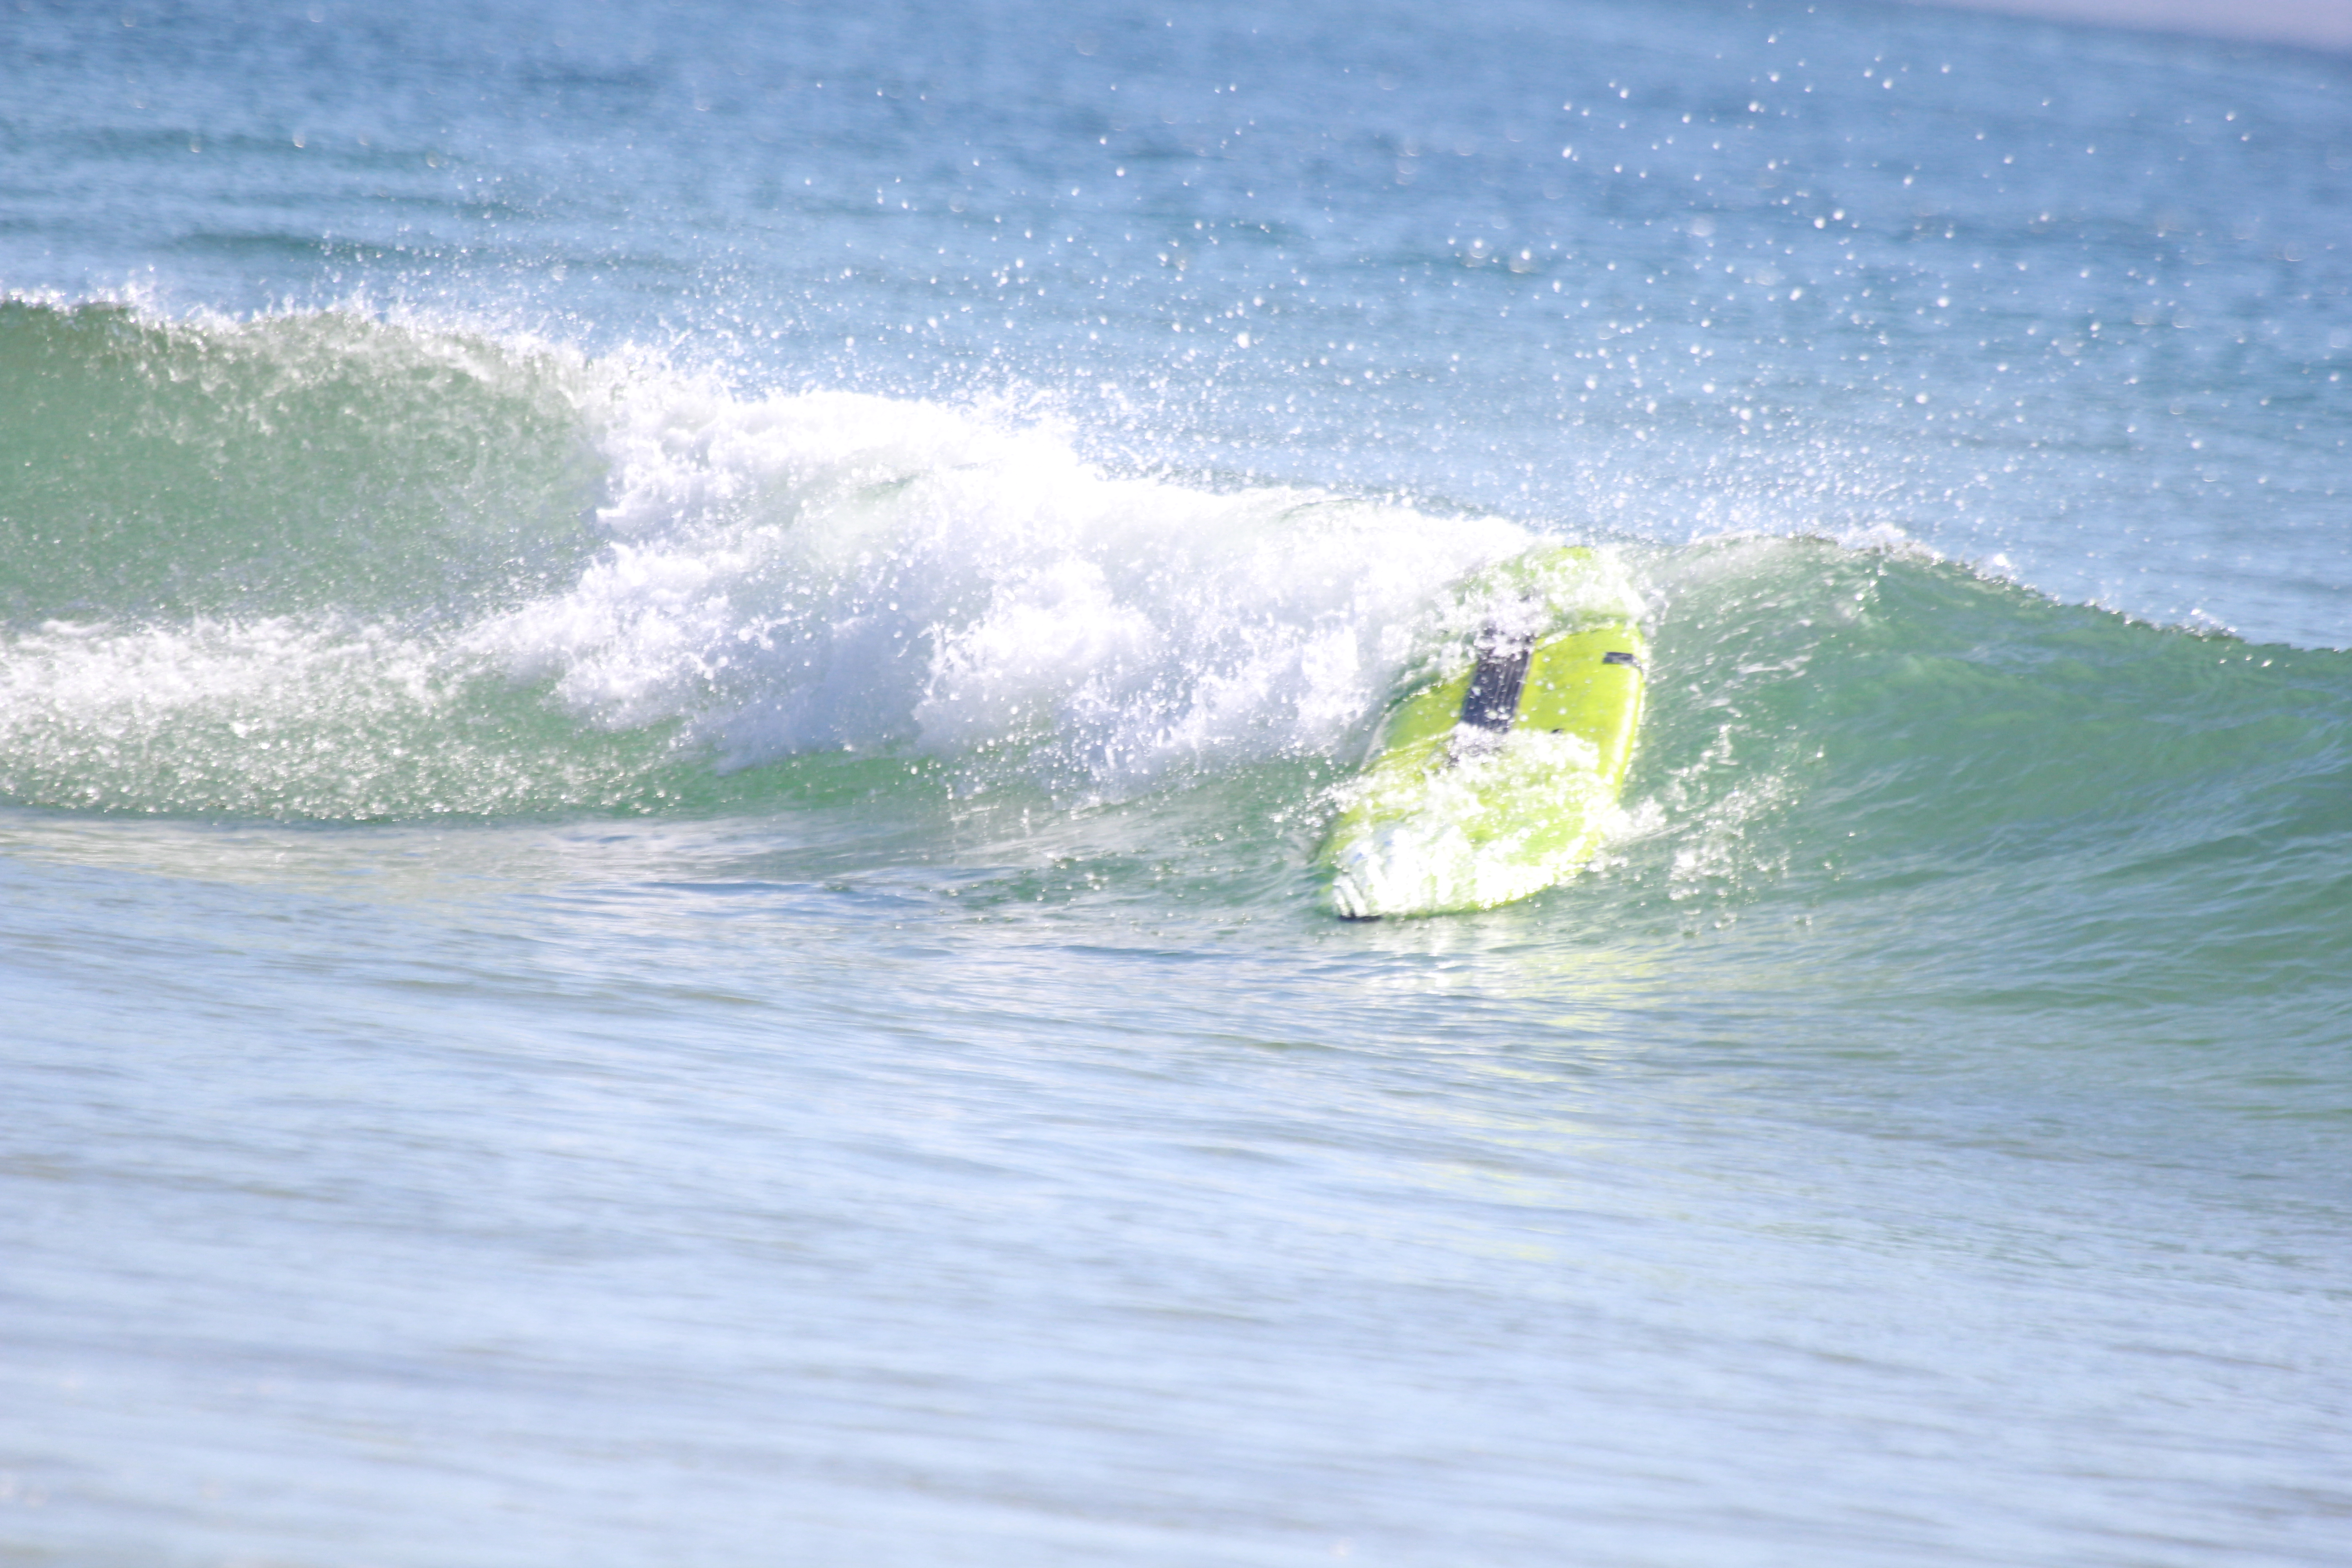
- Caught the action too late
- Back focused – (Subject out of focus)
- Framing not too good – subject sometimes out of frame.
After helping Brooke with the camera settings: (not in auto mode)

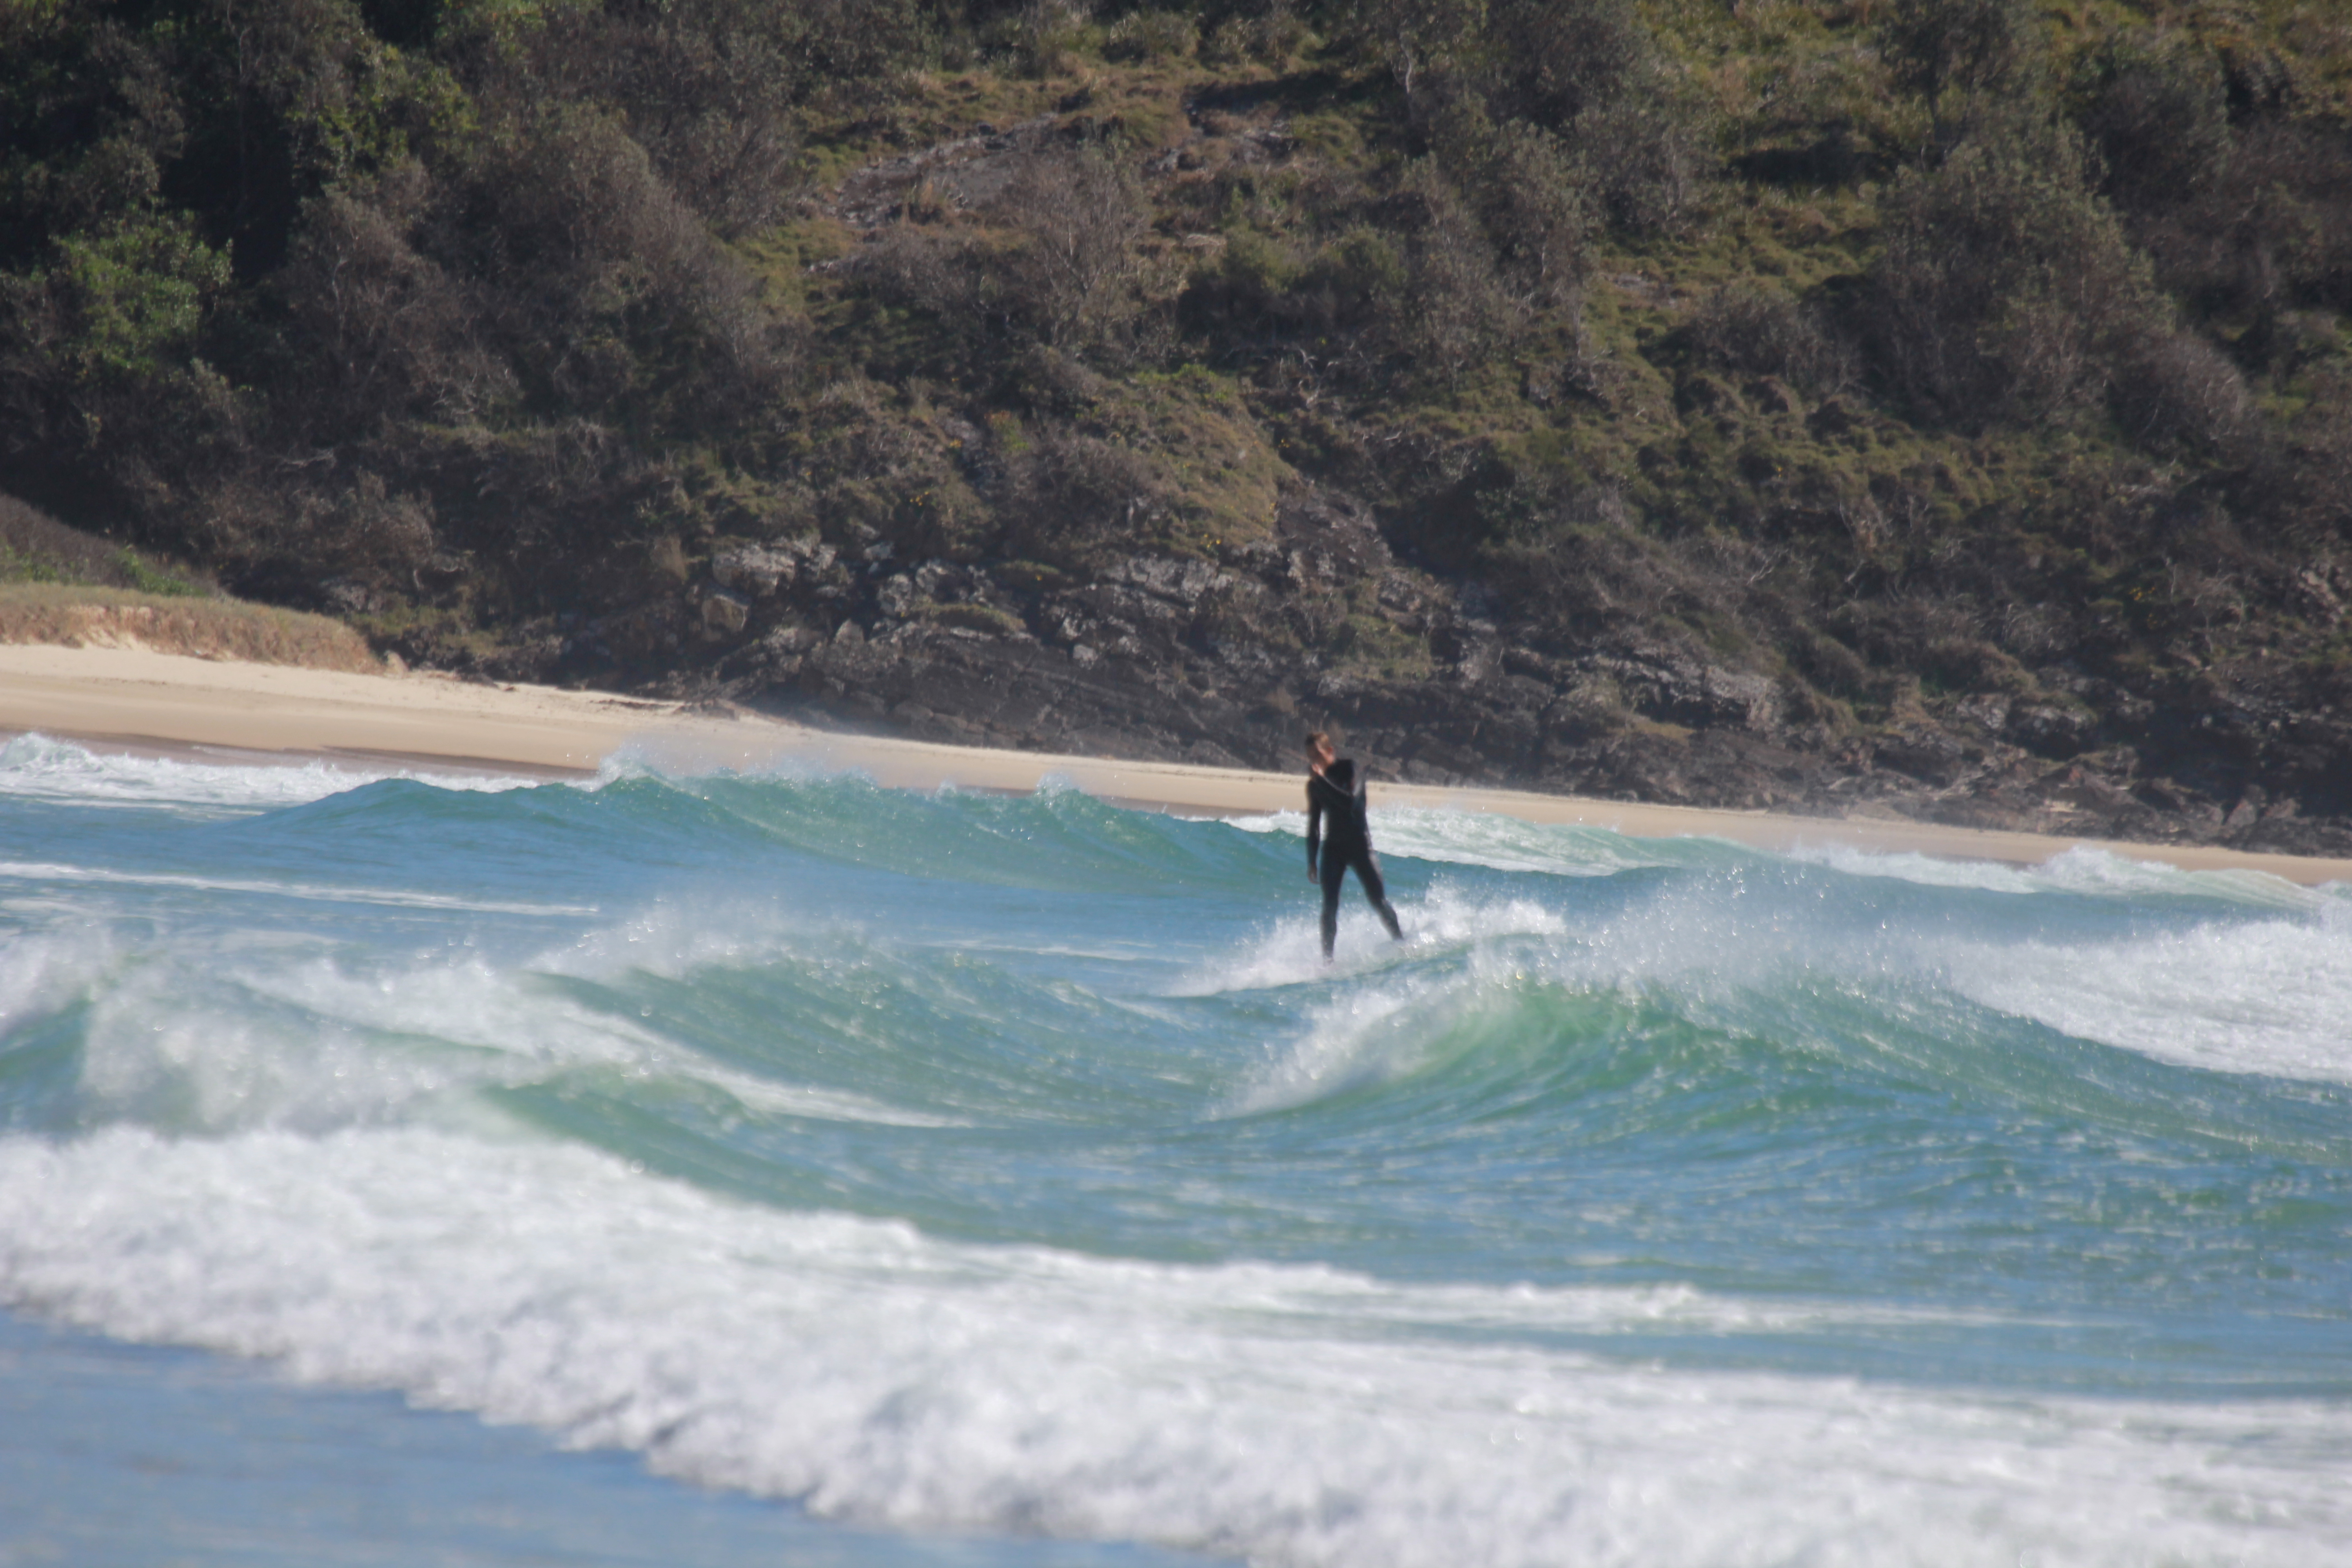
This is where I changed it up again for her. Noticed that all the images were too dark because of the white water? ;I then over-exposed her camera by +1. So, I told the camera to go lighter by +1 stop. From then onward,the exposure seems to be correct.
Now, everything’s a lot lighter but she’s still missing the subject with her focus. He’s still not in the middle of the frame and as you can see, he’s kind of running out of the frame.
Images by Brent
Settings: Fast Shutter Speed, Over-Exposed by 1 Stop:
Click image to see it LARGE!
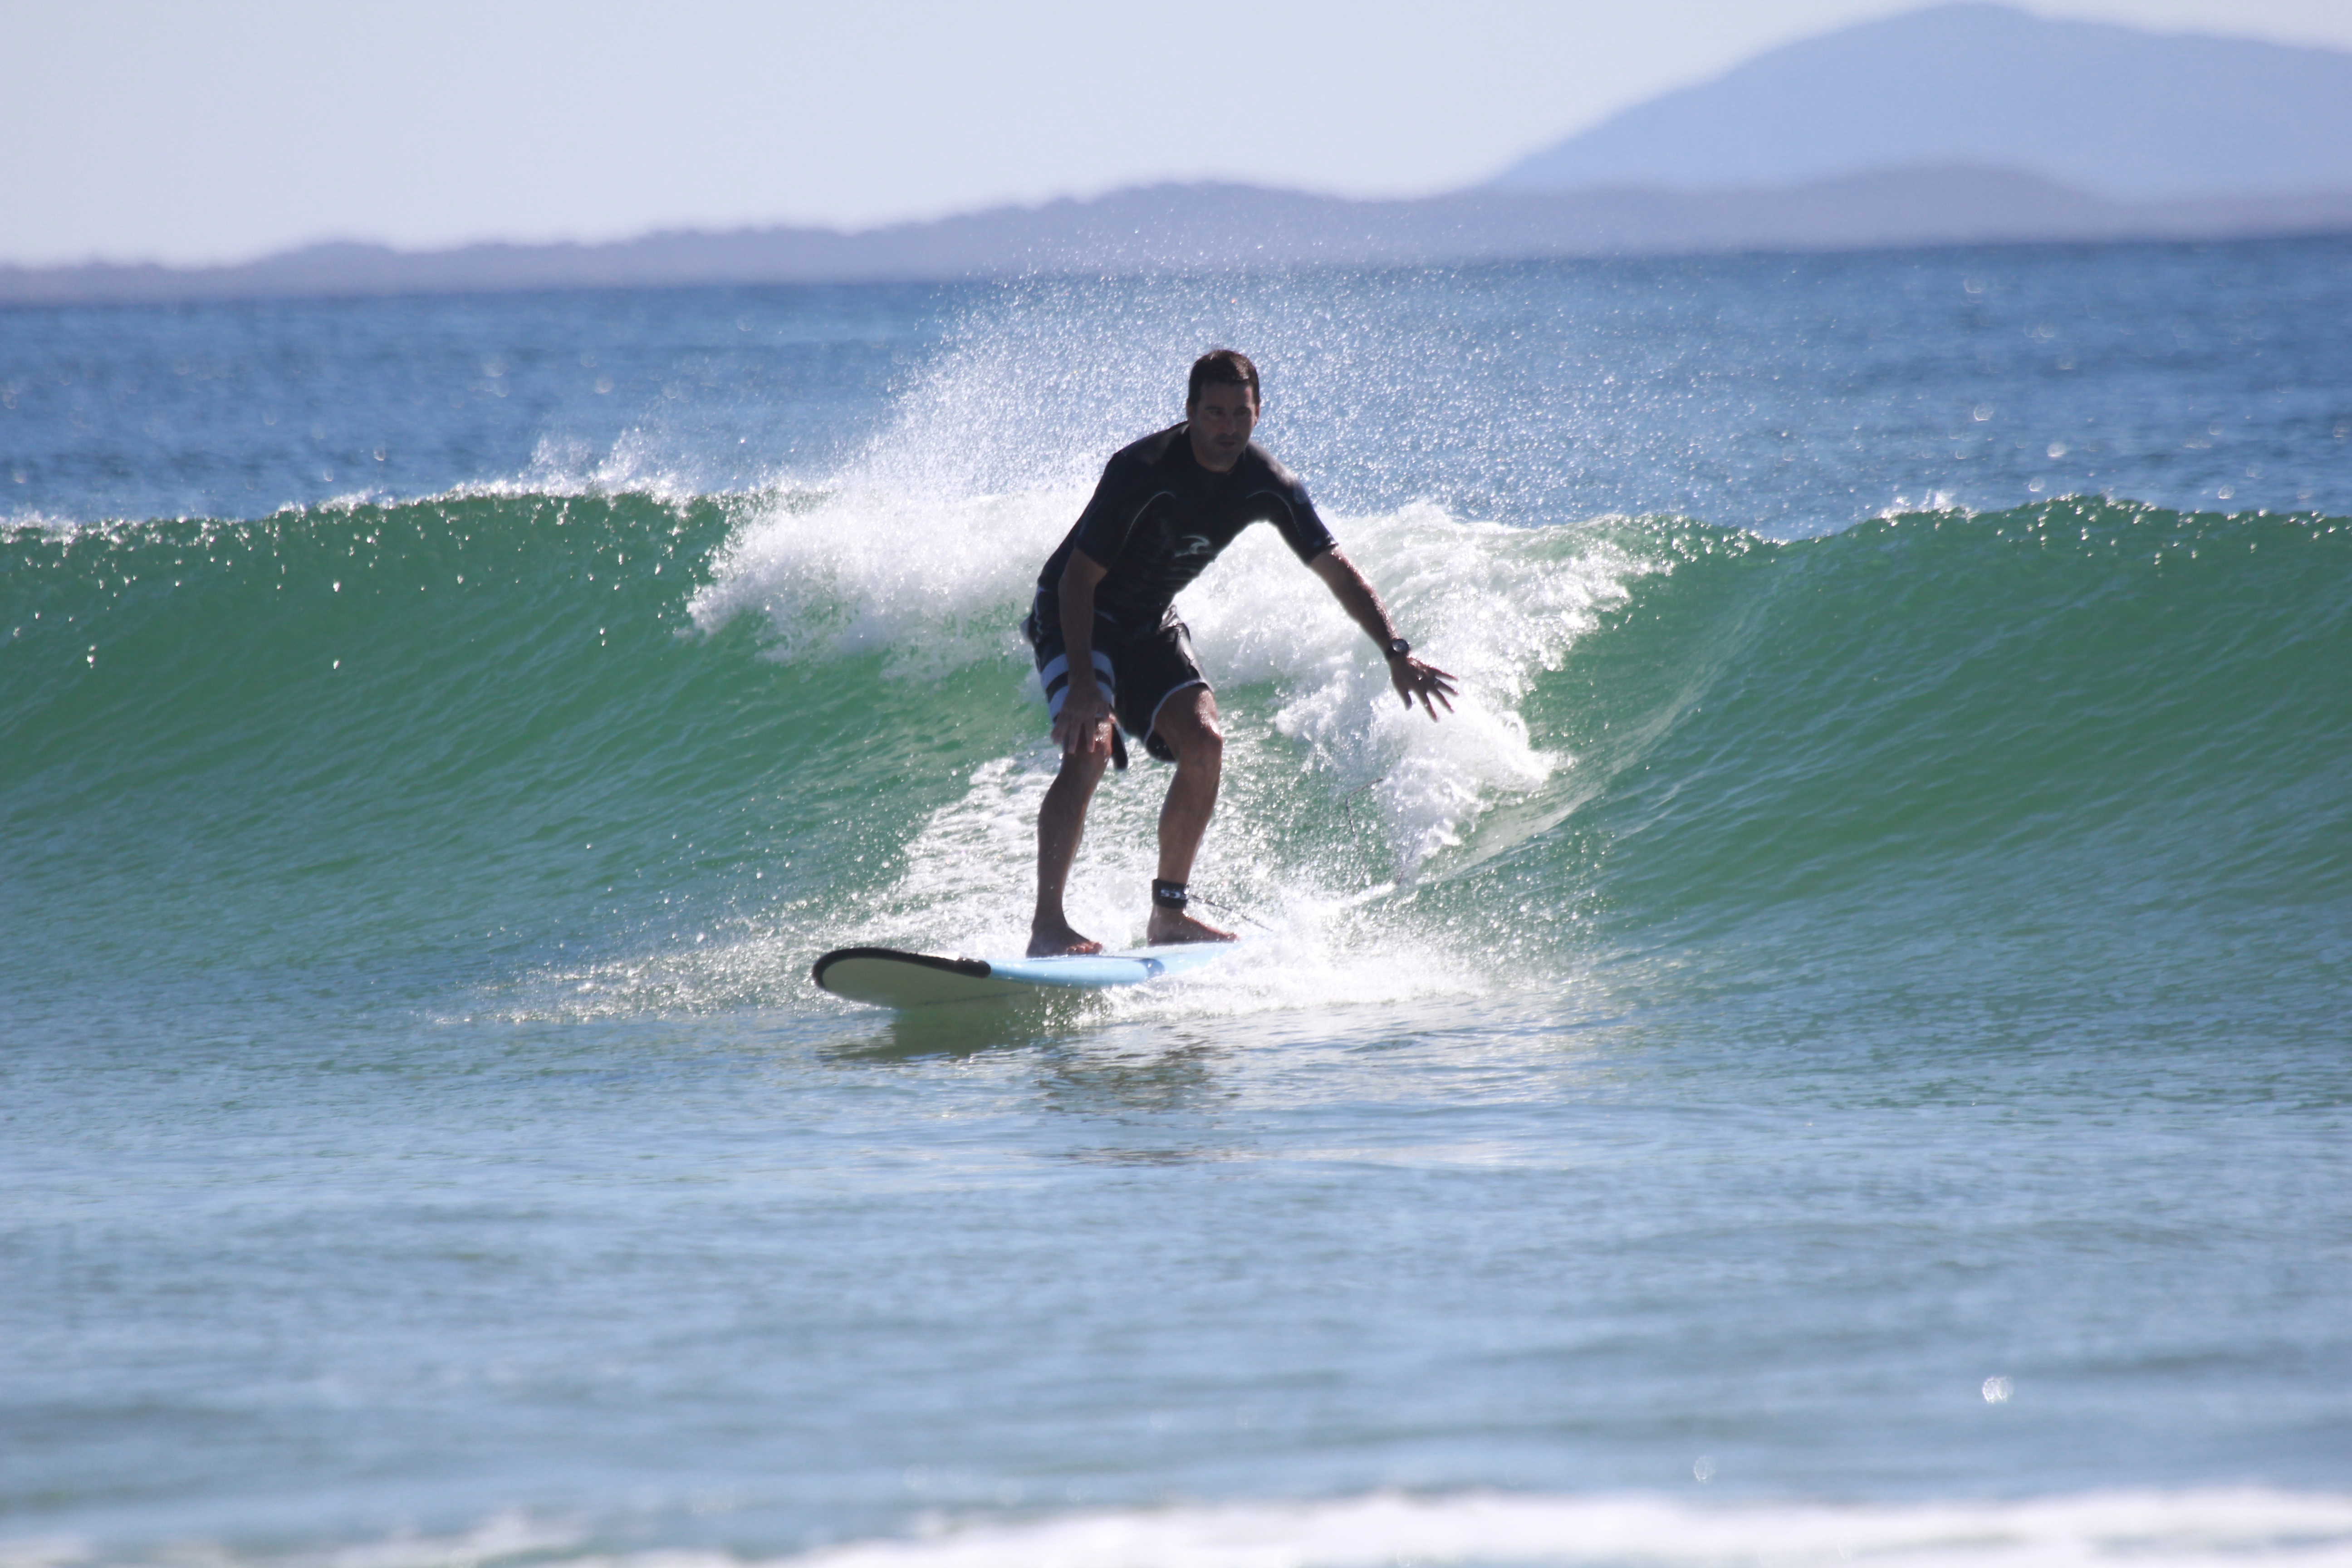
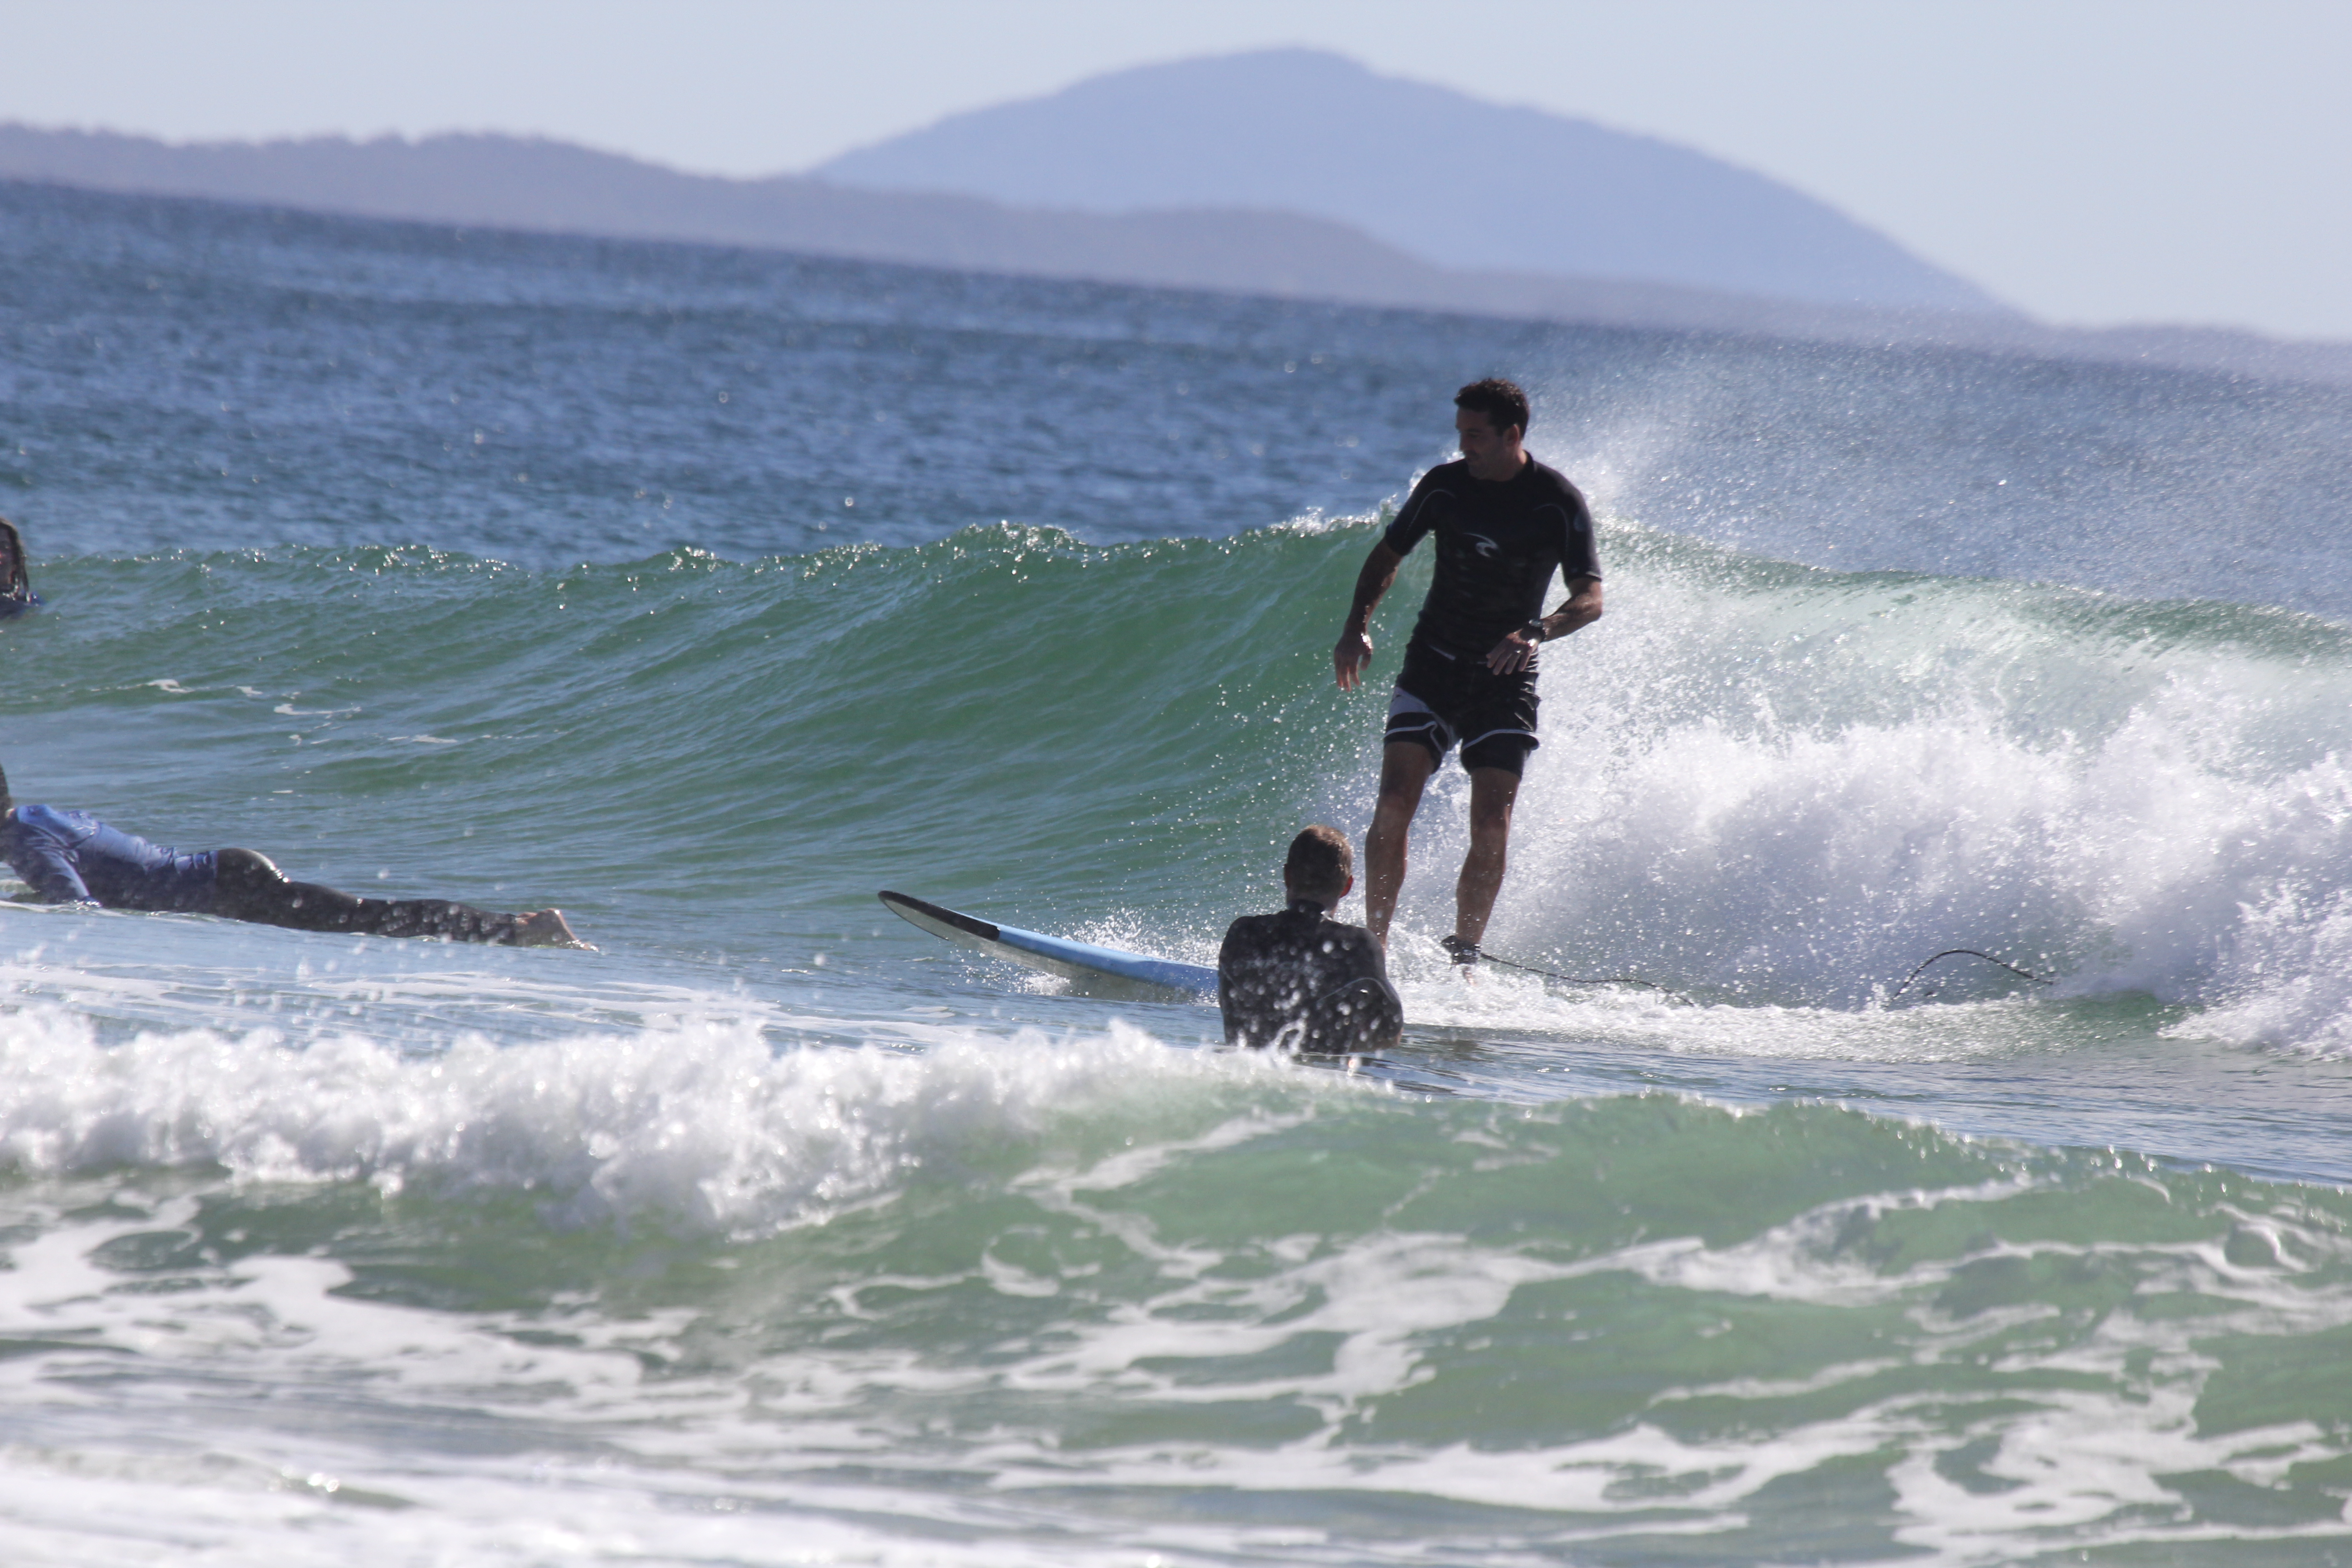
So here’s where I started photographing the surfers.
What I did was, I set the camera to Time Value (Tv) (Shutter Priority Mode). I set a very fast shutter speed at 1/1000 sec and I’ve overexposed the whole scene by +1 stop.
(watch the video for a detailed review of each image)
Why Over-expose the Images?
Because we are photographing into the sun; the sun is behind these guys. When the wave breaks, there’s a lot of white water and you want the white water to be overexposed because – like when you’re photographing in snow – you don’t want the water to be grey, because then all the subjects will be really dark.
I’m also shooting at One-shot AF. I prefer that when I’m photographing slow moving action because they don’t change the distance to the camera very fast. Another thing is that, I’m anticipating the surfers. I’m looking at who’s going to be catching the next wave.
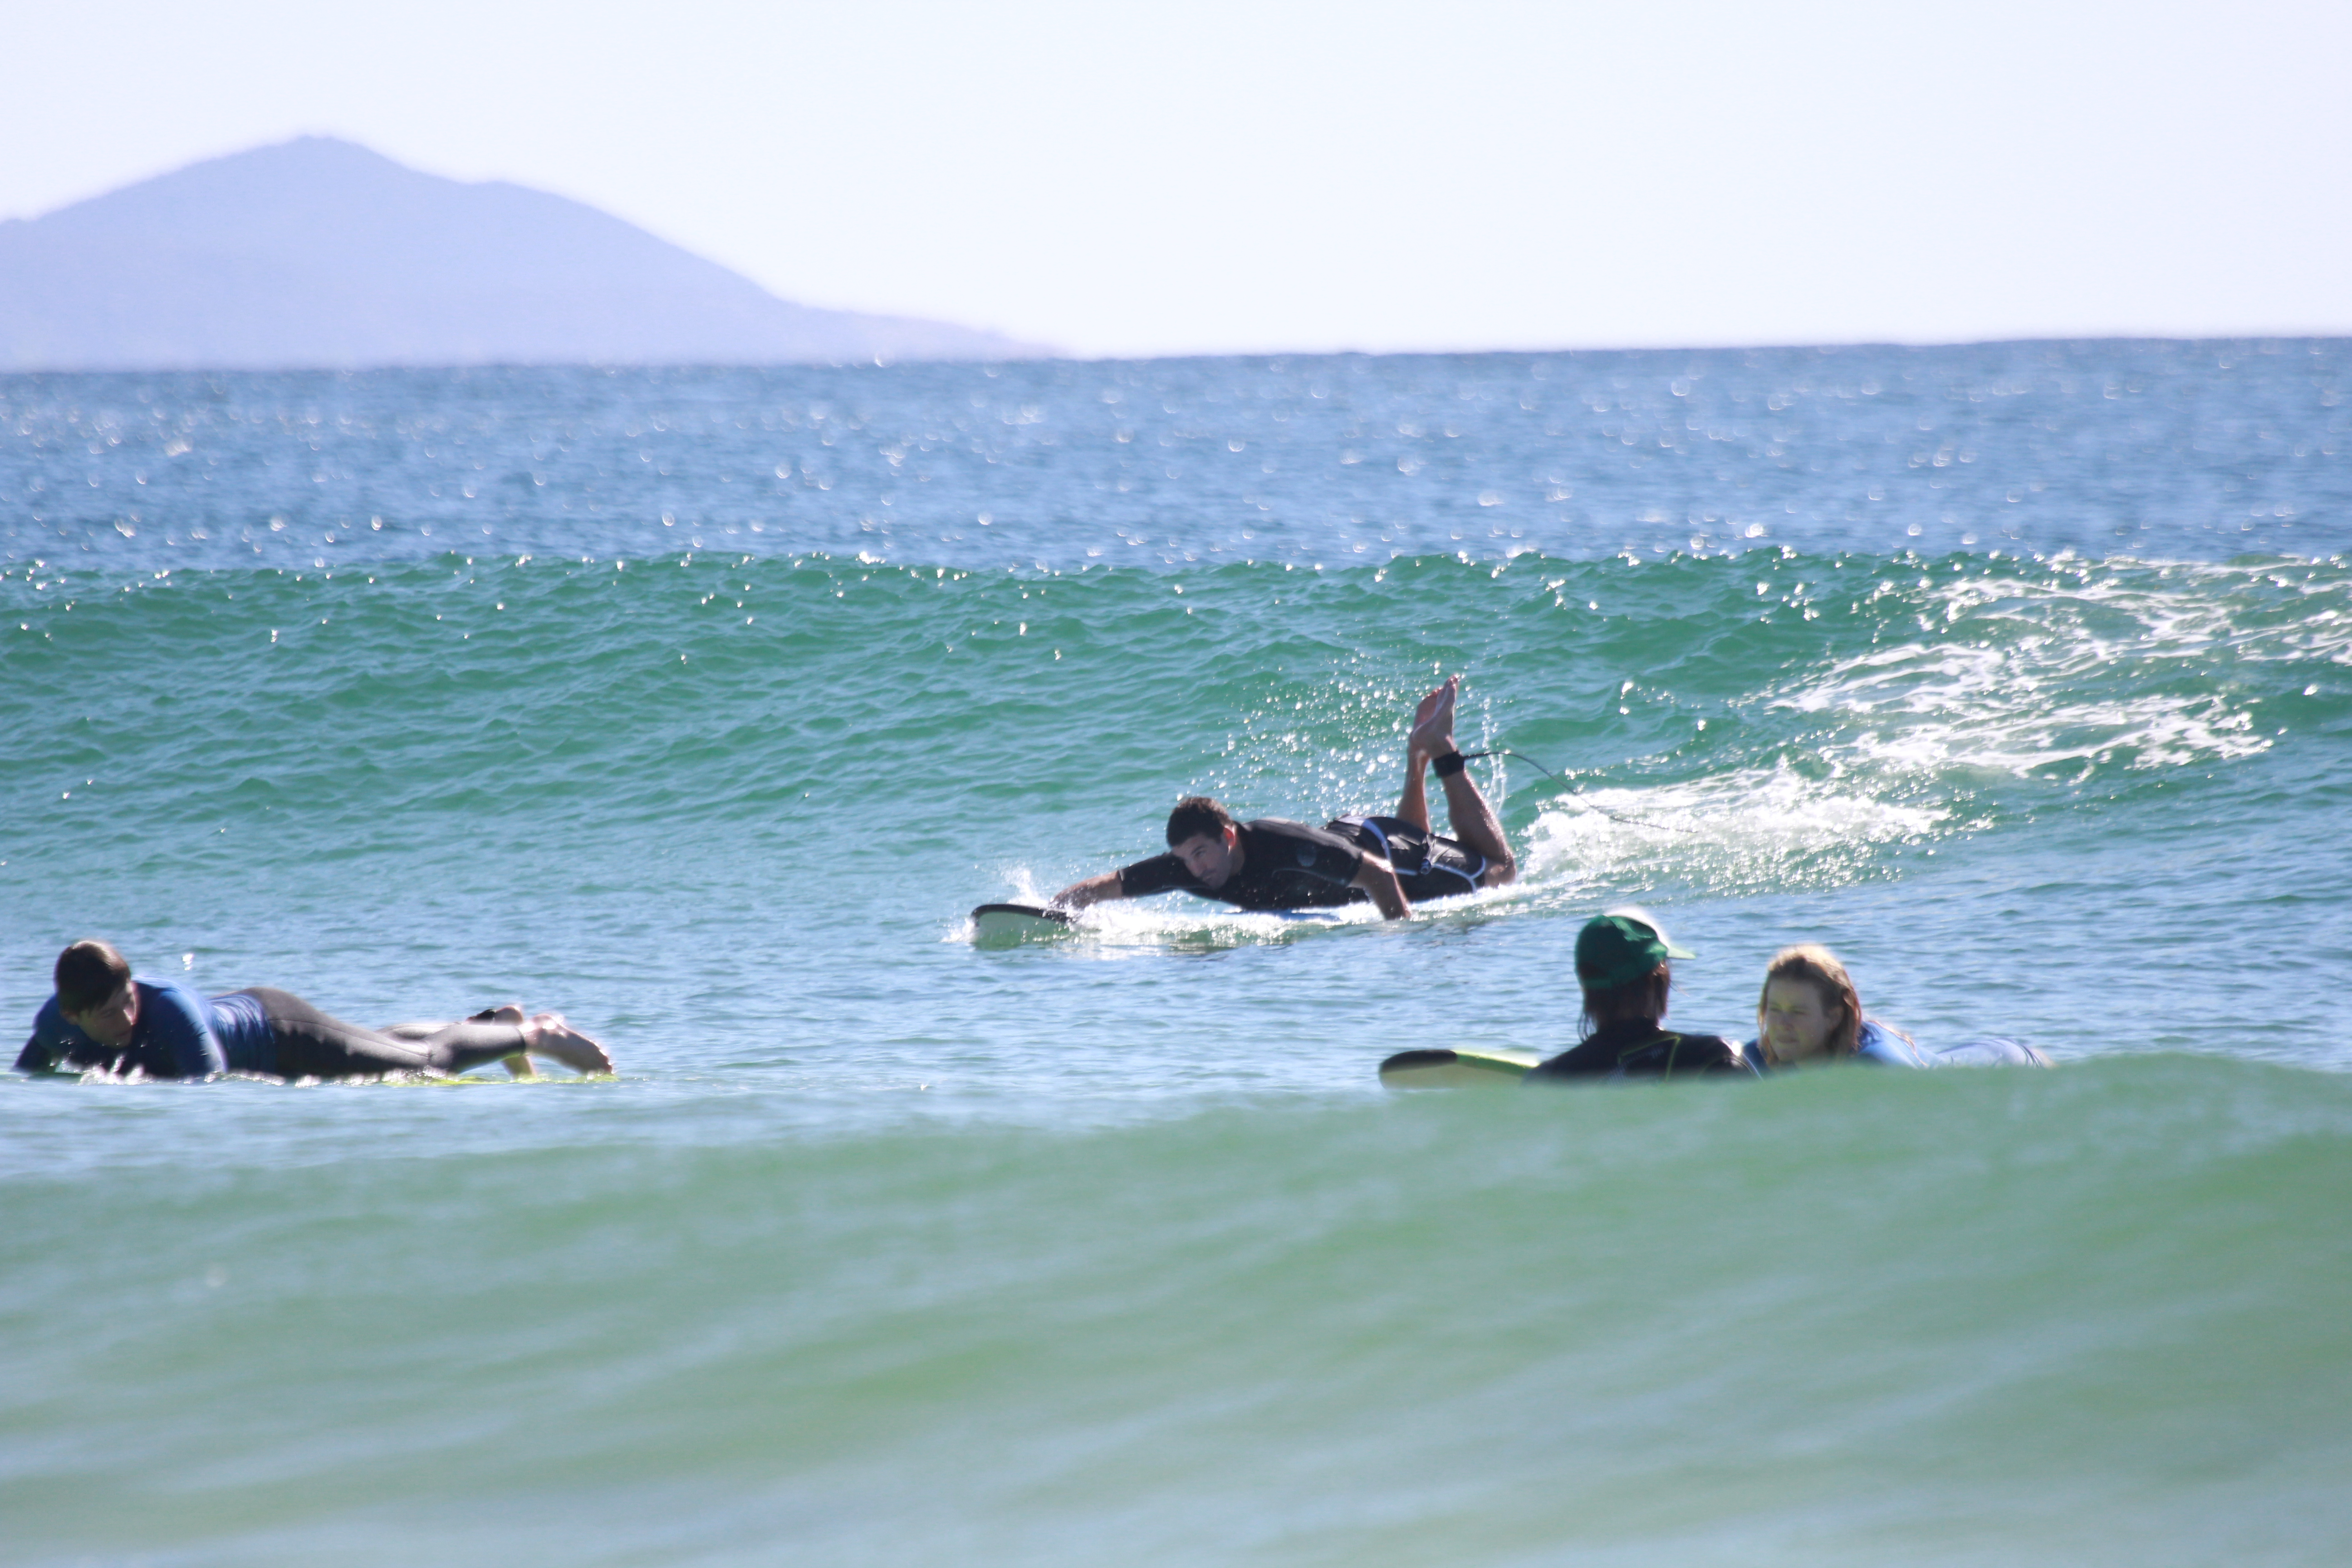
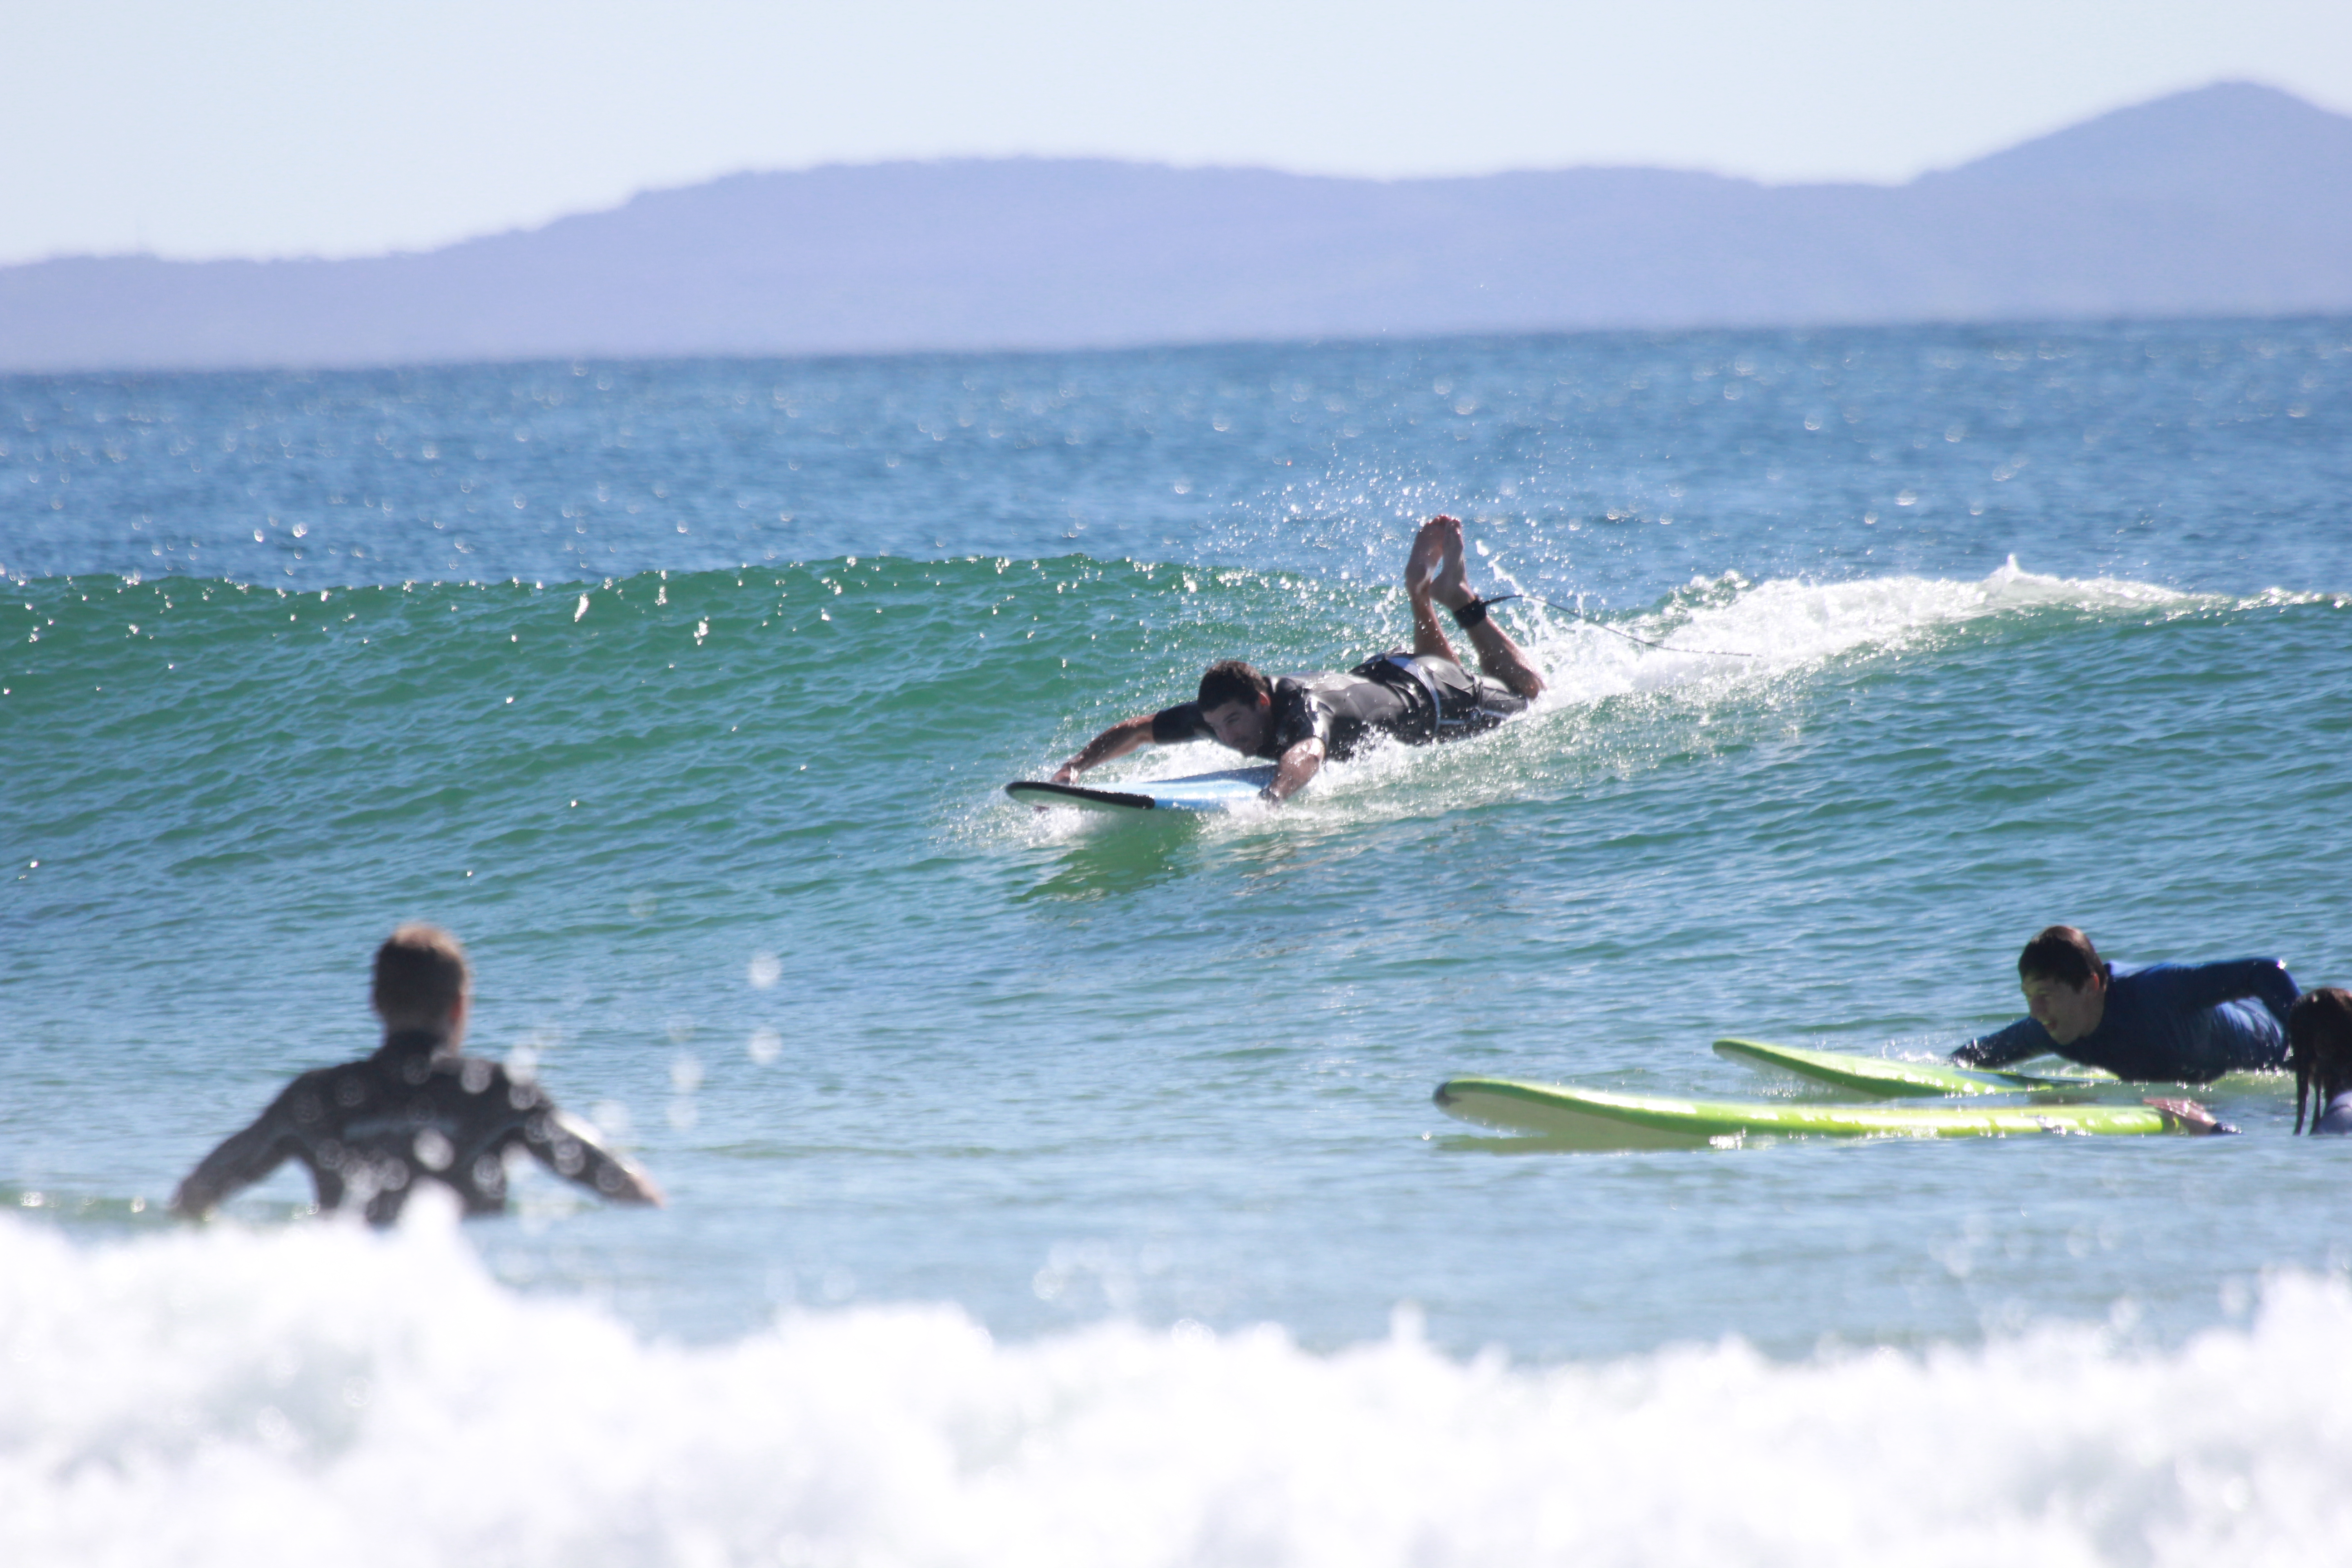
Anticipating the Action (BIG TIP)
So, I started photographing as he is paddling for the wave. It’s a huge difference to what Brookie was doing; she was photographing after they had already stood up. I’m anticipating the action. I’m photographing a couple of seconds before he even catches the wave – that way I don’t miss the best action shots! Checkout this next sequence…
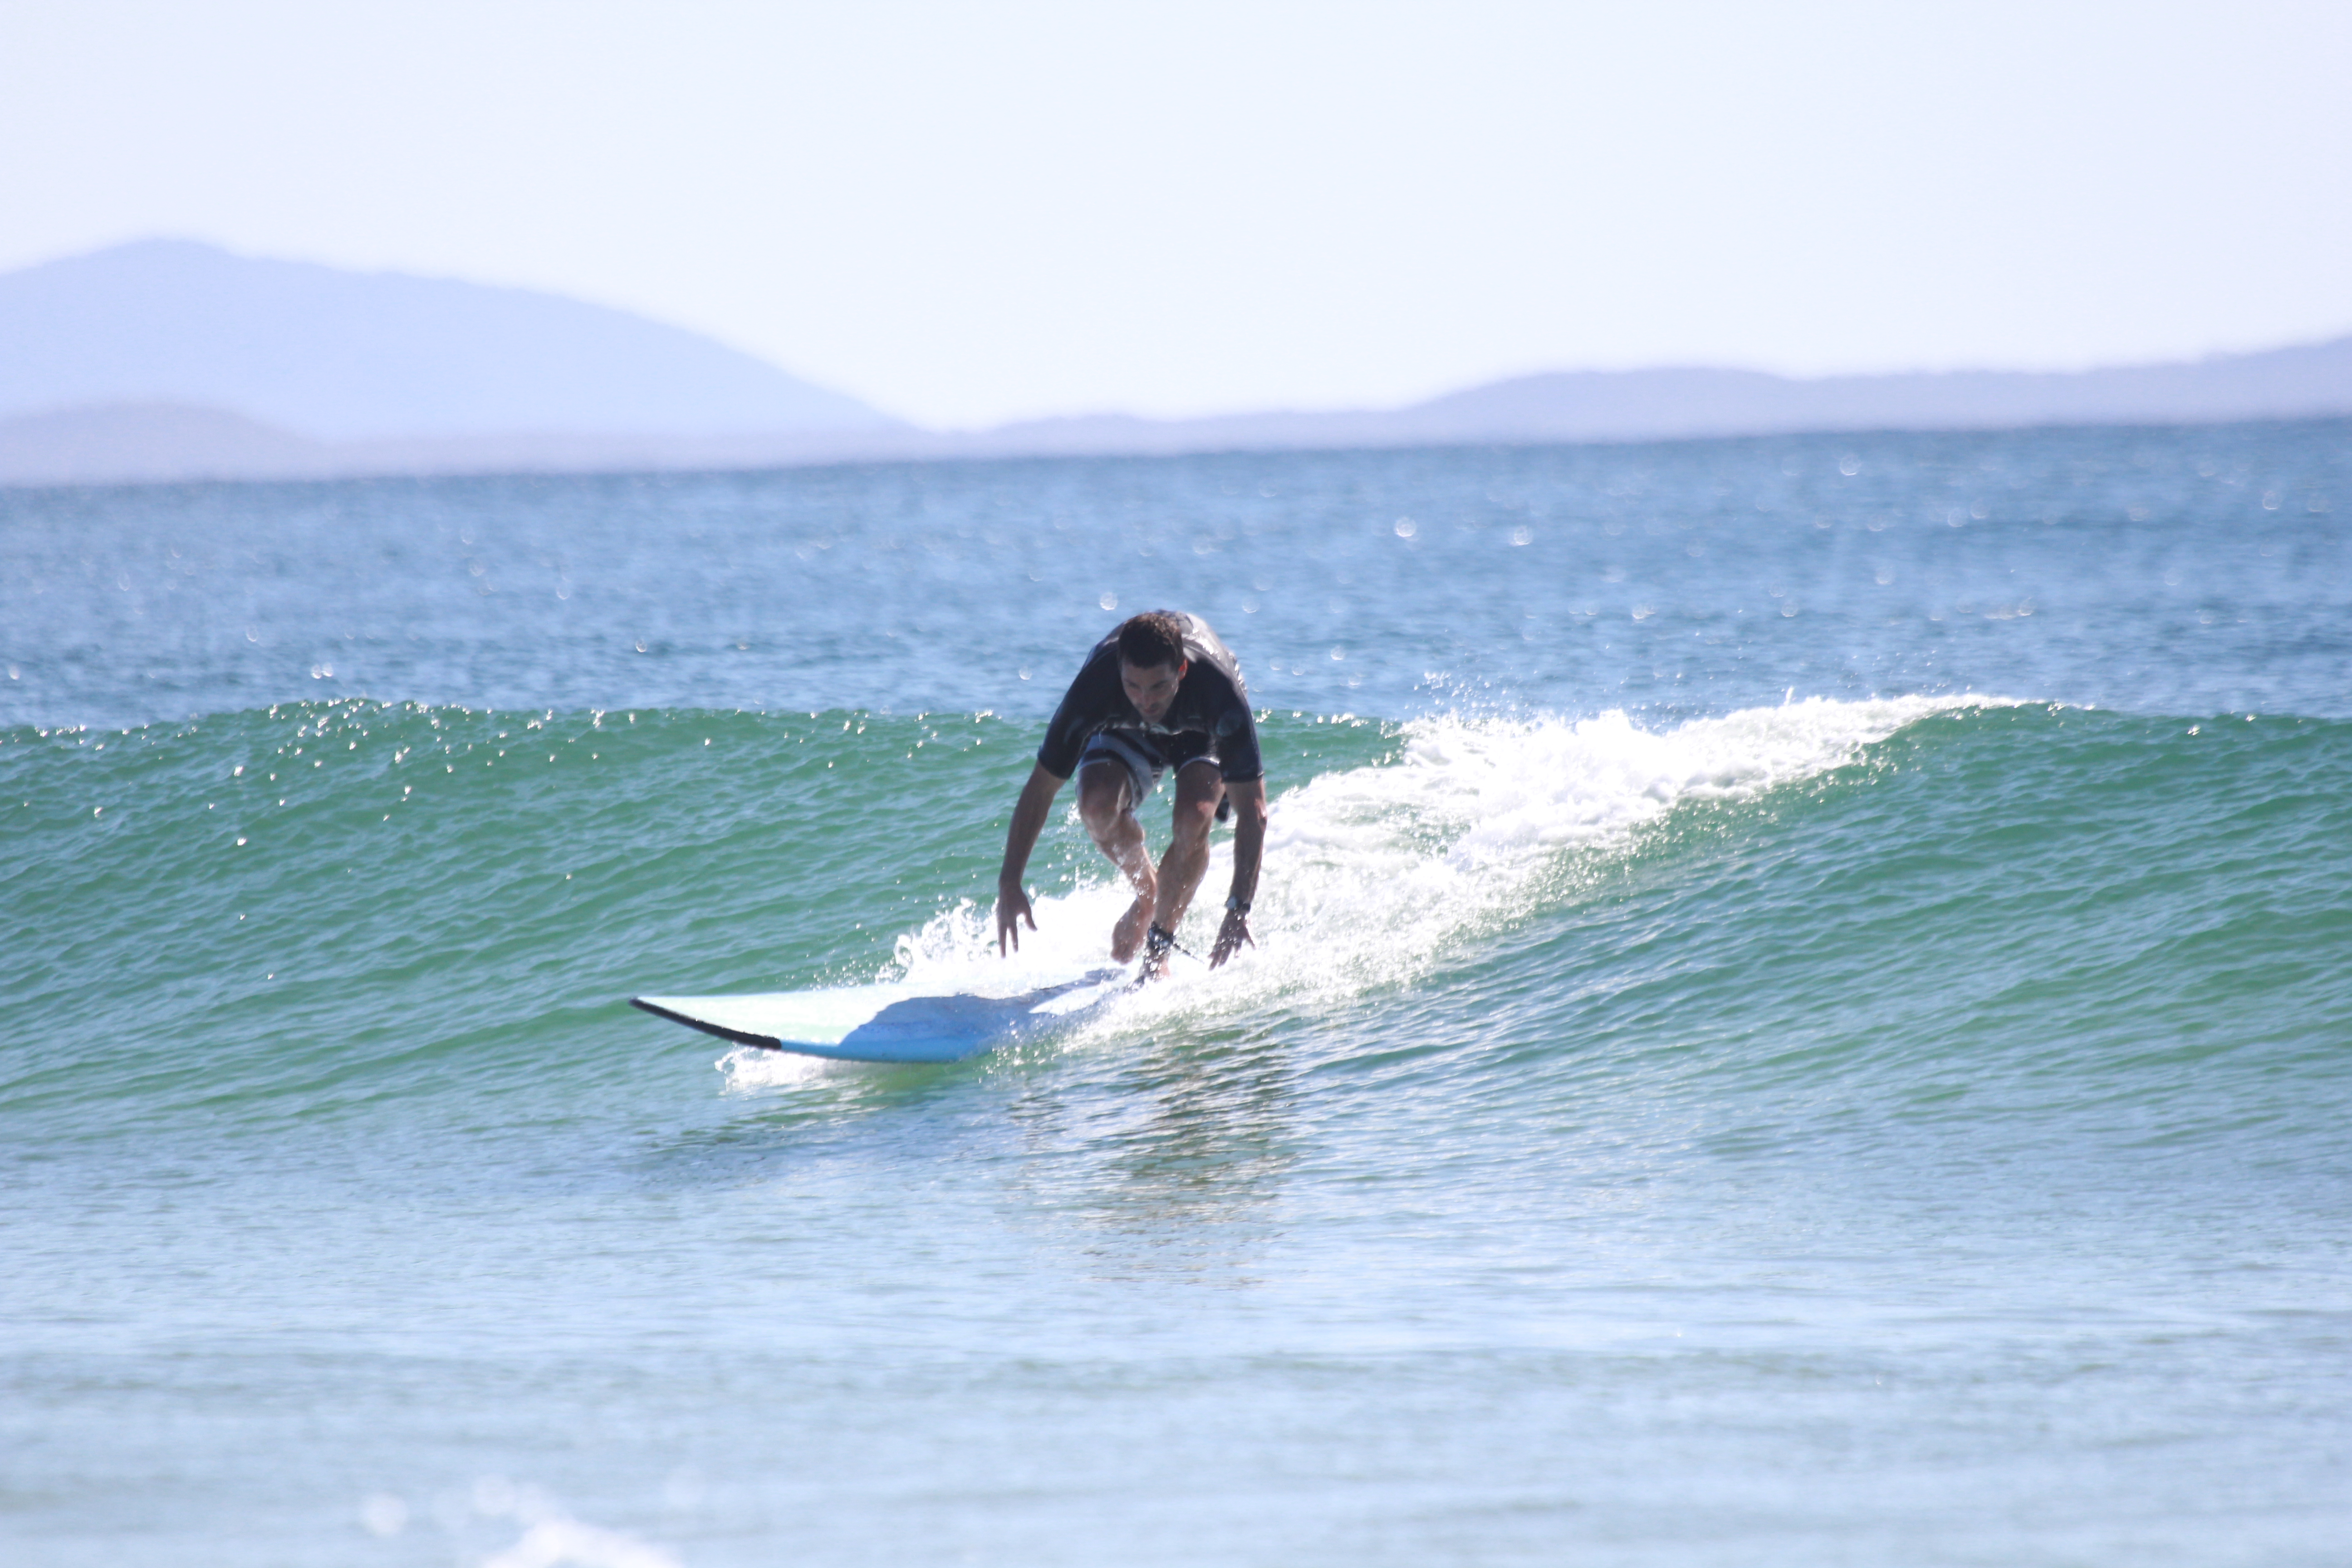

Framing (composition)
I have left a lot of space in front of him to surf into. I’ve got him facing the camera.
This next image is probably the shot of the day. I like it because the guys on the sides are out of focus. Our main subject is in-focus, even though he’s a little bit dark despite the fact that I’ve overexposed the whole image by +1 and the is surfing towards me – I can see his face. Click image to see it LARGE!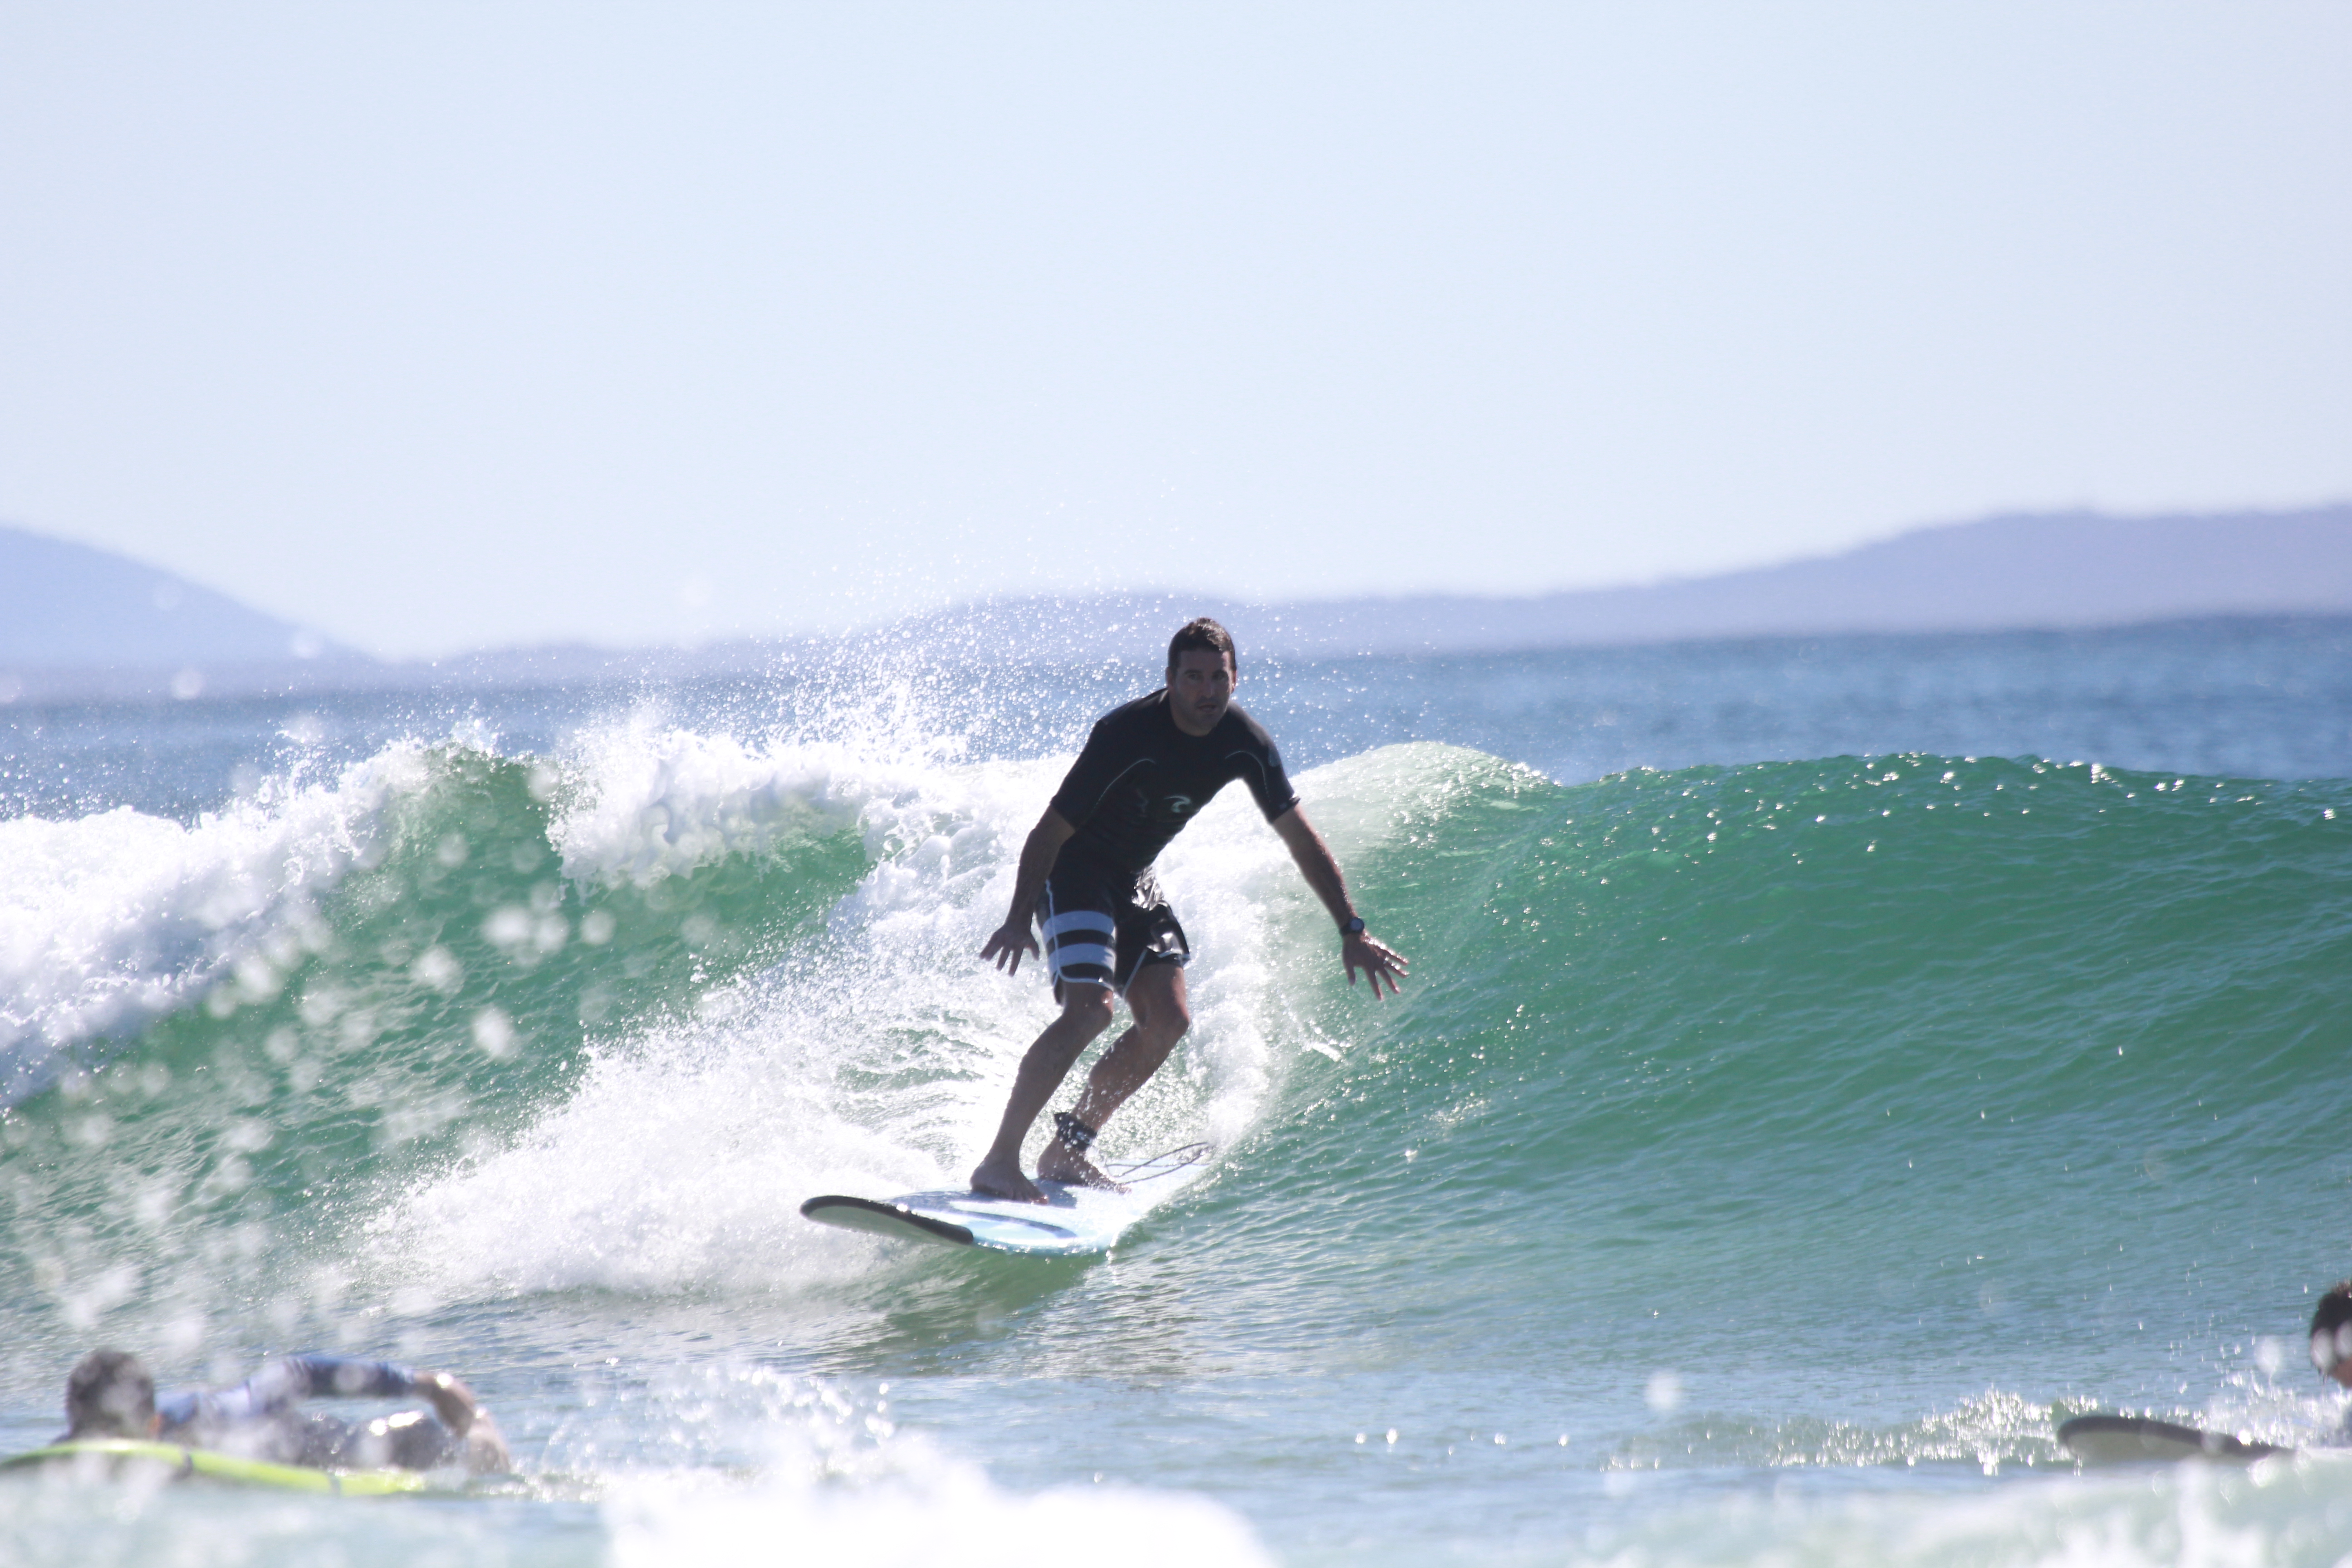
Retouching (lighten his face)
To improve this image a bit – I have cropped in, lightened the surfers face and darkened the outside of the image in Photoshop. What do you think?
Summary
So, that’s it for this lesson. What did we learn today?
1. Anticipate your subject’s action – Start photographing before they actually hit their peak action, so that you don’t capture them as they’re falling off;
2. Shoot at a fast shutter speed – Aorund 1/1000 sec or so;
3. Use Time Value or Shutter Priority Mode;
4. Overexpose by +1 (1 stop) – If you’re shooting in the sun;
5. Composition: Capture your subject in the middle of the frame – with space to ride/surf into.
This video comes from my Art of Travel Photography video series. There are another 40 short videos like this one in this series – so, if you are about to travel, then I would suggest you invest in this video series. [product id=”5641″ sku=””]
So there. What do you think of this video & blog? Please leave comments below and have a great day!
Hi Brent
Thank you so much for your teaching. It is very much appreciated. I took some surfing shots down at Austinmer a couple of months ago so now I am going to have another look at them and also see what settings I used. I have mostly shot in AV priority but am recently experimenting with manual mode.
Pleasure Heather. B
I do love your lesson so much, and you are the one that make me to photograph with a good photo. i am so happy and tks for your lesson. i do love you!
From: Randy
Great video, Brent. As always.
I think a couple of Brooke’s bad shots actually came out great. I really like the two where the single surfer is out of focus, but the ocean behind is crisp and clear as can be. It may not be a good shot of the surfer, but it is still a great picture.
Some of her shots were great – Ha ha, like the back-focus shot do you? Funny. Brent
Ciao Brent,
It’s great to see you are spending quality time and dispersing valuable information to your daughter. I have a 9 year old daughter too and Jessica is loving the photography world. More so now that there’s Brook a role model for the kids. It’s very important that we can get our kids out and associate them with nature and capturing the world through a lens which makes moments like these precious and very educational. They need some sort of abstraction from today’s confusing time wasting artificial electronic social network. Thanks again Brent for sharing your greatest tips and knowledge with us..
Ciao Pasquale. You are right, there are so many distractions for kids today (and us adults). On this trip around Australia we went 3 months without a TV, and it was great! We also have to limit time on devices, it’s a constant fight. I’ll keep teaching Brooke, and maybe she can host a few lessons too? Cheers, Brent
Great lesson Brent .. not to mention getting Brook in on it, because we can always learn from someone, no matter what the age ! Thanks !!
Thnx for sharing brent,two thumbs up,blessings from philippines…
Hi Brent. I have started following you only recently because I just love photography in any form. I have been using the camera since I was a kid but I am still picking things off you here and there which make a BIG difference to my work. Keep up the good work. Thank you.
I LOVE photography in any form too Reshpal. I’m sure you will learn a lot from my blogs and videos too. Thanks for the feedback. Cheers, Brent
love the video show a lot, good idea! never thought about +1 when shooting in the light!
i like my camera its not a full frame camera but i enjoy it. like to shoot in M mood, got a new camera for point and shoot a great one still learning.. its a canon powershot sx50 and also got a dsr camera canon 400d.
don’t have much money to play with so only got a couple of lens..18 – 55 55 – 200 70 – 300
but i try my best not sure how good my photos are..
thanks bent
Do the best with what you have got, Jim. I traveled around Australia with a 7D – because I had to leave my full-frame camera at my studio, I missed it but still got some great images with my backup camera. My advice – get out there and shoot with what you already have, or borrow a lens from someone else and try it out. Cheers, Brent
Brent, just a small criticism and something I always look for and thats the horizon; you may intentionally have left it like that.
Dude, I always look at the horizon too – I like it straight. Sometimes I fix it in post production – but these images are straight off the camera – good catch! Brent
Would it have hurt to use AI Servo mode (instead of One-Shot)? You claim it’s slow moving action, yet your shutter speed is a fast 1/1000 sec. Thought AI Servo is prescribed for most action (non-posing) photography.
It would be fine to use AI Servo too. What I meant was it was slow moving action (the subject moving towards me was slower) compared to a racing car or kids running towards me. Cheers, Brent
I really enjoy your teaching’s their very simplified straight to the point i truly learn & be ready to shoot i look forward to your teaching’s thank you
Glad you like. Cheers, Brent
I wish I was your daughter!
I learnt SO much… thank you Brookie and Brett.
No worries Karen, glad you learnt a lot. Brent