How to make your bird photos look even better by using Lightroom
In this video you will discover how to make the most beautiful bird on earth look even better by using Lightroom to post process your images.
Watch this video and learn…
Highlights of this video:
0:38 Tips on how to edit in Lightroom
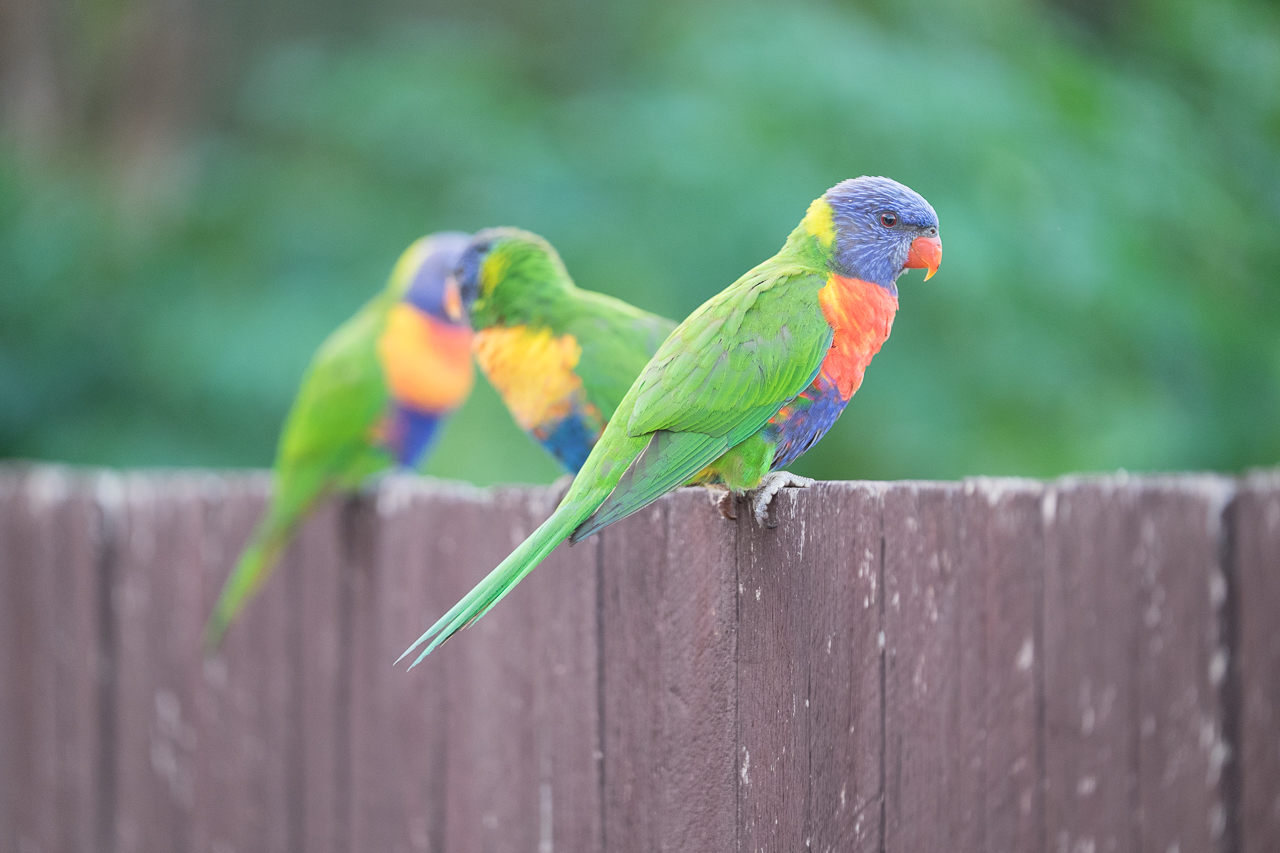
2:00 The Image of Rainbow Lorikeet Before and After adjusting whites and blacks
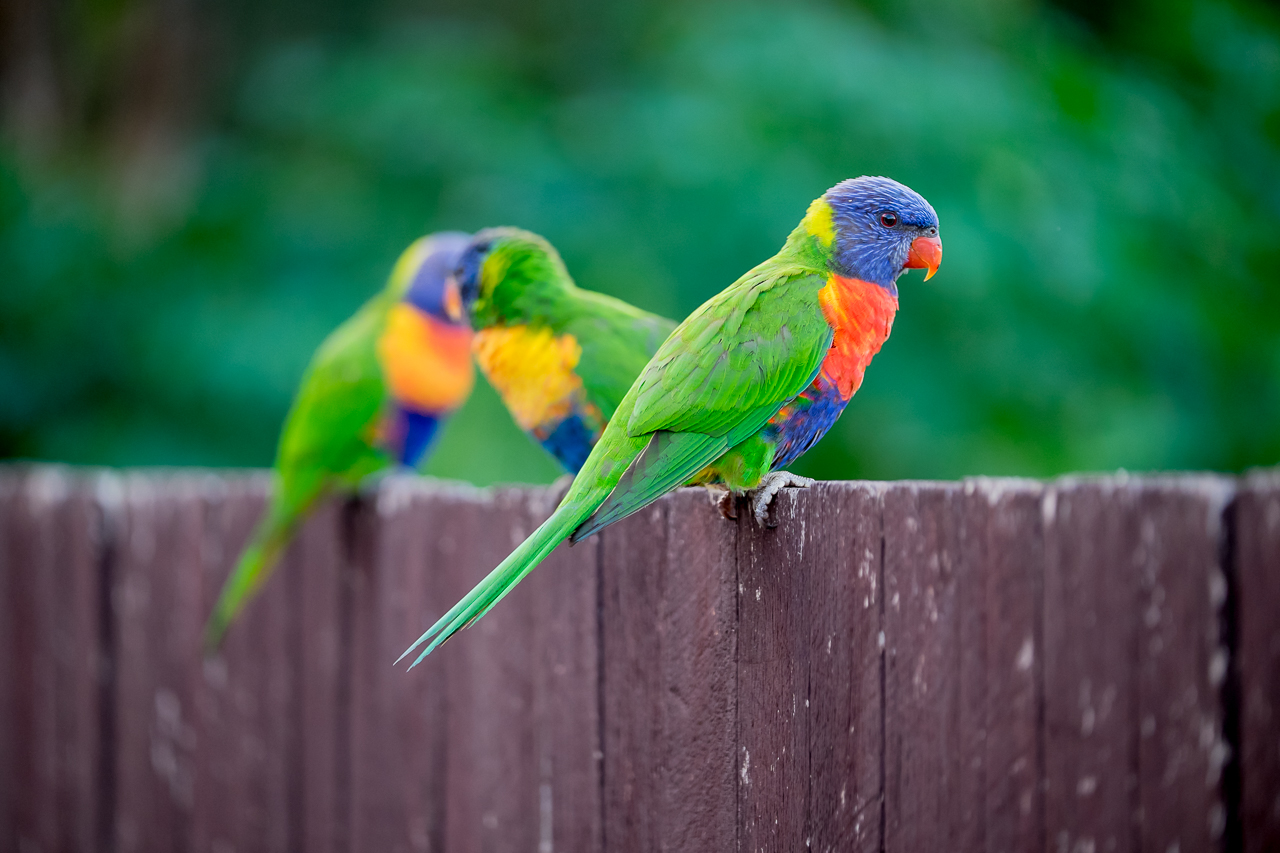
5:00 The difference between the final edited image and the raw image
Here’s how I edited the Rainbow Lorikeet’s image
- Imported the image
- Changed color temperature to Cloudy
- Pulled the Exposure down a bit (-0.20)
- Adjusted Whites and Blacks automatically;
- Hold SHIFT+double click whites
- Hold SHIFT+double click blacks
- Took the Exposure back to its original setting
Check how the image looked like before and after.
The next thing I did was:
- I adjusted the Shadows a bit higher (+7)
- Brought Clarity up (+13)
- Added some Vibrancy (+9)
To sharpen the Lorikeet’s eye
- Clicked on detail
- Adjusted Sharpening higher (67)
- Adjusted Masking up (86)
- Used the Noise Reduction to (27) Luminance
- Put on the Effects with (-9) Vignetting and (+92) Feathering
Here’s how the final edited photo look like…
From this raw image…
Want to learn more about image editing and post processing?
Grab My FREE Post-Processing Course
Tell me what you think. Leave your comments below.
Cheers,
Brent