How To Capture A Full Dynamic Range Of Light While Minimizing Lens Distortion
Hey Guys! Brent here today at Lord Byron Resort to do a commercial product shoot for these awesome plantation shutters that my brother installed from Gecko Blinds.
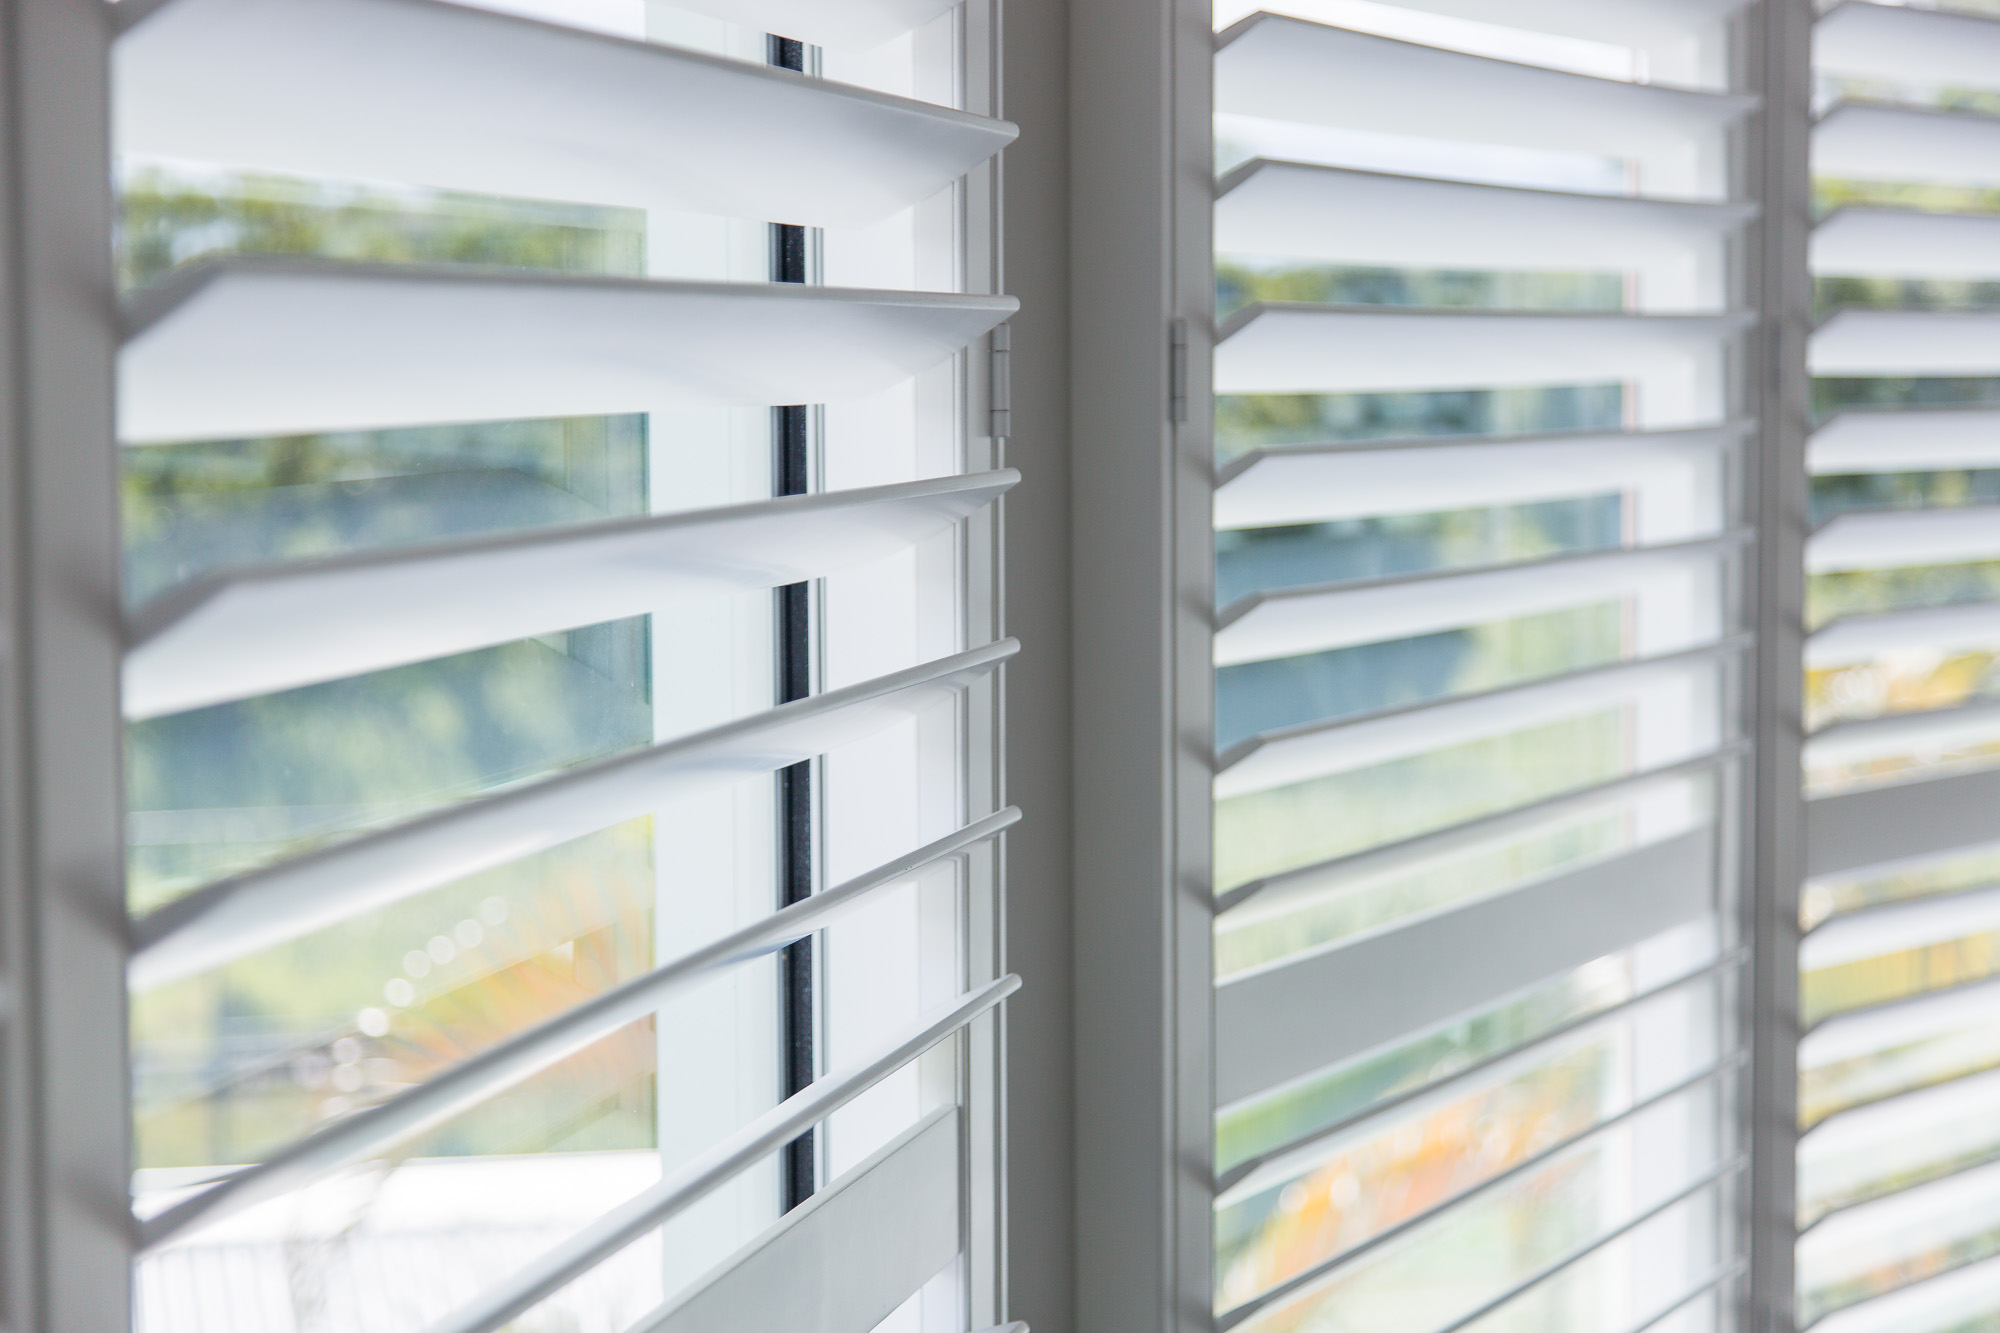 To really capture the essence of the blinds, which is important since this is a commercial shoot for them, I want to accurately represent the room and the impact the blinds have in it. But this requires overcoming a major hurdle: the extreme lighting conditions between the inside and outside.
Capturing a high dynamic range such as this is challenge enough, but add to it the size of the room and the fact that I need to use a wide angle lens to reflect the room space, and this suddenly becomes a rather challenging shoot.
Watch the video to learn how I overcome both obstacles!
What you’ll learn in this video:
(00:32) Challenges of Shooting Indoors
(01:23) Wide Angle Lens Distortion
(02:15) Bracketing for High Dynamic Range
(03:13) “Proper” exposure
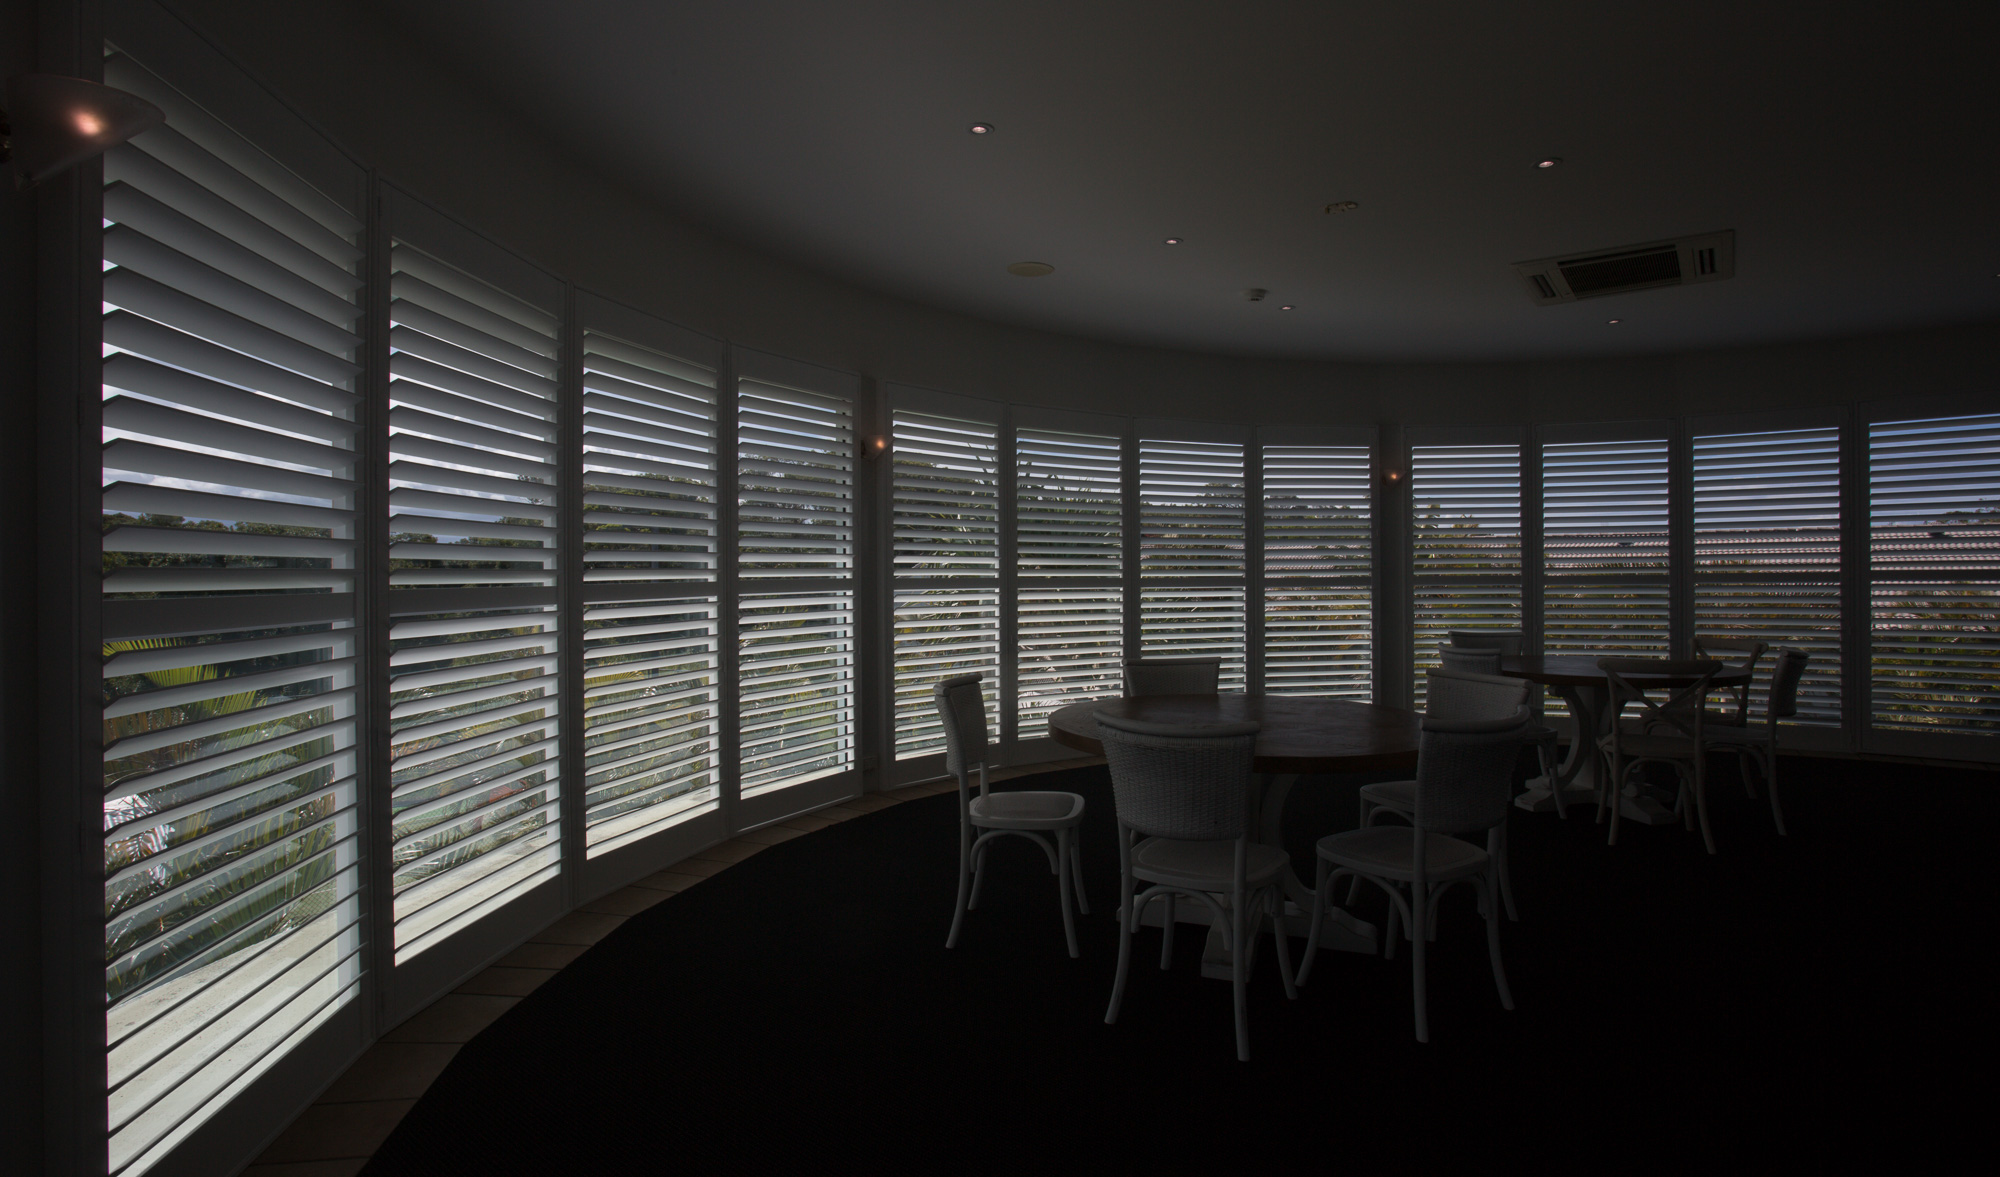
(04:13) Underexposed image
(04:58) Overexposed images
(05:36) Final image
Challenges of Shooting Indoors
Doing indoor shoots often presents technical issues that you must overcome to get great final images. The first problem is the amount of light coming from the outside compared to the darker conditions from inside the room. This massive dynamic range requires using a technique called bracketing to get a well exposed final image.
The second issue, in this case, was the size of the room. Not only was it was huge, which meant I needed to use my wide angle lens (17-40mm), but I also needed the entire image to be in focus from the furniture in the foreground to the trees outside in the background. Wide angle lenses are great, but can create a lot of distortion if you don’t angle your camera just right. And using the smaller aperture required for the desired depth of field increases the shutter speeds, requiring a tripod to get sharp focus.
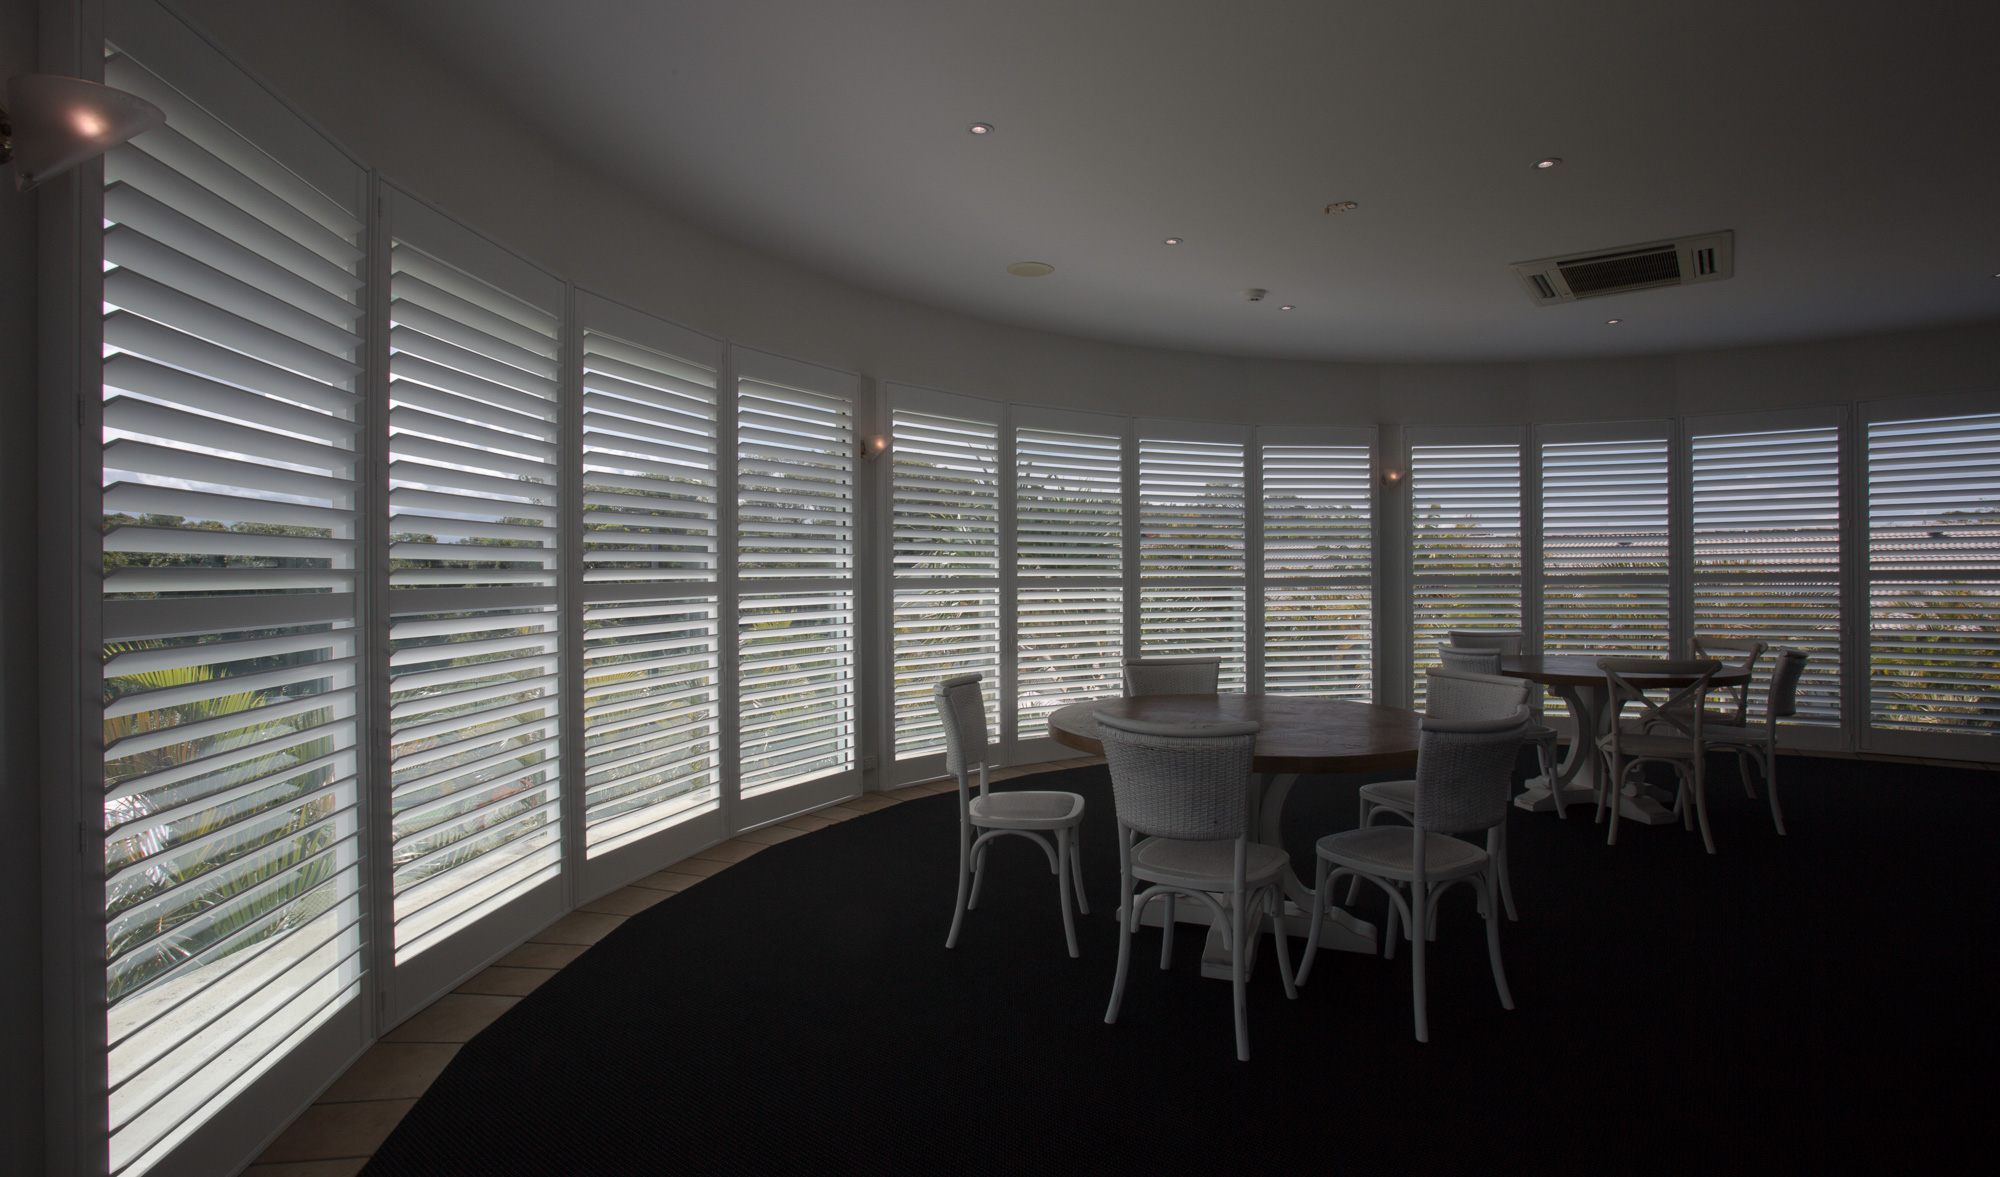
Before
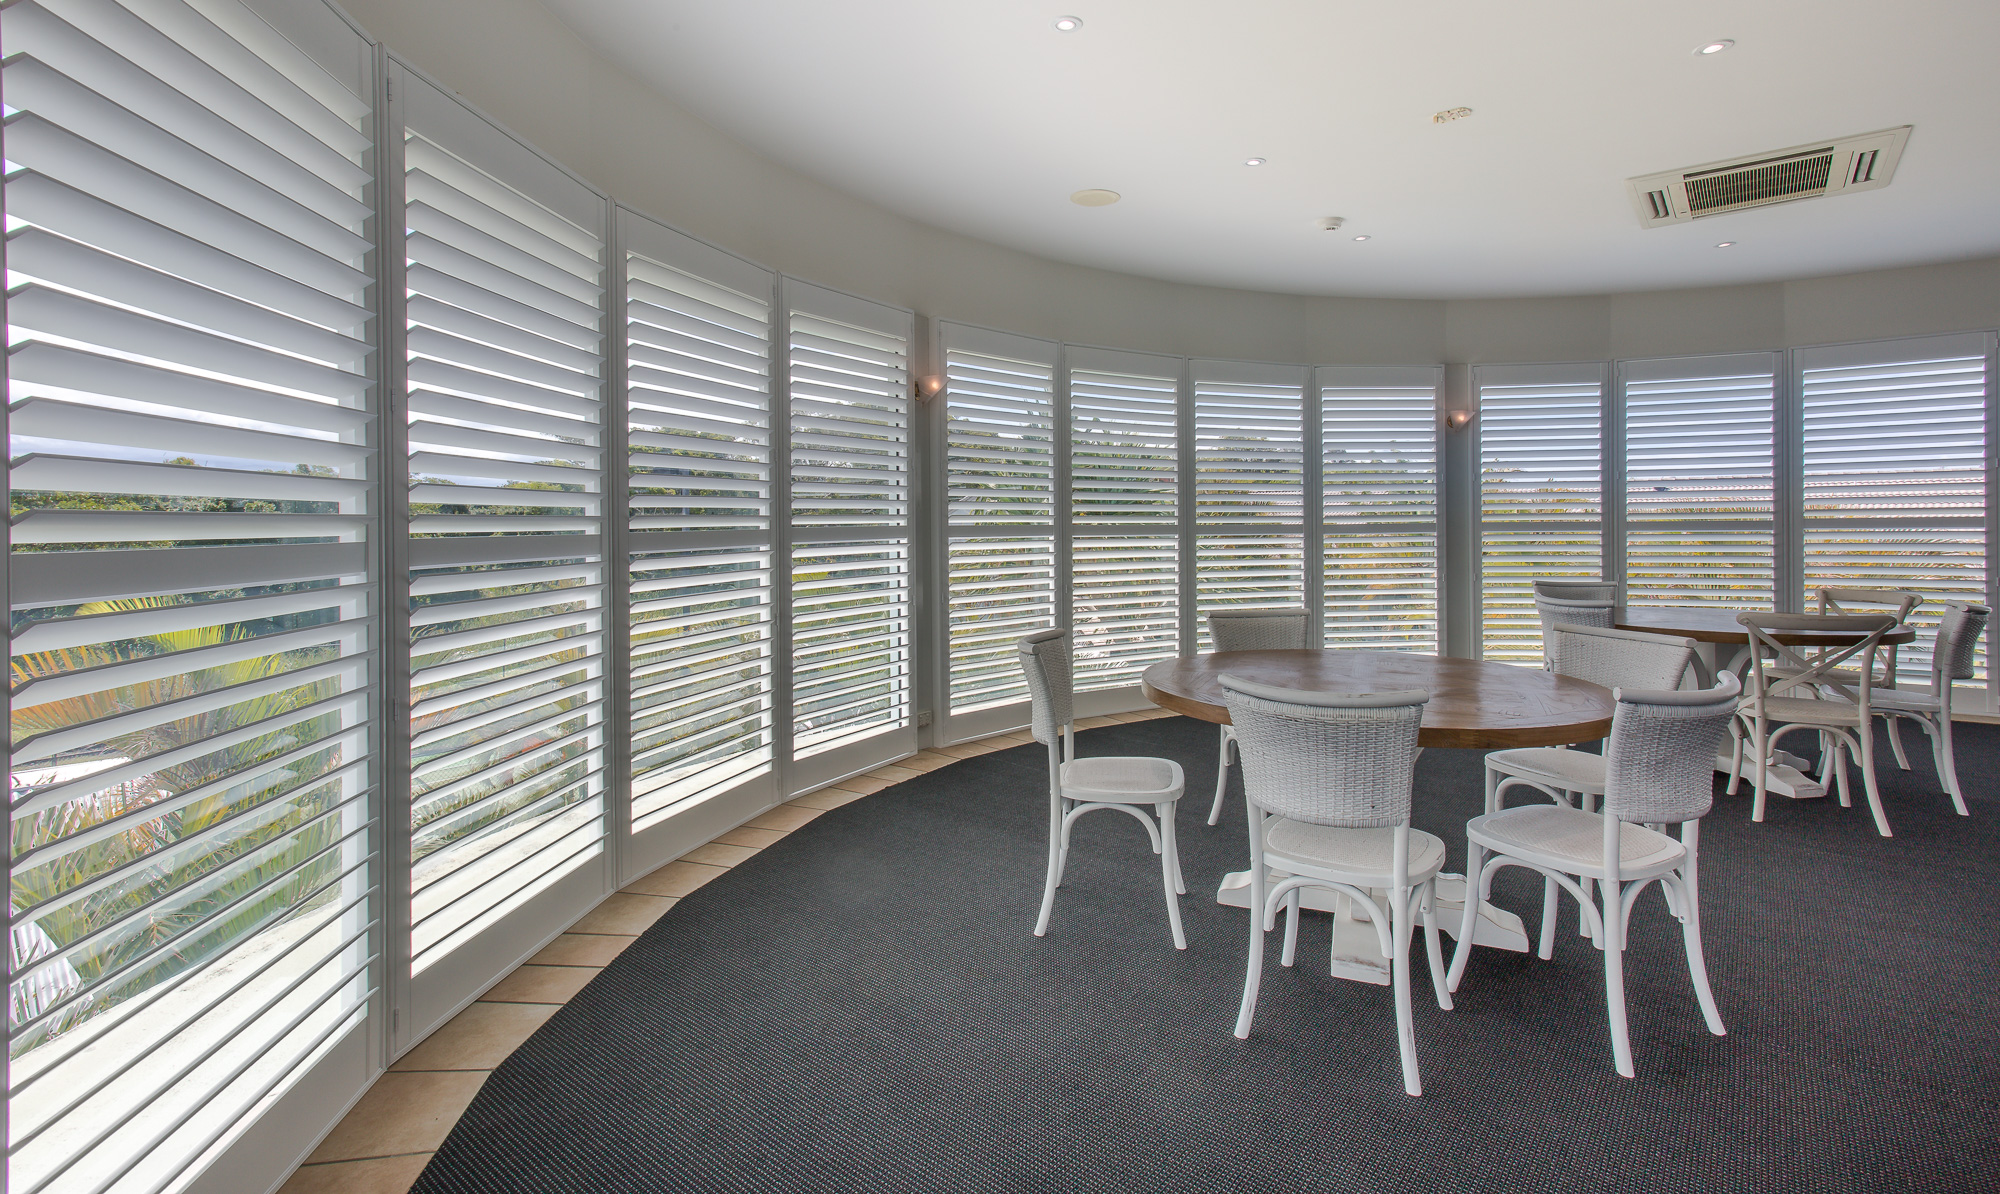
After
In general, anytime you’re shooting bracketed, you will need to be on a tripod to get good images. Not only do you need to keep the exact same position for the blending process, but you also need the steady mount to eliminate any motion blur you would have from hand holding the camera.
Wide Angle Lens Distortion
The easiest of the problems to fix is the wide angle distortion, so I’ll cover that first. And it’s a pretty simple trick: be sure your camera is level before taking your photos.
If your camera is tilted down too far, the vertical lines on the edges of the frame will lean in at the bottom (notice the windows in the video). If it is tilted up too far, then you will get the opposite effect and the vertical lines will lean in at the top. This creates a horrible end result. You can correct it in post processing software such as Lightroom, but this process crops the image and you want to maintain as much of the full frame as you can. Plus, as a rule of thumb, it’s always best to get as much right in camera as you can.
Keep it Level
More advanced cameras generally have a leveling guide in the interface (as shown in the video), but if yours doesn’t, you can use a tripod that has a level on it. If you don’t have that, then you’ll have to play with the camera position a bit until you get it right. Simply tilt the tripod head up and down until the lines are vertical and it looks right. I promise it gets easier with practice!
Once the camera is level, the distortion should be minimal to none and you’re halfway to getting a great image!
Bracketing for High Dynamic Range
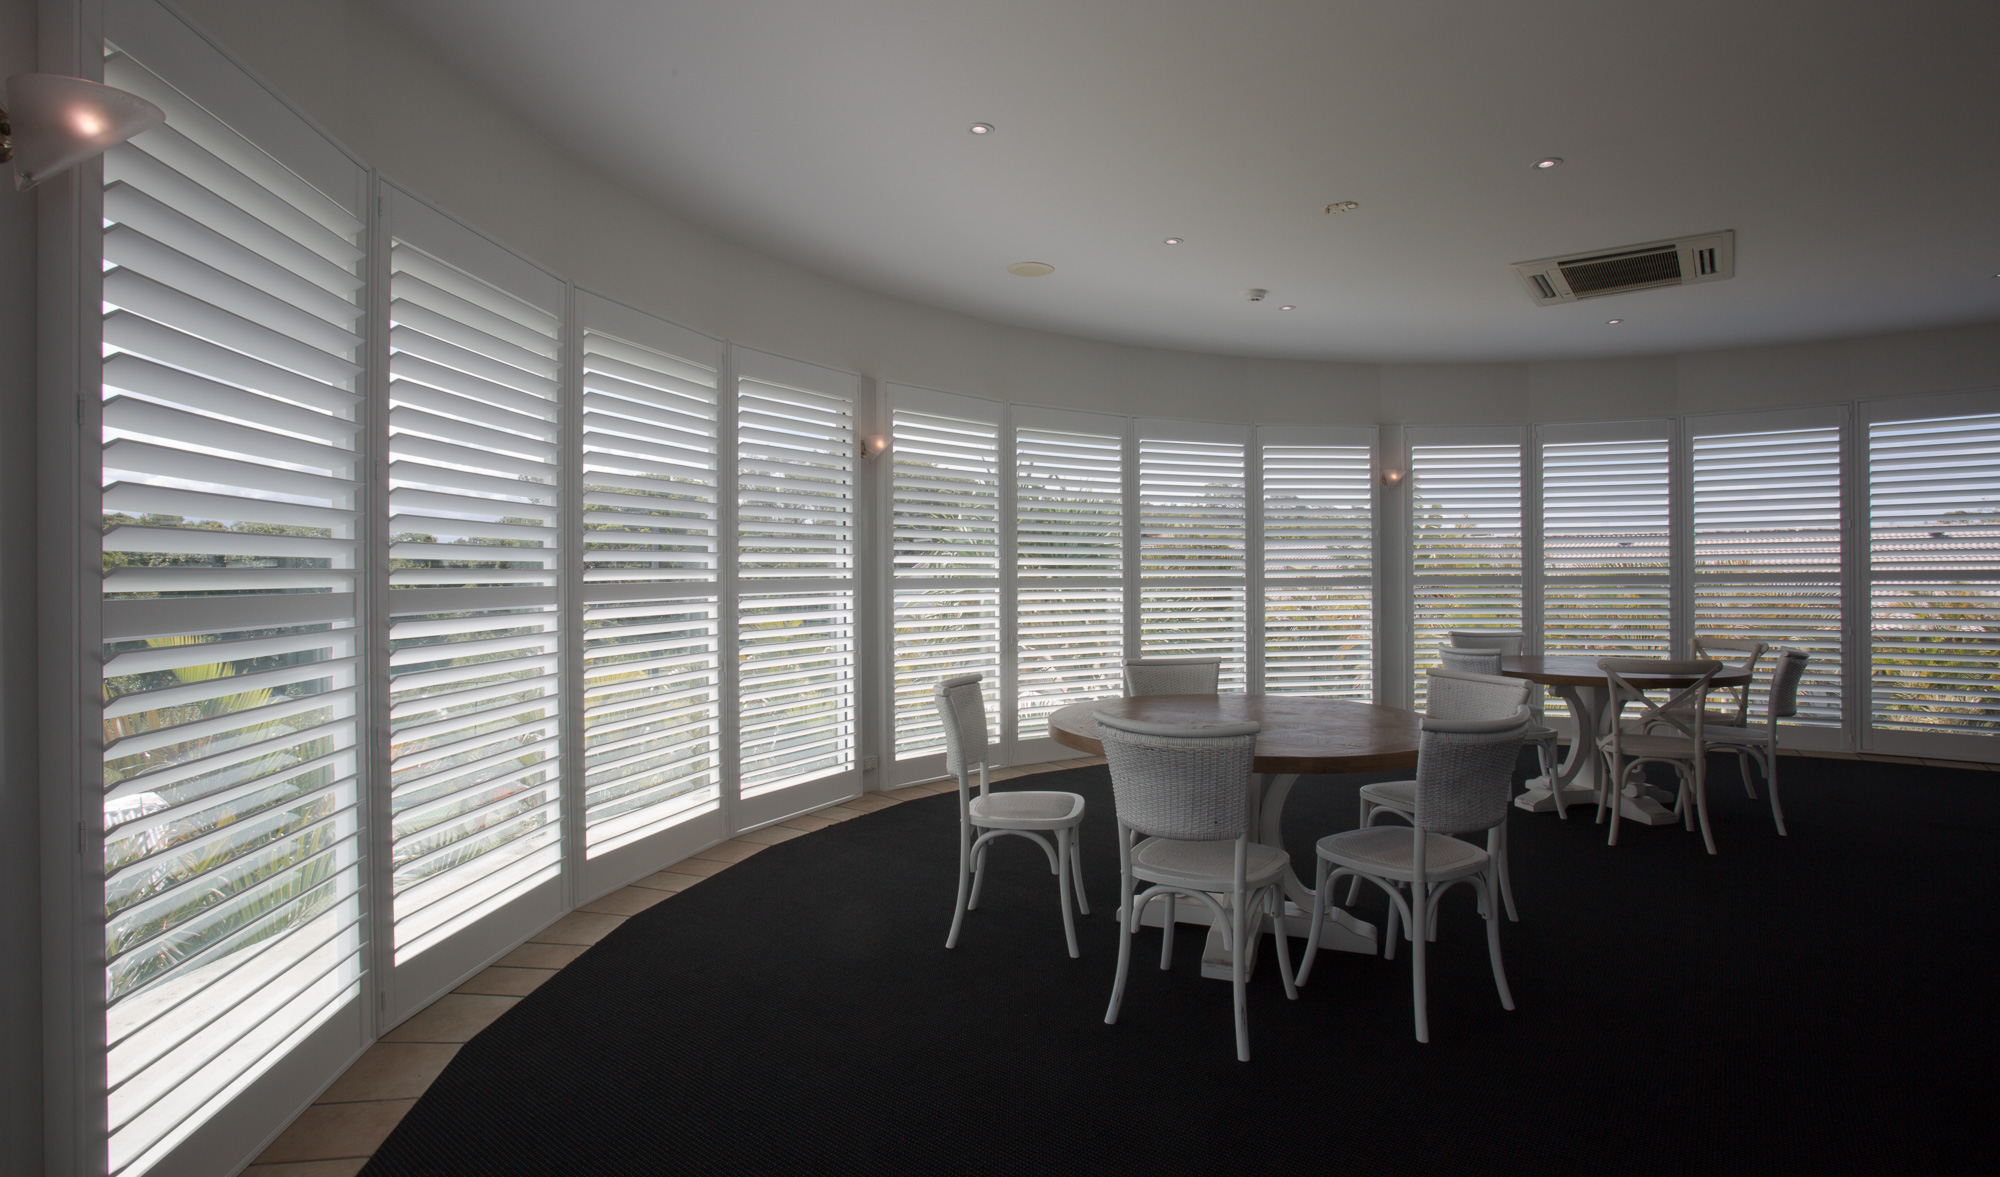
Because of the bright outside and dark inside, I needed to take several images at different exposures to create an image that had the look I needed to showcase the product – the gorgeous plantation blinds. Taking just one picture at the “proper” exposure gave me a terrible YUCK! Image as you can see here.
To compensate for this, I took 5 images at different exposures, which is called bracketing. To properly bracket your photos, you need to mount your camera on a tripod. I recommend using aperture priority so that your depth of field remains the same throughout all the images. This will come in handy when you blend the images in post processing.
Getting the Shots
For all five images, I set the camera on a tripod, set it to aperture priority at f/16 so I could get the entire image, from foreground to background, sharp, used a fixed ISO of 100 to minimize noise, and adjusted the exposure by one stop with each photo. Here are the settings I used for each of the photos in the bracket:
1st image – “proper” exposure:
 I let the camera determine the “correct” exposure and it used a shutter speed of 1/50th of a second
- This gave me very dark details on the inside although the outside was reasonable bright
- The overall image looked horrible and could definitely not be used on its own
- This is typical of the results you would get from a phone camera or a camera set to auto mode
2nd image – underexposed one stop:
- I manually adjusted the shutter to 1/100th of a second, making no other settings adjustments, and being careful to keep the camera position consistent from the first shot
- This made the inside even darker
- The outside had more details because it wasn’t as bright
3rd through 5th images – overexposed one to three stops:
- One stop overexposed: I manually adjusted the shutter to 1/25th of a second, again keeping everything else the same
- Two stops overexposed: I manually adjusted the shutter to 1/13th of a second
- Three stops overexposed: I manually adjusted the shutter to 1/6th of a second
- By three stops overexposed, you will noticed how long 1/6th of a second is for the shutter
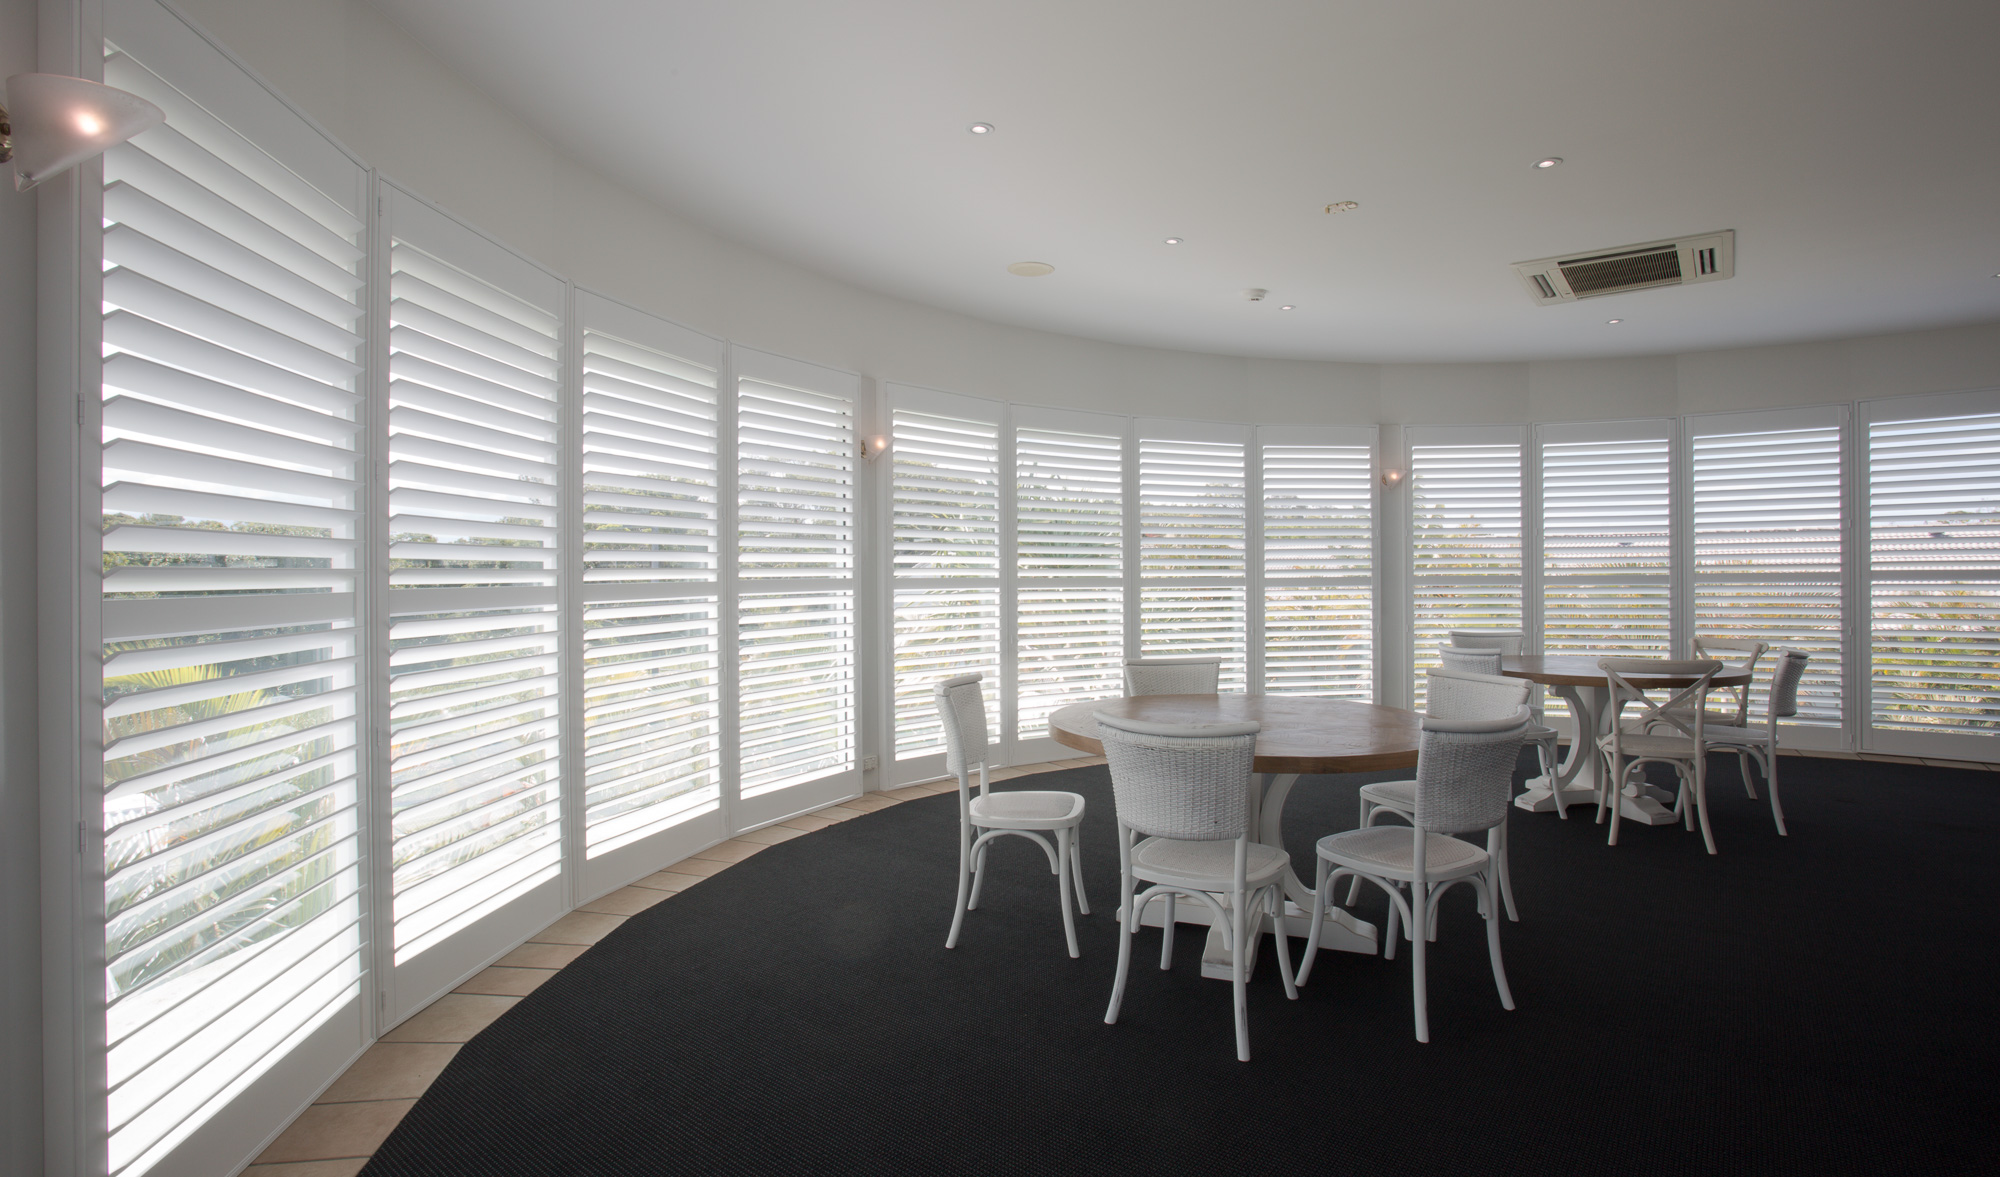
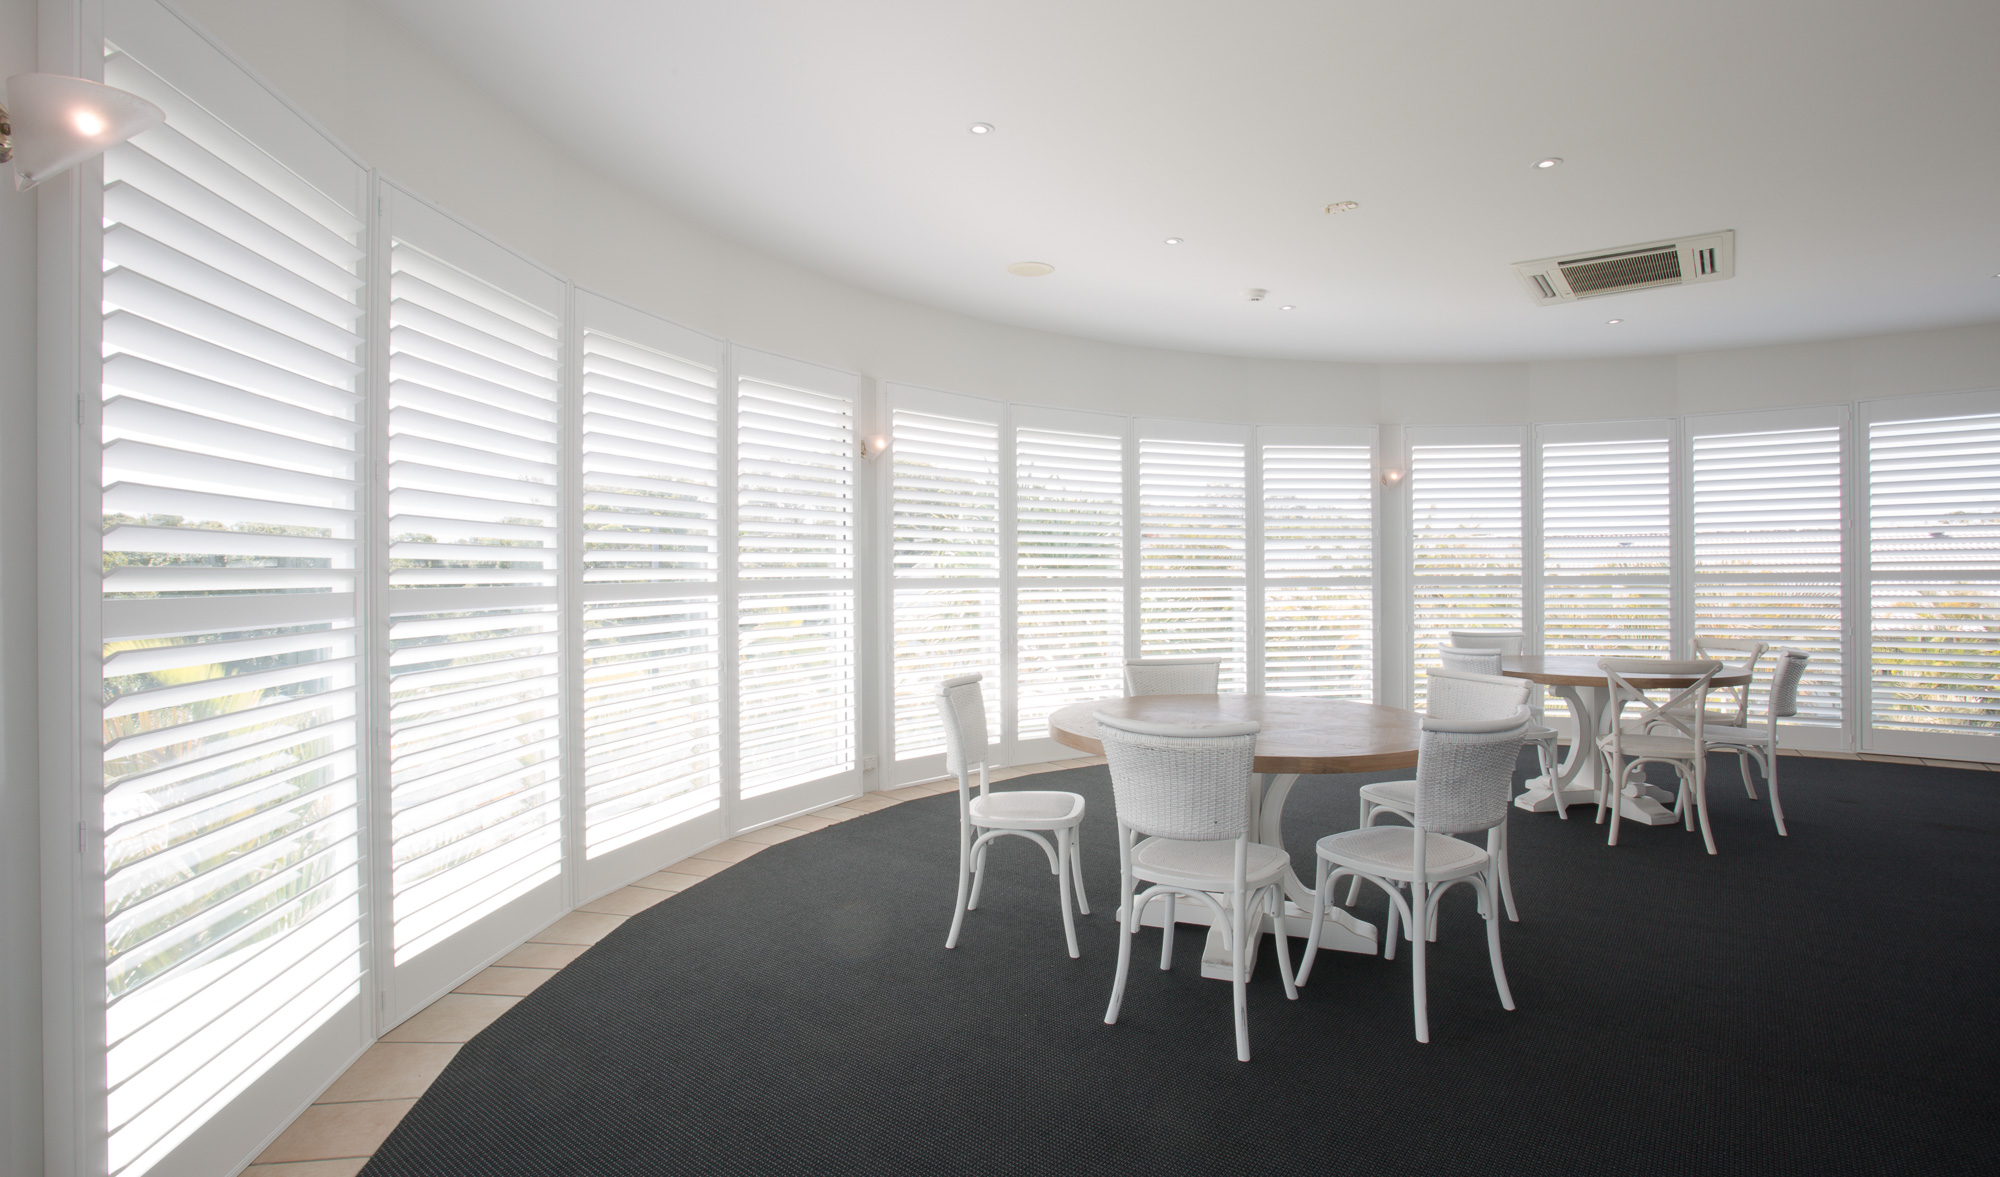
Finally, I imported all the images into Lightroom and blended them into a single HDR image which shows the shutters off nicely, captures the essence of the big room size, displays the furniture well, and even shows some of the details in the palm trees outside. It came out to be an amazing image!
The End Result
To get my final product images, I imported them all into Lightroom and blended them into a single HDR image which shows the shutters off nicely, captures the essence of the big room size, displays the furniture well, and even shows some of the details in the palm trees outside. With the addition of a couple close up pictures of the blinds, it all came together nicely to showcase the beautiful plantation shutters. Just look at the difference it makes!

FREE IMAGE EDITING COURSE
Learn to Edit an Image in Just 10 Days!
Summary
When shooting indoors in massive dynamic range conditions, it’s important to:
- Use a tripod to keep the frame consistent in each photo and eliminate motion blur
- Make sure your camera is level when using a wide angle lens to minimize the lens distortion
- Use aperture priority and a large depth of field to maintain focus from front to back
- Bracket your images using at least 3 stops: one “correctly” exposed, one underexposed and one overexposed. If you can take 5 images, that’s great and will add to the richness of the final picture
- Blend the images together into one using your favorite HDR process
As you saw, taking one single photo in this situation leads to pretty awful results. By taking just a few extra steps, you can get amazing pictures you’ll be proud of, and it is well worth the effort.
Related articles
Did you enjoy this article? You may be interested in these related articles, too:
- PP02 Mike Newton – Commercial Photography
How to make more than $2k/day with Mike Newton - First Commercial Photo Shoot
What Matthew Learned - What to Bring to a Commercial Shoot
Equipment needed for Commercial Shoot
Let me know what you guys think of this process. How will it help you in your own photography?