How to use your shutter speed in a scene with dark and bright light
You’ve been there, you walk into a gorgeous landscape or city scene and the light is amazing. The shadows are amazing. They are both incredible. The question is how can I shoot this?
What can I do to show my viewer the image I see? There are a few things you can do…
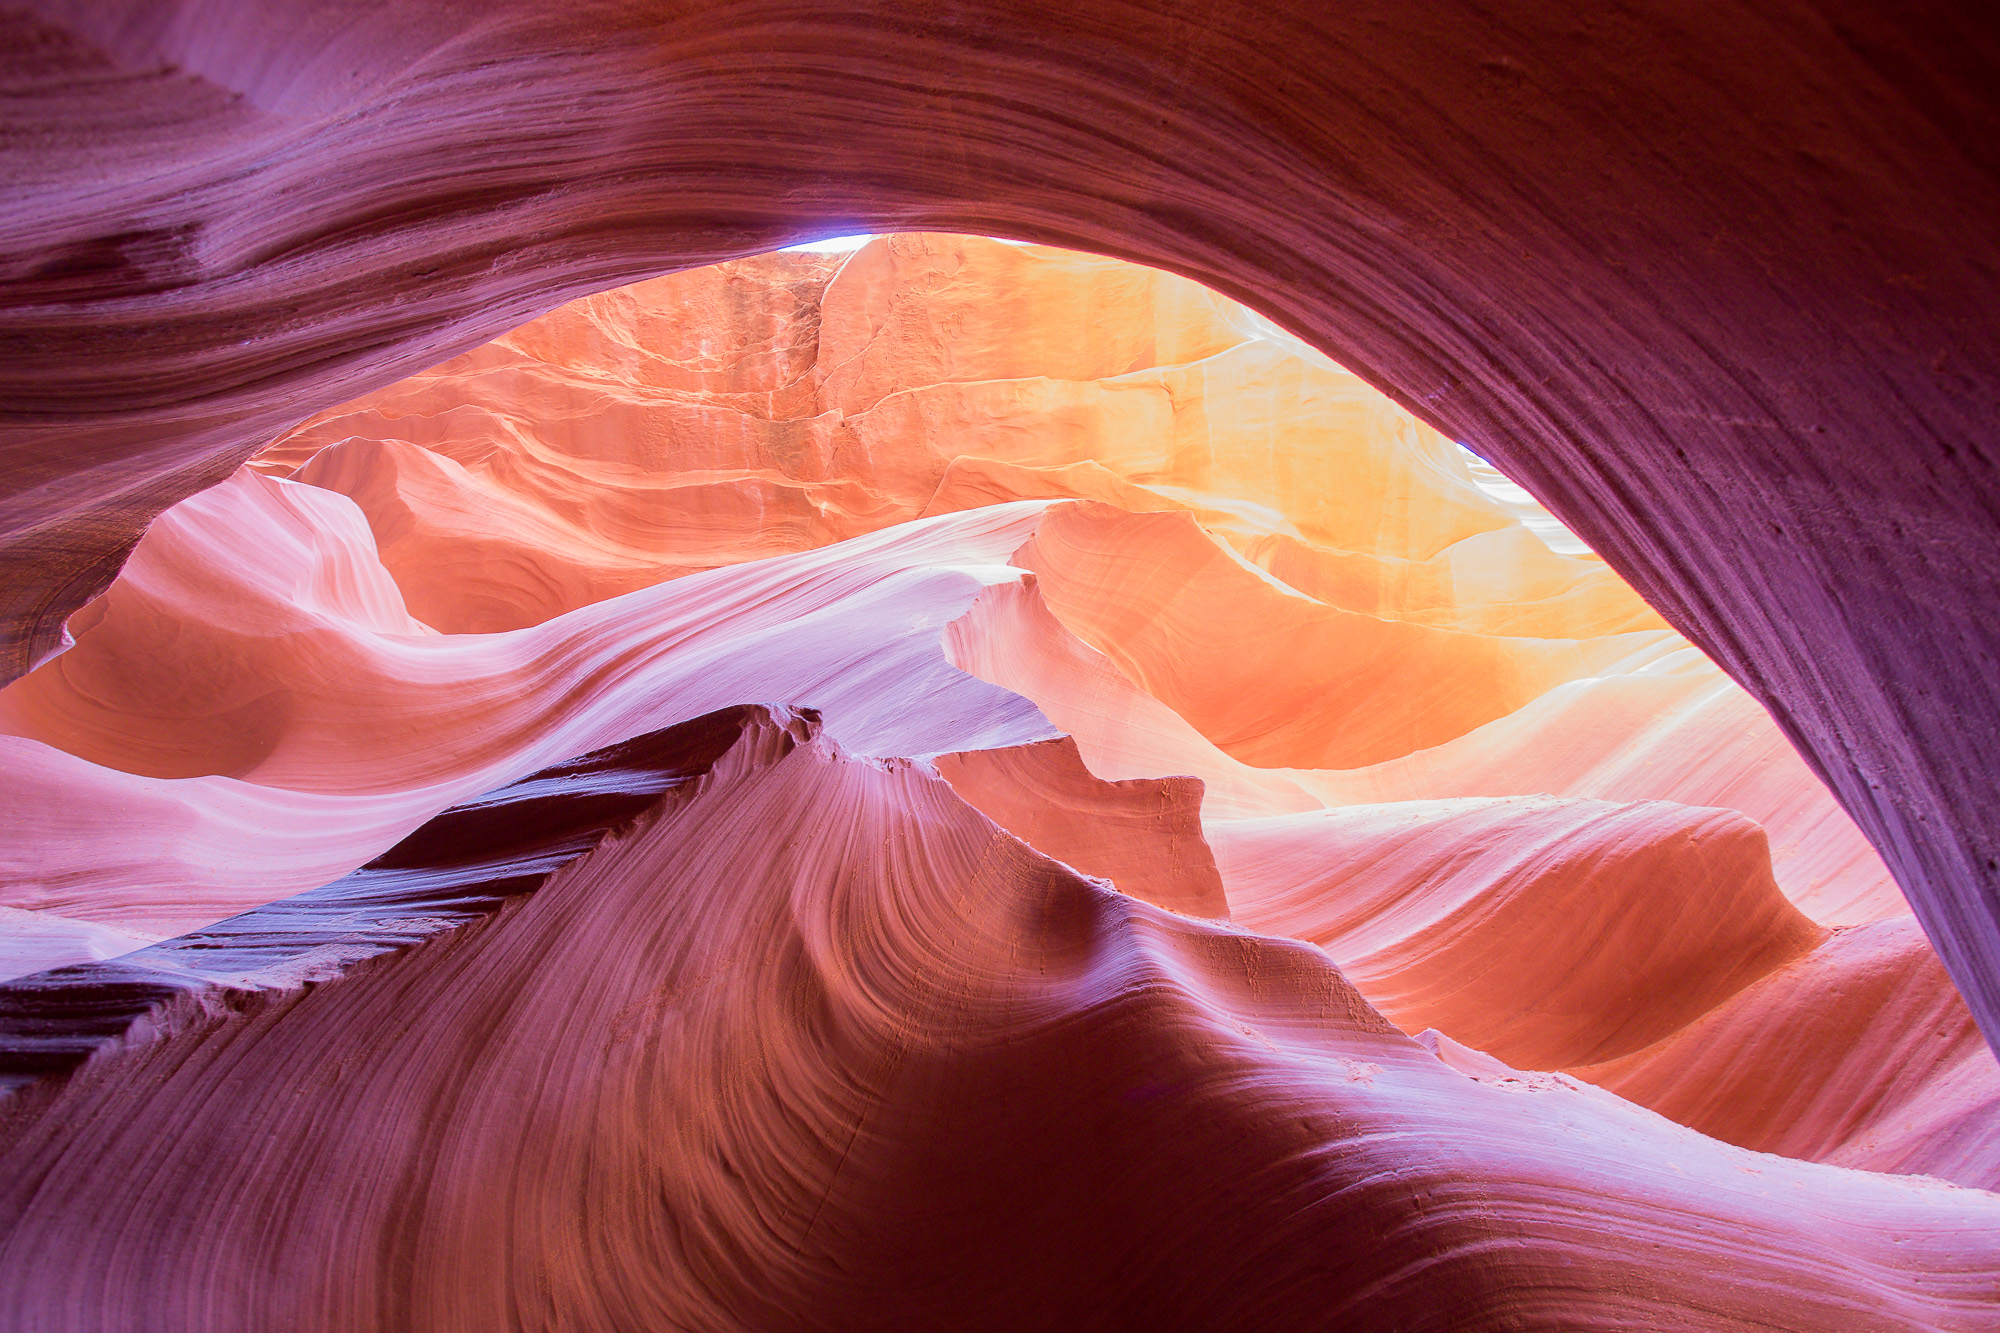
High contrast Antelope Canyon
When walking through Antelope Canyon in Arizona we were not allowed to take tripods so all images were hand held. This becomes a problem when shooting high contrast images like this one with very dark shadows and very bright highlights.
I used HDR (high dynamic range) photography – exposure bracketing my images and using a shutter speed that I could hand hold my camera without introducing camera shake and blurring my image. This image was taken at 1/5 sec on a 17mm wide angle lens using my body to stabilise my camera as much as I could. I also positioned myself so that the highlights were minimal. Checkout this article for more information on shutter speed in photography.
What can you do when you are trying to photograph a scene that has extreme light?
One way to overcome both bright and dark light in a scene is to take two photos. Expose one image for the highlights and the second image for the shadows (this is called High Dynamic Range (HDR) photography). Then in post-processing combine them together and blend them so you get the overall scene exposed properly. Take the two shots method a step further and shoot 3-5 images at different shutter speeds. Expose for the extreme lights and darks and a few stops in between. Then combine these 3-5 images together using your post-processing. This pulls in the best exposure from each image and combines them to create one image that shows the entire range of light.
Using the HDR – High Dynamic Range method will help even out the brights and darks. You can also use spot metering to determine the exposure of a scene’s ‘middle ground’. This gives the highlights in the scene less weight. Scenes with high contrast aren’t always read properly by your camera and this is how you end up with overexposed images. Center your exposure point in an area of light that is mid-tone, not too bright and not too dark. Then expose for that. By using spot metering you can choose the spot or area in the scene that you want to expose for.
Another option is to change your composition. Move around and frame the shot so that there is less bright space or less dark space depending on what your subject is. Sometimes just small steps to the right or left will help alleviate the bright light that will overexpose your shot. Move behind a tree or other object that will block the direct light from your lens. You can’t always control how much light is or isn’t there but you can control the direction it comes from or the amount of light coming in by placing yourself in different positions.
High contrast scenes can certainly be a challenge. By controlling your shutter speed and other settings you’ll be able to pull out just what you want from a scene. If you still struggle with these types of situations, there is always the option to get all artistic and creative as well and embrace the contrast.
The Ultimate Guide to Shutter Speed in Photography

Summary
- Expose one image for the highlights and the second image for the shadows.
- You can also use spot metering to determine the exposure of a scene’s ‘middle ground’.
- Move around and frame the shot so that there is less bright space or less dark space depending on what your subject is.
- Controlling your shutter speed and other settings you’ll be able to pull out just what you want from a scene.
Related Articles
Did you enjoy this article? Check out these related articles, too:
- The Ultimate Guide to Shutter Speed in Photography
Shutter Speed and Photography: Everything You’ve Ever Wanted to Know - Rules For Shutter Speeds
Typical rules for using shutter speeds in photography - Shutter Speed Mistakes And How To Avoid Them
How to avoid common shutter speed mistakes in your photography
Do This Now
Please leave me a comment below – I’d love to know what you think. Brent

