Tips on how to capture Halloween images that showcase the costumes while telling the real story of all the fun you had
Halloween is such a great time of year with laughter and BOO’s, ooh’s and ahhh’s, shrieks and screams, and all the “tricks” and “treats” that this holiday brings.
DING DONG! TRICK OR TREAT!
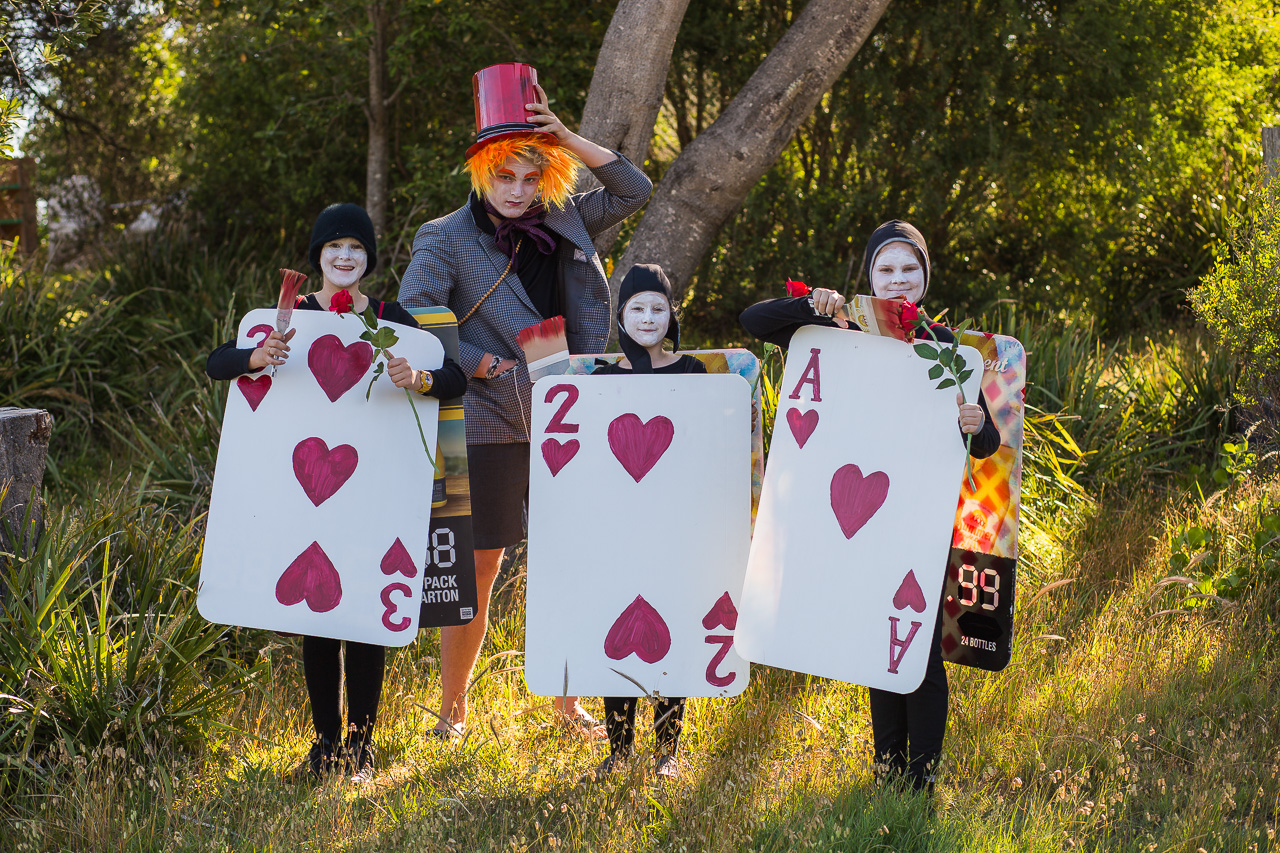
It’s sure a fun time, isn’t it? Capturing these magical moments, however, can be a bit of a challenge. As tempting as it is to have the kids line up and pose to show off their costumes, this doesn’t necessarily tell the whole story. The pictures can end up feeling plain and lacking in that something special you were hoping for. Not only that, lighting can be a bit tricky with the end of day shadows and light.
Remember, Halloween isn’t just about the costumes. It’s really about the fun times, the laughter and the memories. I think we can all agree that what we really want with our Halloween pictures is to showcase the costumes in the context of all the fun. We want to capture memories, not just pictures of costumes. Watch as I show you just how to do that.
Watch this video:
In this episode:
(01:10) – How I capture the image
(07:22) – How I post process the image
(09:55) – Graduated filter – The bottom half of the image
(13:20) – Graduated filter – The top half of the image

How I captured these images:
- I chose to backlight everyone to keep the sun out of their eyes
- I challenged myself to use my 85mm fixed lens – “zooming” with my feet
- I used an aperture of f/2.5 for a shallow depth of field for that nicely blurred background
- The kids ran out of the street and I noticed how much better the photo was
- I had them all reenact the running away while I took more photos
- The resulting images were interesting, rather than boring, because of all the movement and facial expressions I was able to capture
How I post processed this image:
- I started with my secret “Brent’s Starting Preset” which I use for all my images
- I will be releasing the preset soon, so keep an eye out for it!
- I changed the white balance to shade to warm up the kids for added impact
- Next I cropped the image to remove the roofs off the houses to remove distraction
- The rest of the settings were set with the preset
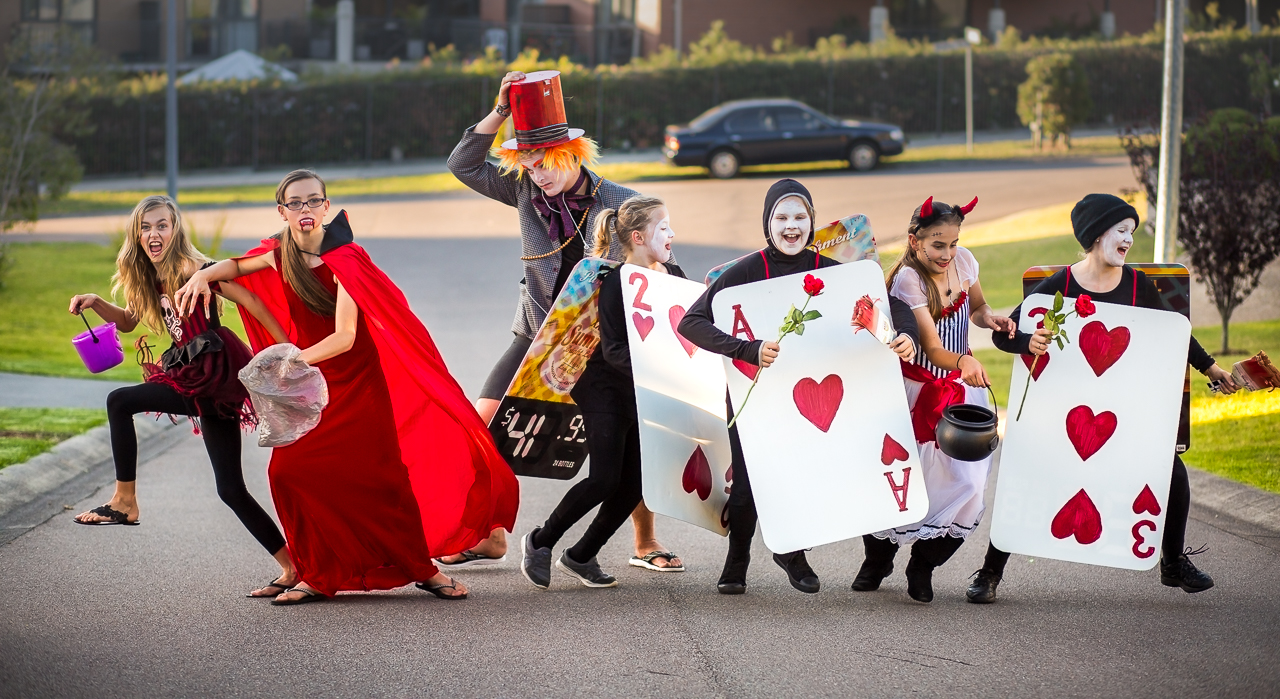
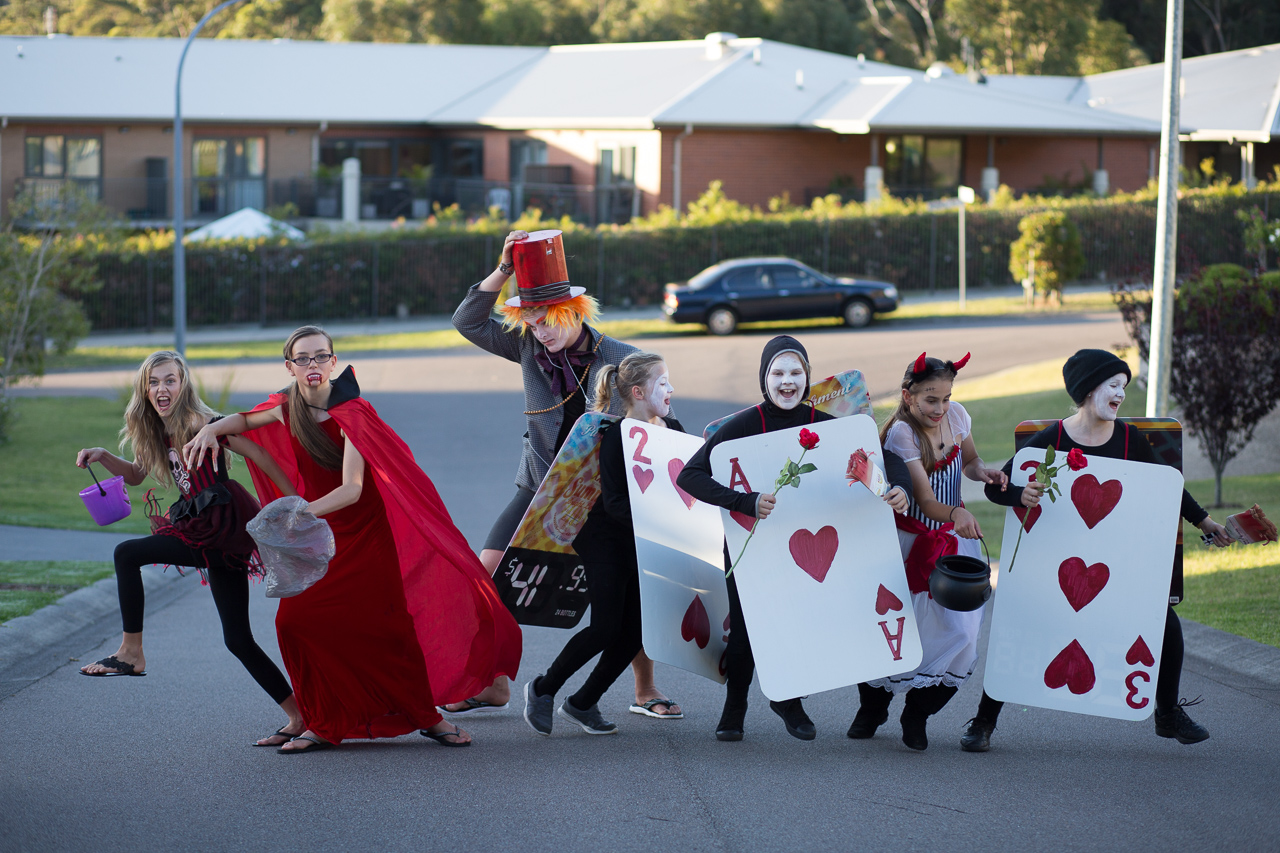
Making the image POP:
BELOW: Left image is straight off the camera – right images is processed!
See the difference?
Graduated filter – The bottom of the image:
- Added a graduated filter from bottom to 2/3rds up
- Warmed up the temperature to offset the coolness of the shade
- Increased the exposure and contrast
- Increased the whites a little and darken the blacks a bit
- Increased the saturation to draw the eye to the reds
- Increased the sharpness a bit
Graduated filter – The top half of the image:
- Graduated filter using a slight angle from left to right
- Cooled the temperature to reduce the warmth of the sun
- Under exposed it to minimize emphasis on the lightest area of the photo
- Decreased contrast
- Decreased highlights
- Increased blacks to make the area less noticeable
- Decreased clarity
- Decreased saturation
FREE IMAGE EDITING COURSE
Learn to Edit an Image in Just 10 Days!
Summing it up:
What I’ve done is used two graduated filters, one at the bottom and another at the top, to distinguish the foreground from the background. My goal was to draw attention to the foreground with the kids in it while reducing the emphasis on the distractions in the background.
I’m encouraging the viewer to pay attention to the most important part of the image, the part that tells the story. In this case, that’s the foreground and all the kids!
Remember, do the best you can with the tools you have available to you at the time. You can make huge adjustments in Lightroom to compensate for less than ideal conditions, as I’ve shown you in this image.
I hope you enjoyed seeing how seemingly small changes such as movement and action can make a photo come alive. And how some simple post processing can really make it stand out.
Related Articles
Did you enjoy this article? You may be interested in these related articles too:
- Storytelling Through Photography – a Case Study Using a single camera & lens to tell an artistic story of our weekend getaway.
- Model Kick, Exposure, and White Balance…Oh My! How to correct exposure and white balance in an image with both bright highlights and heavy shade.
- Bringing Splendor Back – A Horse at Dawn: Lightroom Edit Taking an Image from Dull to WOW Using Just the Basic Panel and Graduated Filters in Lightroom.
Your Feedback Wanted:
What did you learn from today’s lesson?
Leave me a comment below! I’d love to hear from you!