I want to
make
money from
my
photography
I want to
learn to take
stunning
Portrait
image
I want to
learn to take
amazing
Landscape
pictures
In this tutorial, I run through an excellent guide to converting your images to black and white by Kent DuFault. In addition to following his tips, I’m going to show you a couple of extra tricks to quickly convert your images to stunning black and white photos.
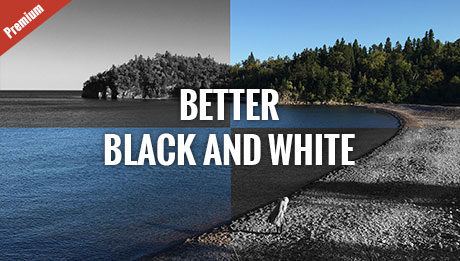
Better Black and White Guide
 Discover how to produce your own dynamic and share-worthy black and white images without spending money on fancy plugins or presets.
Without a doubt, this is what all photographers need to know about black and white photography.
For a limited time you can get a copy of this best-selling black and white guide at 70% off.
Watch this video
In this episode:
(01:30) – 2 Different methods to edit and convert images to black & white
(02:03) – 1st method – landscape
(04:56) – 2nd method – landscape
(06:30) – Portrait image black & white conversion
Click on images to view them LARGE!
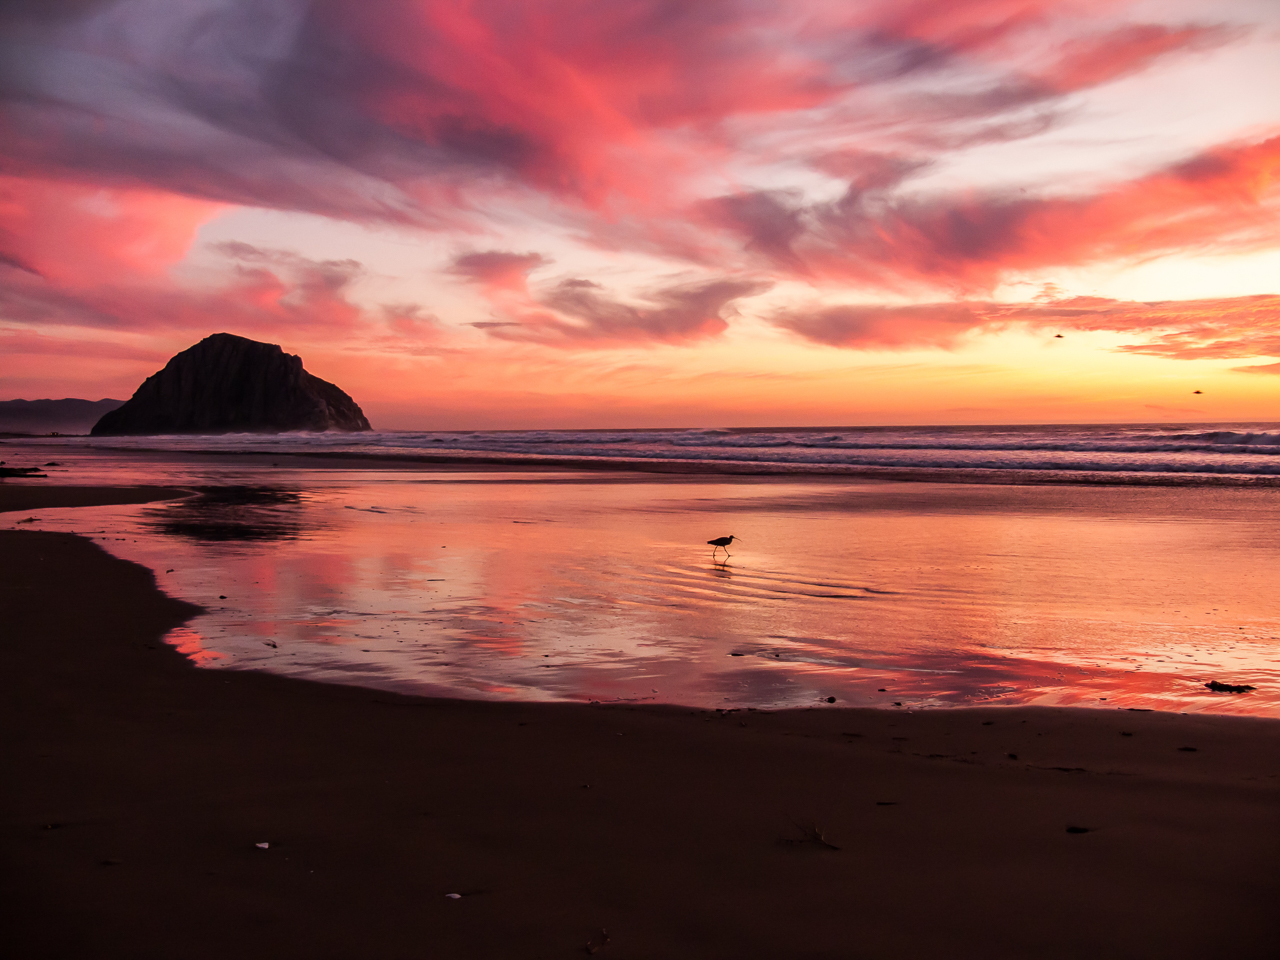
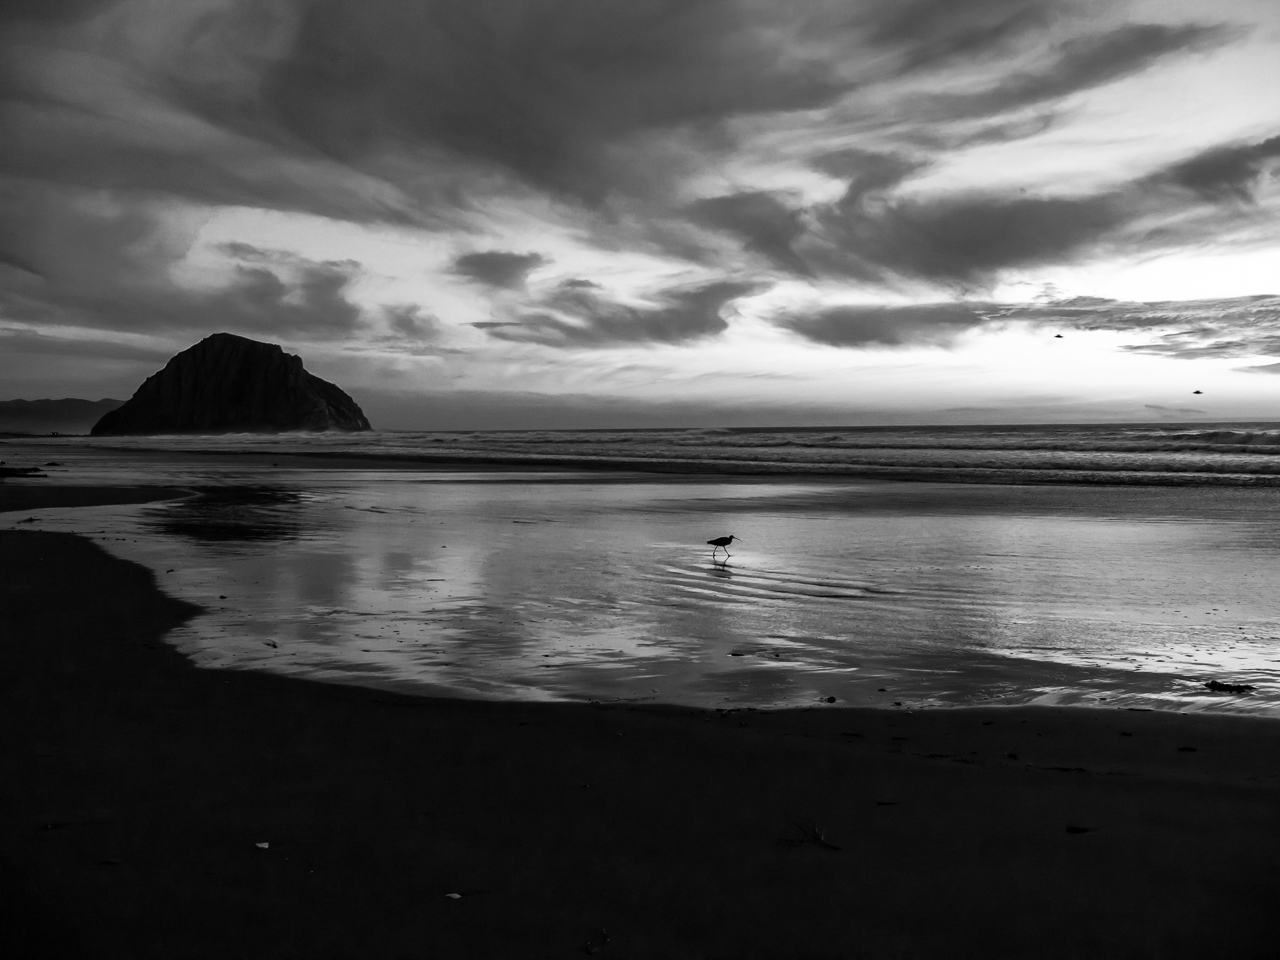
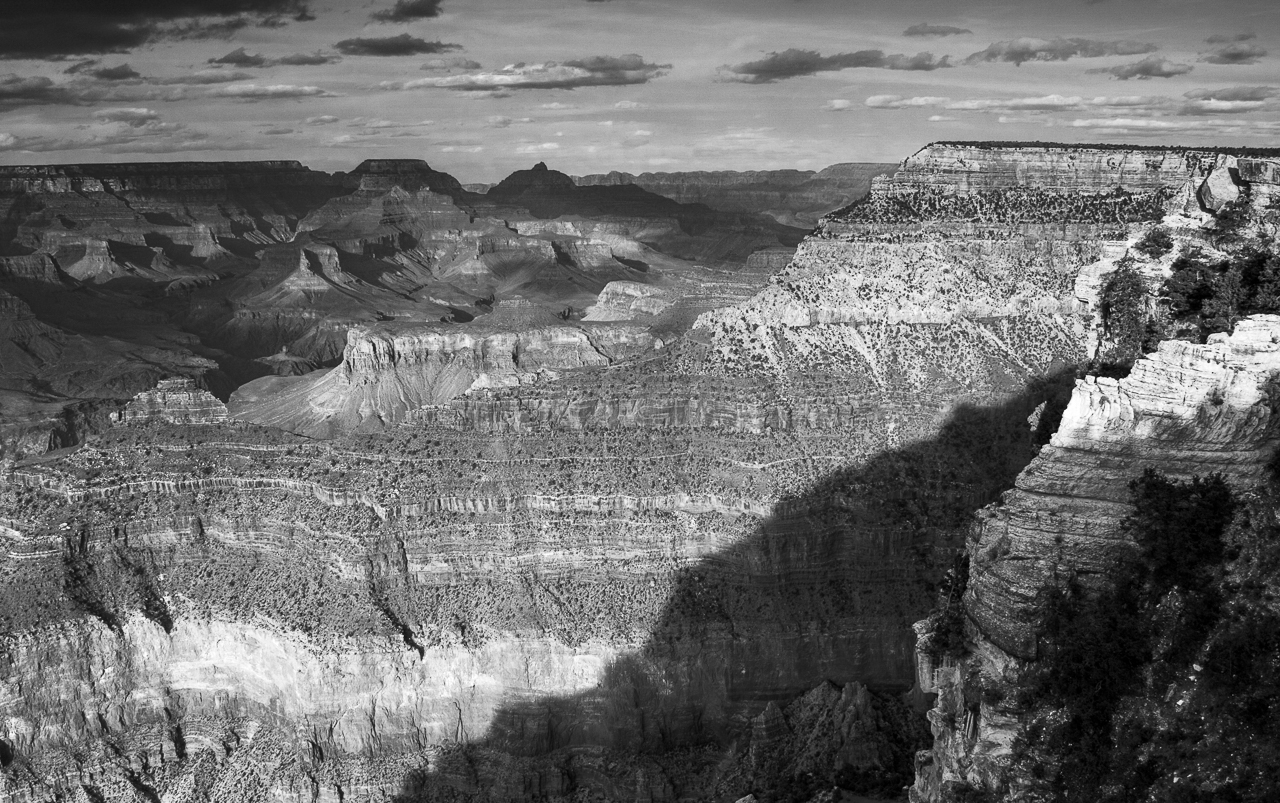
Here are the original colour images, that I convert to B/W using lightroom.

What you will learn in this lesson:
There are 2 different methods to edit and convert images to black & white in LR that I learned from this guide:
Using the B&W tab in Lightroom to develop your images:
In the develop module in Lightroom do the following:
- Under black & white tab
- Color mix – change different colors
- Click on the target
- Click on any part of the image
- Click and drag mouse up or down
- Make certain areas darker or lighter easier
Pretty cool – click on these images to see them large.
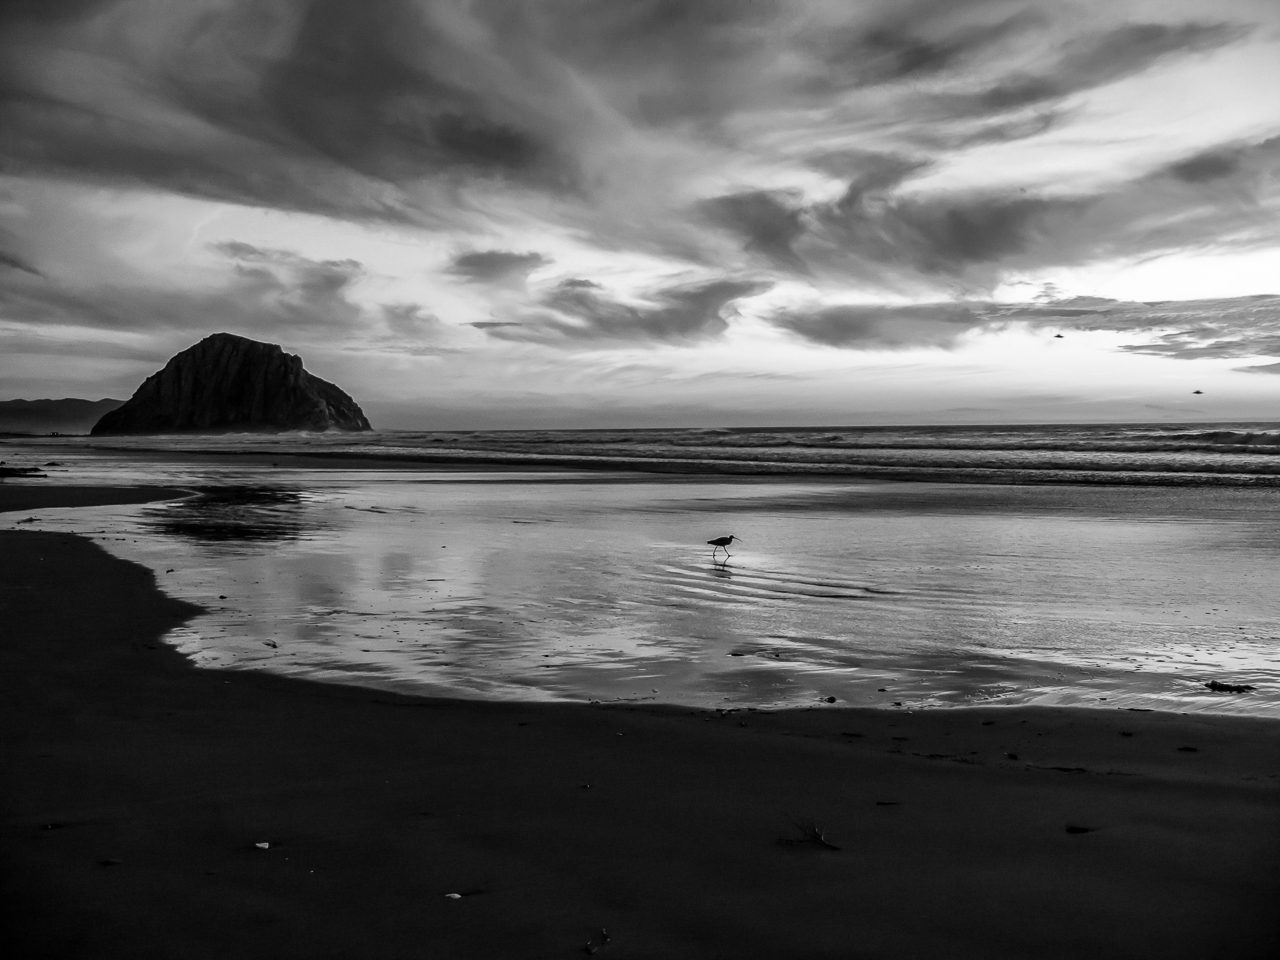
This next image uses the 2nd method (luminosity) to convert to B/W. See the difference?
Using Luminosity to develop your images:
- Change the luminosity sliders
- Click on the target
- Click on any part of the image
- Click and drag mouse up or down
- Make the background mountains or foreground mountain darker or lighter

This next image uses the 2nd method (luminosity) to convert to B/W, as explained above. Look at the mountain in the foreground. What a difference!
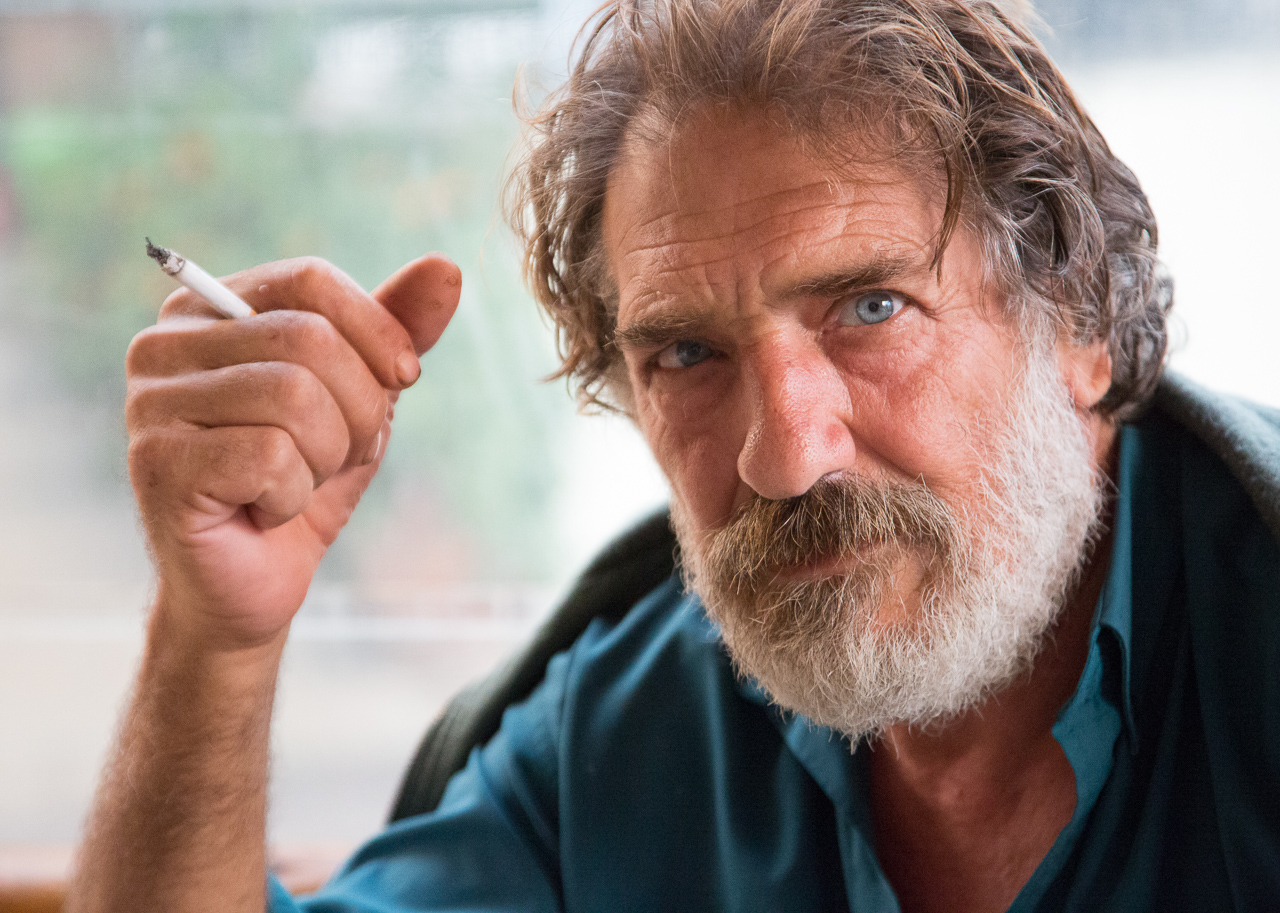
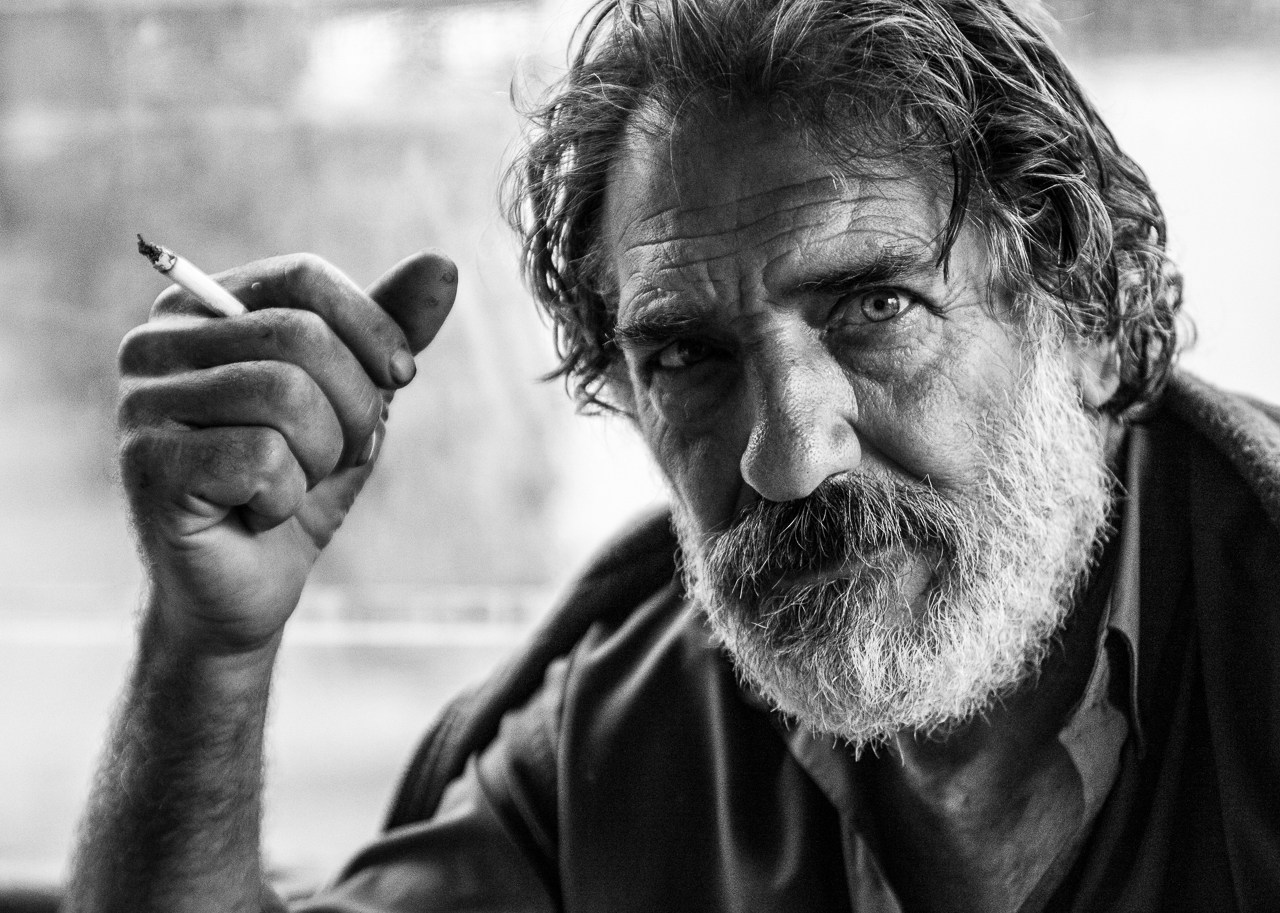
Create captivating portraits:
See the difference on 1st method and 2nd methods in this portrait of a man from Greece. Have a look at his skin tones.
I used the 2nd method to develop this portrait image.
In the develop module in Lightroom do the following:
- Using the luminosity sliders
- Click on the target & darken and lighten areas.
- Bonis control over the vibrancy
- Extra control over the saturation sliders
- See the changes the mid tones on the histogram
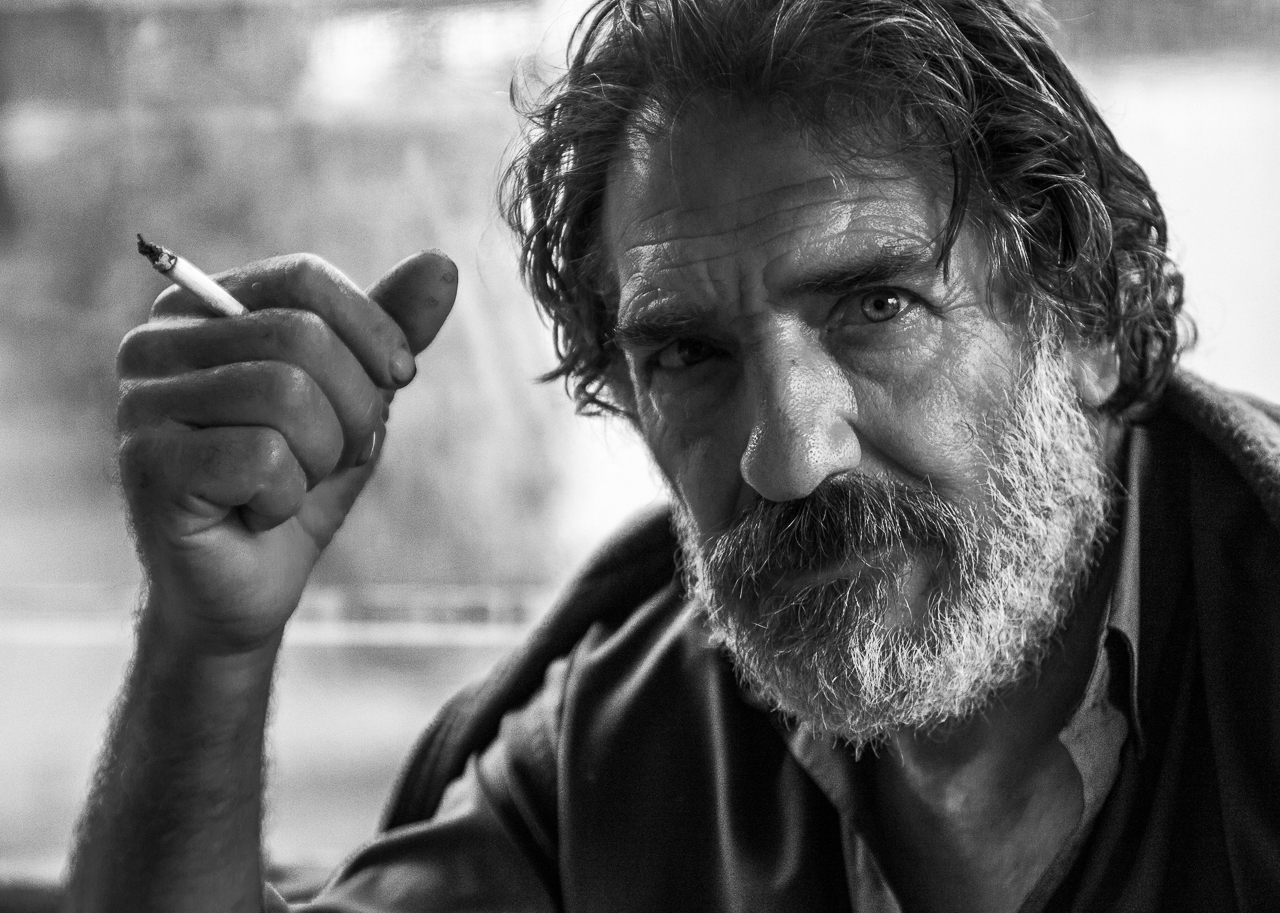
Wow, can you see how much control you get by using these 2 methods of converting images to B/W in lightroom.
Summing it all up:
You don’t need complicated and expensive plugins or presets to create stunning, high quality black and white images. You can use the native features found in Lightroom to create them! It takes a little practice and some experimentation to get the look that you want, and that’s part of the fun of these techniques. I’ve shown you some basics that will get you started.
With the 3 examples above, which method do you prefer? Leave me comments below.
Cheers, Brent
P.S. Get your copy of Better Black and White guide now, while it’s on special: Click Here
A complete step by step guide to beautiful B&W conversions from best-selling photography teacher, Kent DuFault.