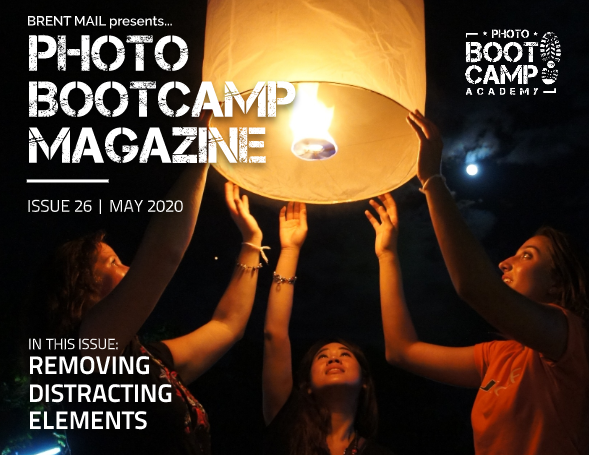
Learn how to remove distracting elements from your photos.
Why it’s important to remove distracting elements from your images?
When creating an image, we are telling a story. In order to tell that story in a clear, non-confusing way we want to eliminate anything that is extra. Anything that doesn’t contribute to our story should be removed so our story and our image are clean and the main character, the main focal point is right where our viewer goes.
How to determine if an element in a photo is distracting
Where does your eye go first when you look at the image? Is it to your main character? Is there something else in the frame that catches your attention first? If something in your frame catches your eye before you look at the main subject, it’s a distraction. If there are elements of your image that take away from or do not contribute to the story you’re trying to tell, they are distractions.


How to remove distracting elements from your photos while you are photographing?
Choosing a shallow depth of field helps remove or blur out the background elements that might be distracting. If you’re using a zoom lens, change the focal length to eliminate anything that may be distracting, zoom in or out until you find the composition that works best. Use your feet and body to move around and see how that affects the background of your subject. Shoot from the position that best removes any distracting elements from your shot. The more aware you are of these things while you are creating the images, the less time you’ll have to spend in post-processing.
Removing distracting elements using Adobe Lightroom
In Adobe Lightroom, once in the develop module you can use the spot removal tool and either clone or heal the area selected. Experiment with the size of your brush, feathering and opacity to see what works the best. You can use cropping to remove elements that are near edges in order to remove them (in any post-processing software.)
Removing distracting elements from your photos using Adobe Photoshop
There are several ways to use Photoshop to clean up your images. One way is to use the Marquee tool to select the area that contains the distraction. Then use content-aware fill and Photoshop AI automatically chooses how to replace that area to match colors and shapes in your image. Another option in Photoshop is to use the Clone tool to grab information from another part of the image and clone it into the area where the distracting element is. You’ll most likely have to tweak the results a bit. Two more options in Photoshop are the Spot healing brush and the Patch tool. With the Spot healing brush you just paint over the area you want to remove and Photoshop automatically fills in that area with what it thinks are the best replacement pixels. Again, you’ll likely have to tweak it a bit to get it to look the best. Using the Patch tool is just one more way to help us remove items we don’t want. Taking the Patch tool, draw around the area you want to fix, drag that selection to another, similar area in your image and it basically copies that into your selection.
Photo BootCamp Magazine
On the following pages, let’s have a look at how our BootCamp members have created by removing the distracting elements in their images and see if their image tells us a story.
And be sure to check out how you can join BootCamp at the end of the magazine!
(Larger file for desktop or iPad).
Alternatively if you have a slower connection you can view this magazine Here on ISSUU.
Below is a small sample of what’s in this magazine…
FOCUS ON HOPE: 30 day FREE trial
STUCK AT HOME? Now’s the time to UP your photography skills
and join our friendly online photo community
Improve Your Photography From Home
Photo BootCamp Academy is an online community where more than 200 photographers gather to take their photography to new levels of enjoyment and progress.
- Discover exciting new skills
- Rekindle your passion for taking photos
- Improve fast with helpful feedback
- Experience enjoyment and progress
Inside BootCamp Magazine
Featured Artist
Let’s take a look at this month’s magazine. Here’s our featured artist of the month, Peter Brody, from the United States of America.
For his featured image, he was walking on a beach in York, Maine and came across all the rock statues. There were so many. It was so peaceful. You could feel their energy. Peter especially liked the one in the middle. It resembled a dog, sitting at attention, looking out to sea. He cropped out the two other statues, putting the dog’s head along the rule of thirds line.
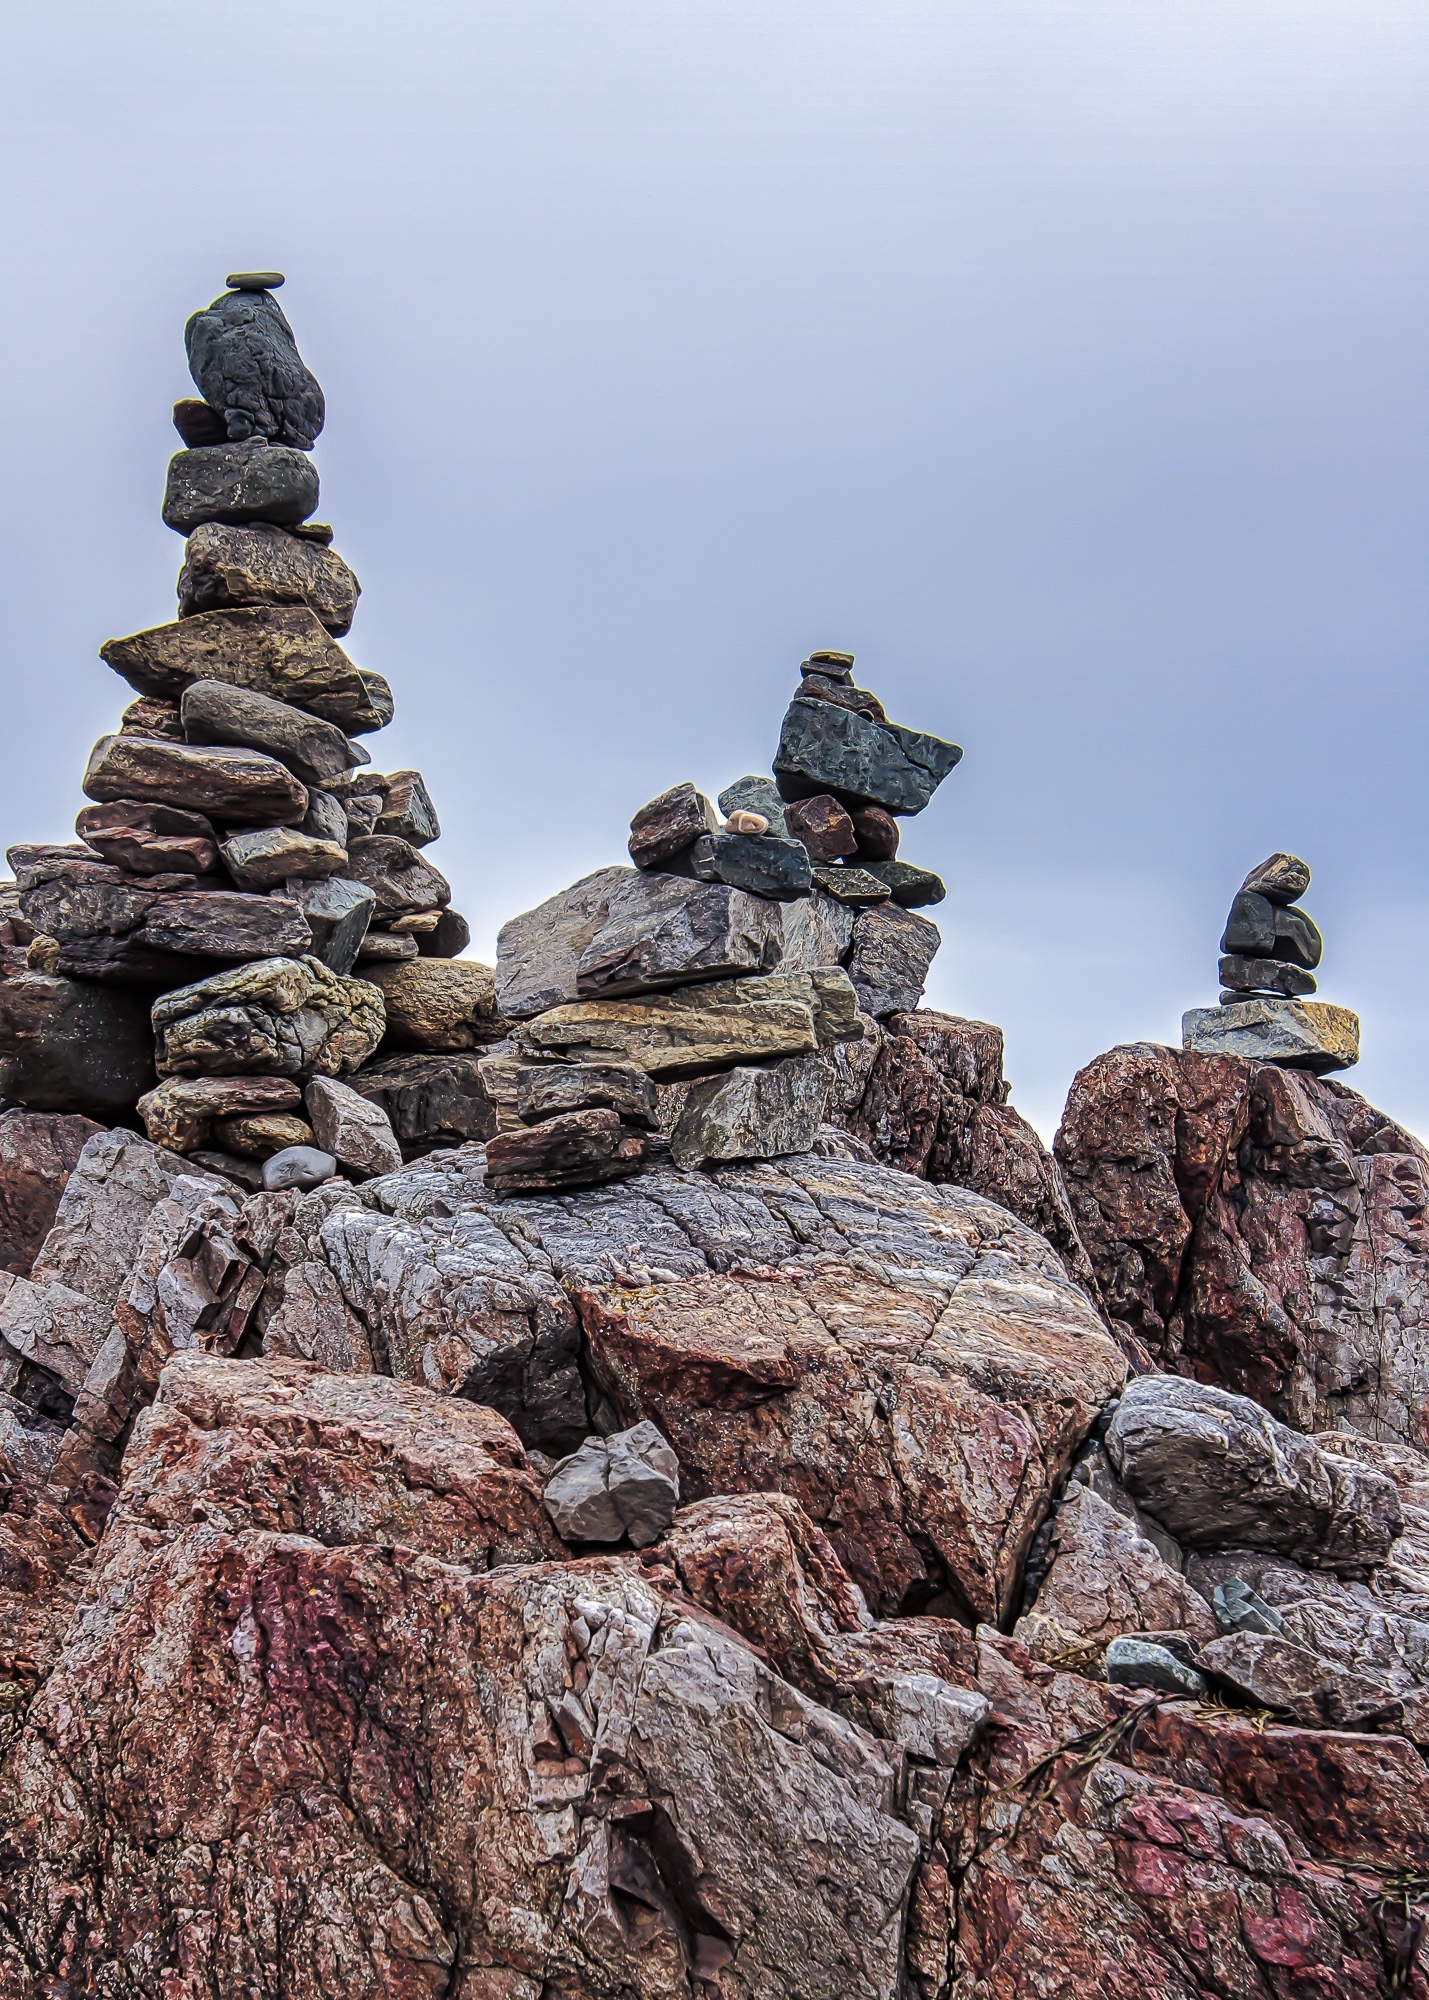
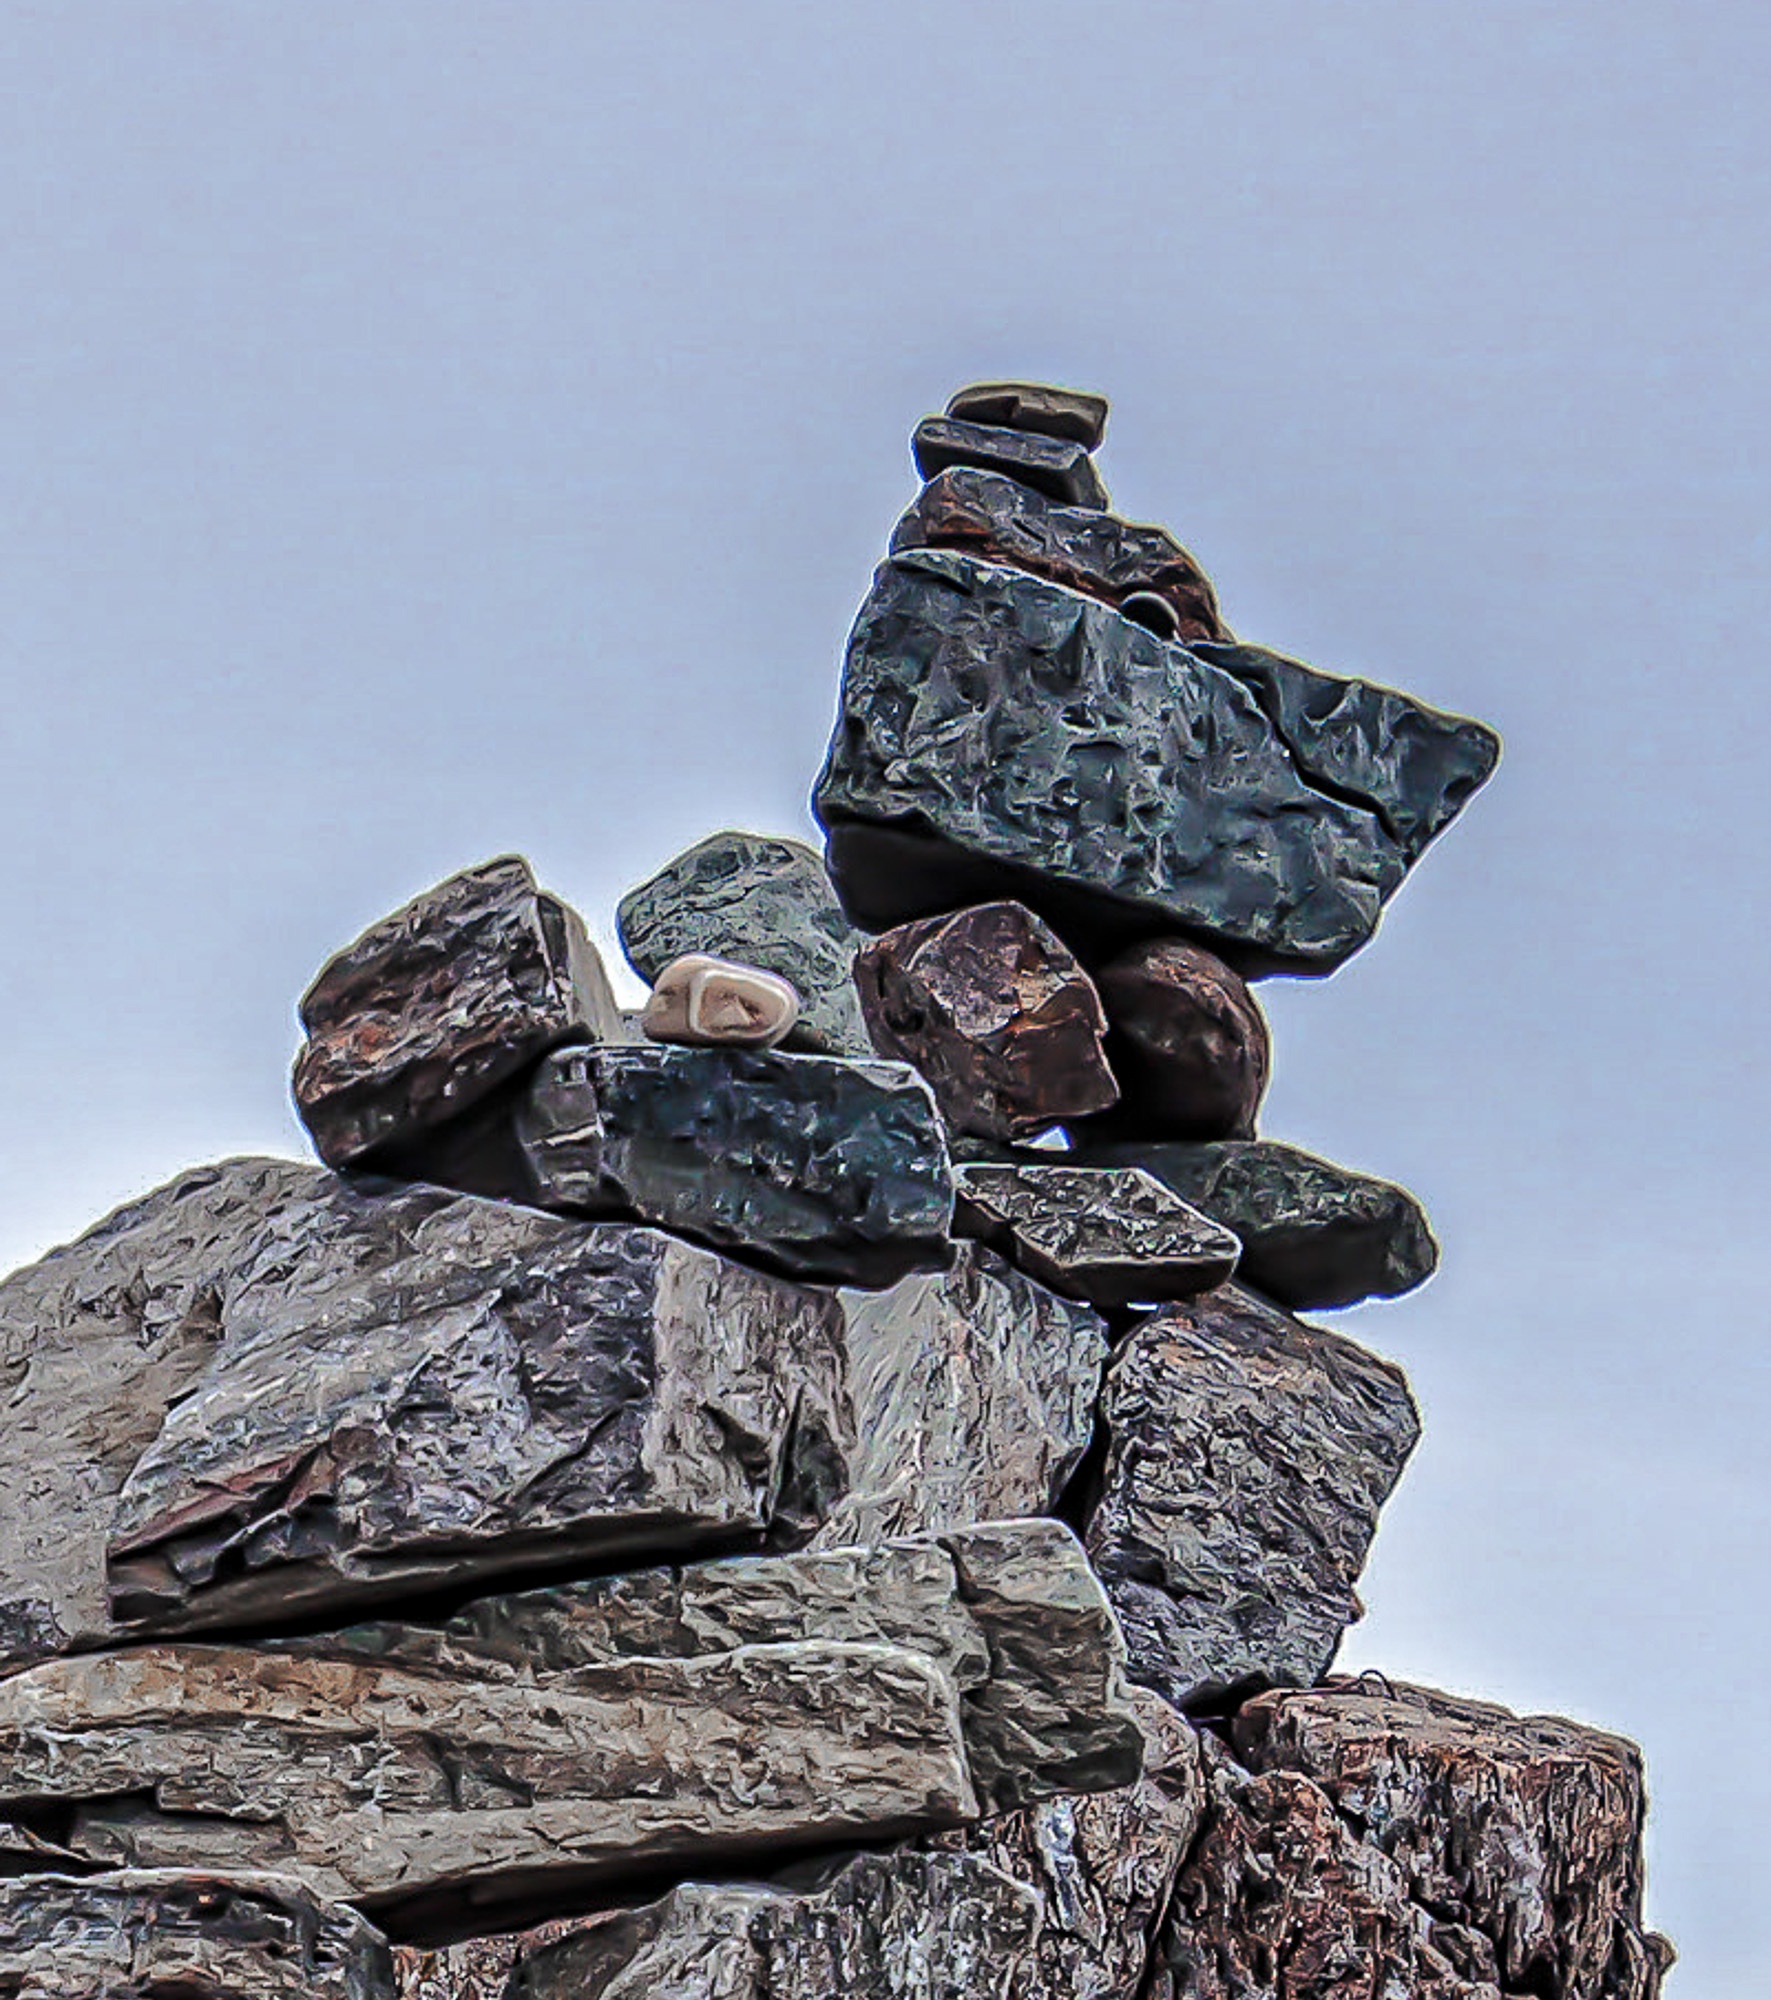
Comment: Ruth Lopez – “Great job at cropping to help hone in on such an interesting subject. Without the other distractions, the dog’s features as well as the various colors in the rock pop against the neutral sky.”
Cover Image
This month’s featured magazine cover image was taken by Ruth Lopez from the USA.
This month’s challenge of removing distractions is so relevant given what’s happening now. But Ruth focuses on hope and the positive changes that are coming about. Along those lines, her first entry is from a special period in her life just after she left her corporate job of seven years, with no plans except to spend some time doing the things she loved – volunteering being one and figure the rest out later. While volunteering in Chiang Mai, Thailand, Ruth was surprised to learn the volunteer team had been invited to a ceremony for a world-famous festival, Yi Peng, at the Mae Jo University. There were approximately 10,000 people from around the world in that space, and she was in awe of how everyone moved so peacefully about. They wrote wishes of peace, hope, and love for the world on lanterns and released them into the sky. At one point she noticed the full moon had crept out from behind the clouds and snapped this shot.
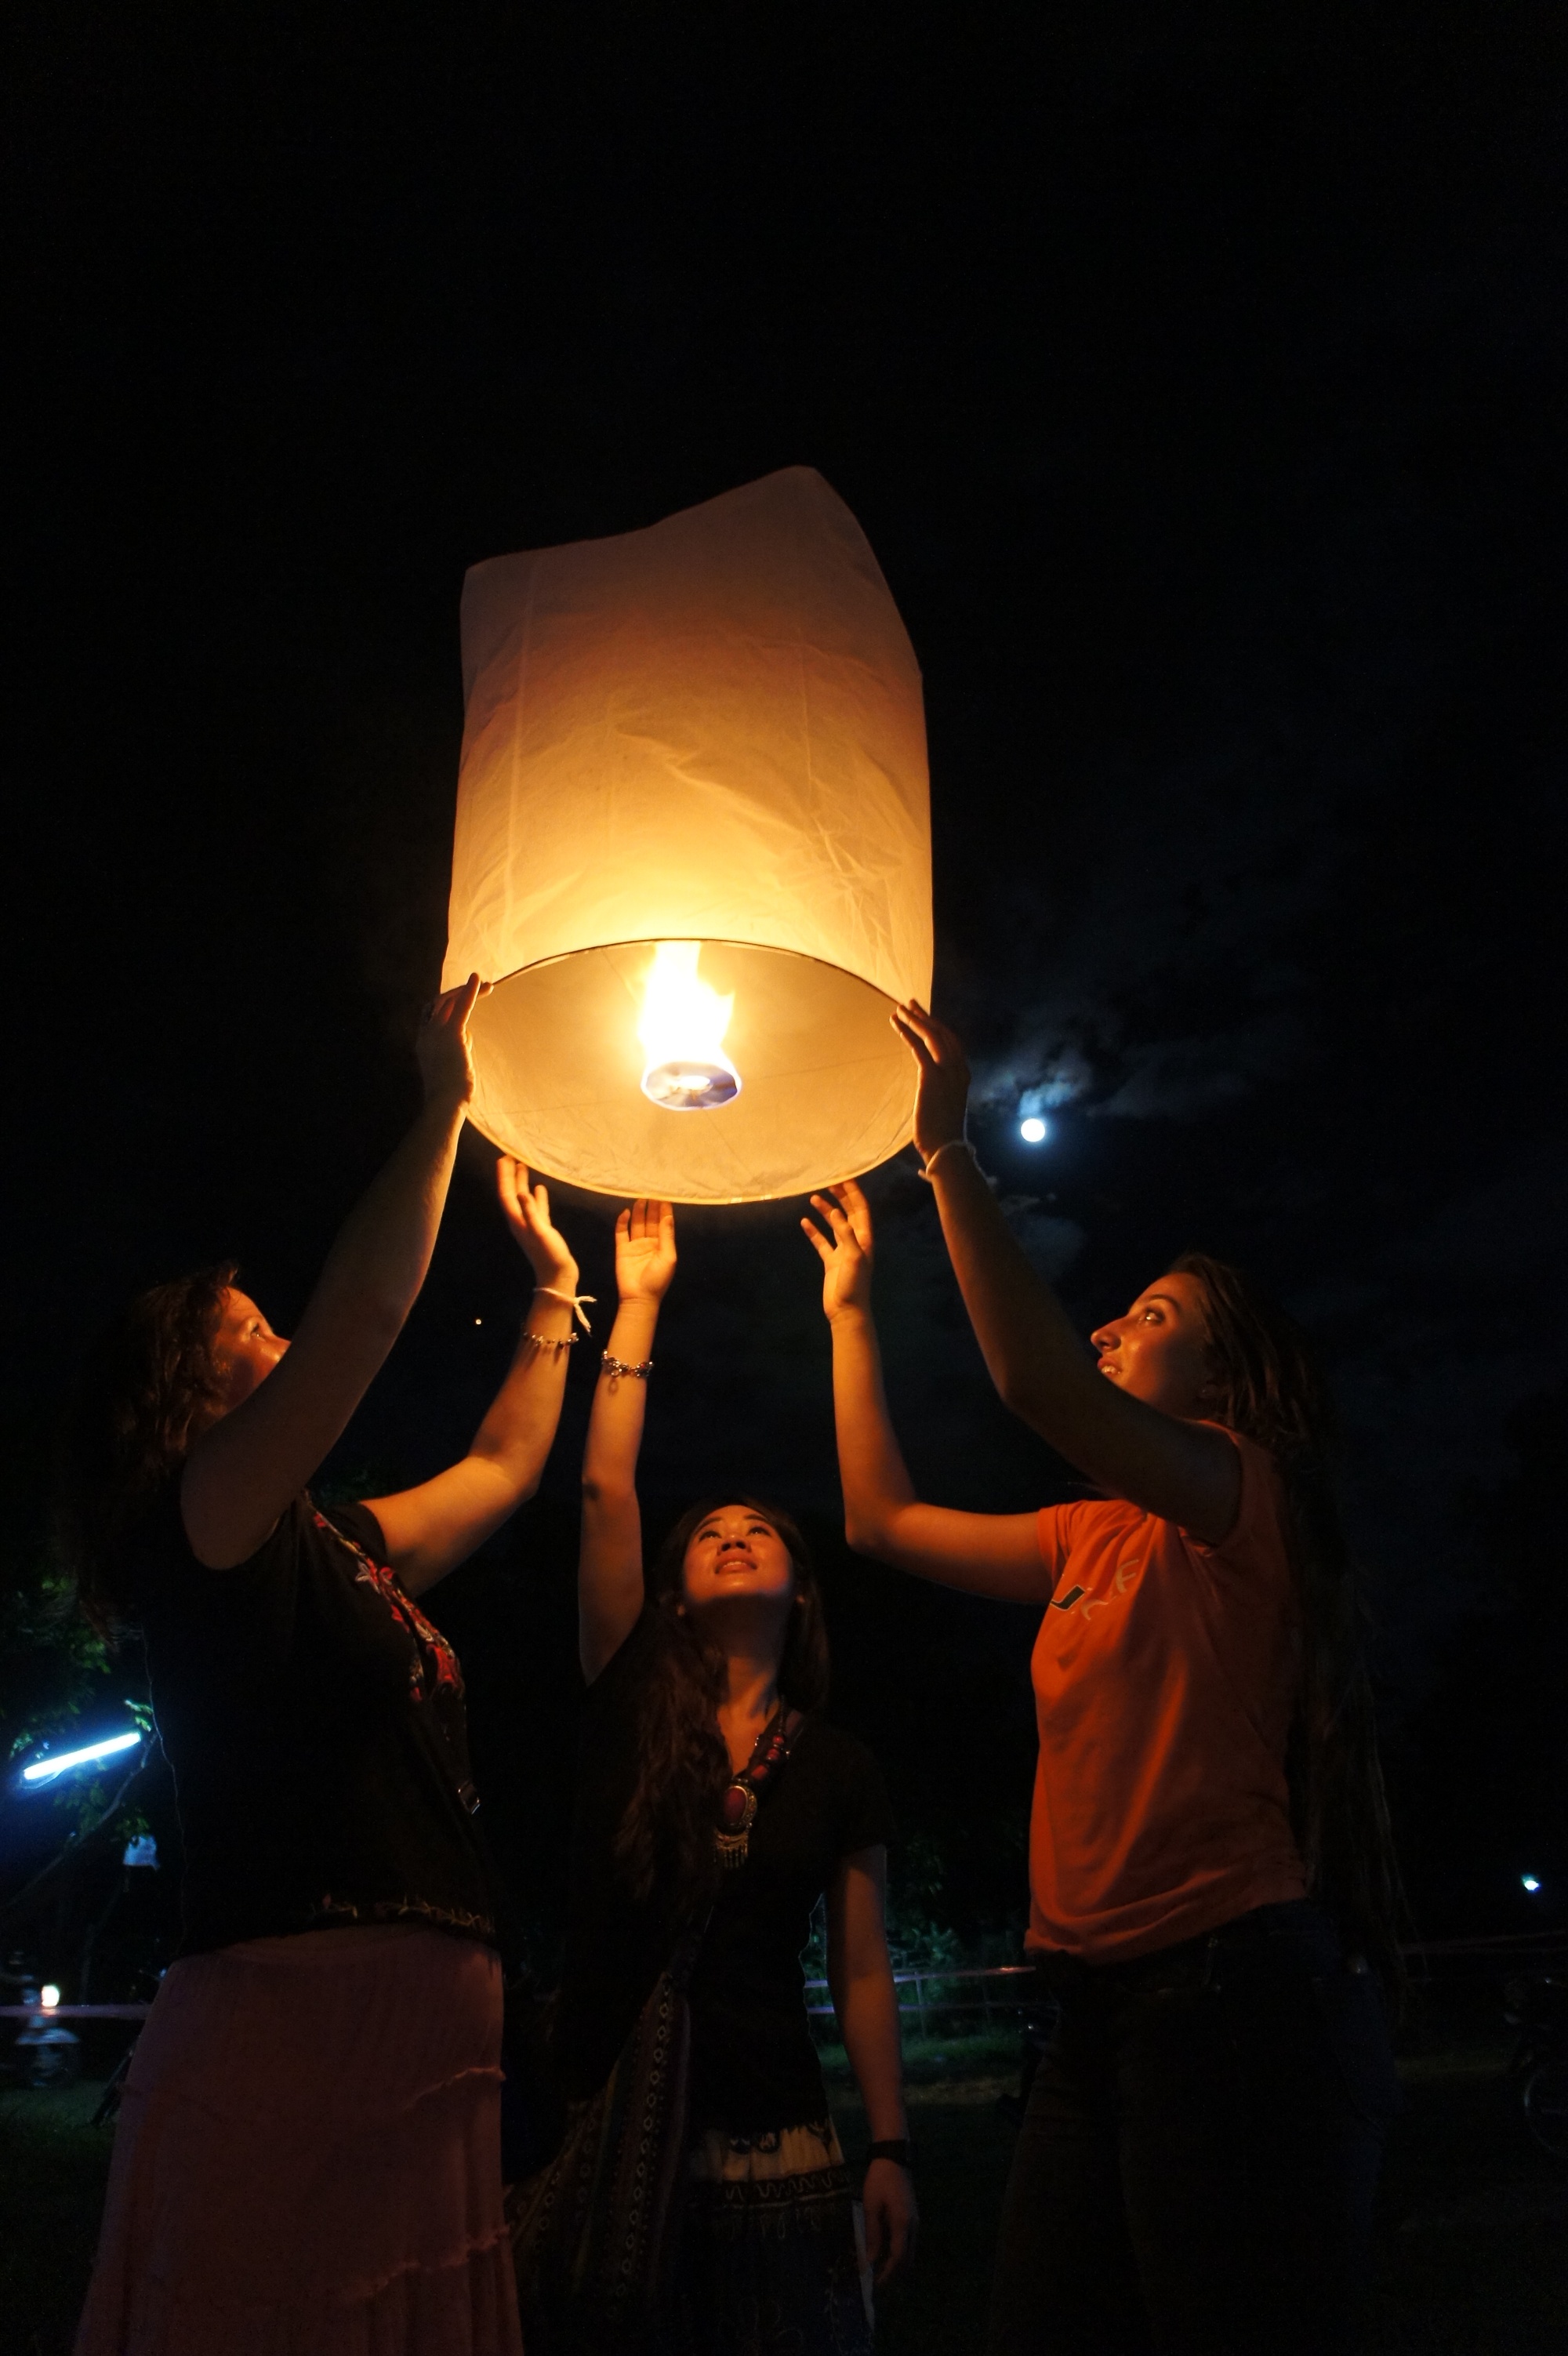

Comment: Sheree Ebanks – “Well done on this edit, Ruth! The black and white really really works. I may have left a little more of the lantern in as I feel it just cuts it a little short—if that makes sense. The lovely emotions on their faces also adds significantly to the shot! Well done!”
Active Members
Let’s take a look at what our BootCamp members have created by removing some distracting elements on their images.
Let’s start with Anthony Cadden from Australia. He tried a nighttime light shot while attending a meeting. The shot was taken at blue hour (or a bit after), on a tripod with a timer to eliminate shake. He realized after doing this current challenge that the three poles broke up the leading lines of the path. He cropped them out even though it was a bit messy when trying to remove them. He removed the signs and isolated the window lights and flagpoles. Additional editing was in Lightroom to brighten the image and he also used radial filters and graduated filters.


Comment: Sheree Ebanks – “It is so hard to believe that you went from that original image to this. Well done, Anthony. Thank you for also explaining the process. I think I would have deleted the first image and not even tried to work on it. Fantastic work, detail and colours. You must have been at this for hours! :)”
Next, we have Sara O’Brien from the USA. This is an image from last year taken in California near Point Reyes. She and her sister had wanted to see the lighthouse here. Unfortunately, the road was closed but they had an enjoyable time at the visitor center anyway. The beach was full of immature seals and they hiked up the rise where she took this image with her phone. The original was not edited much, just cropped a bit. Sara removed the people from the image, adjusted shadows a bit and took out a couple of distracting elements on the rise.
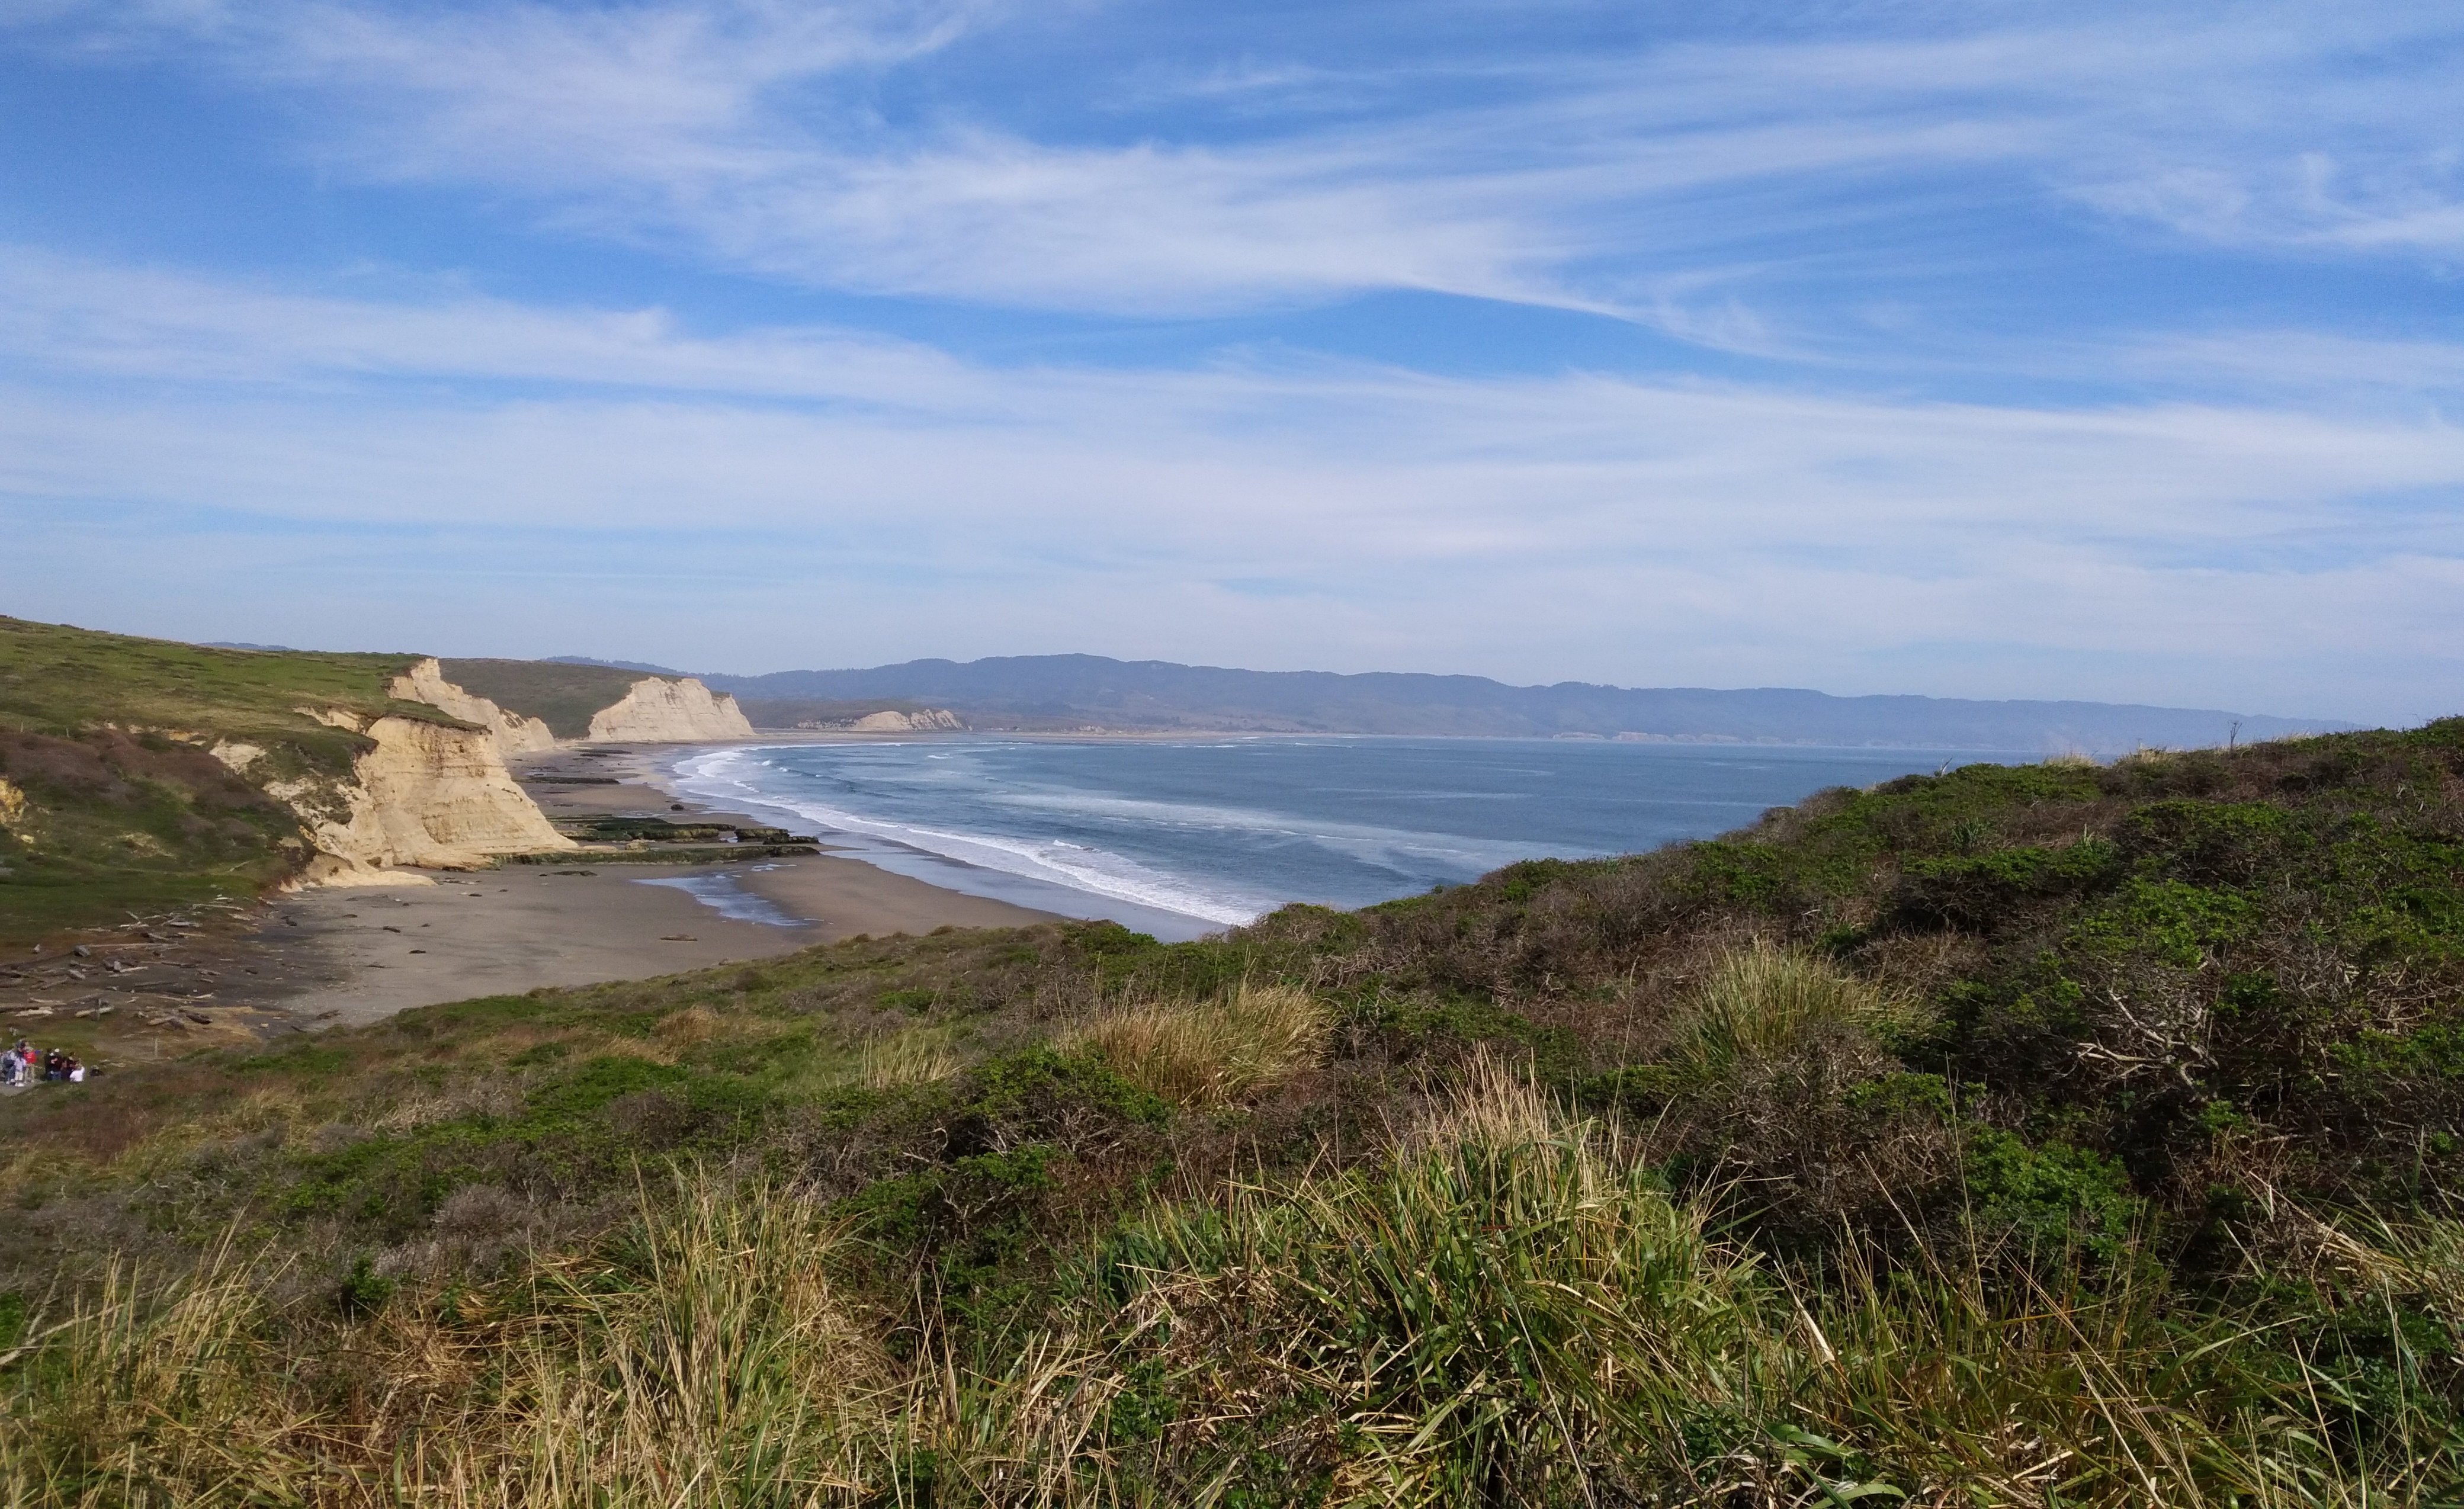
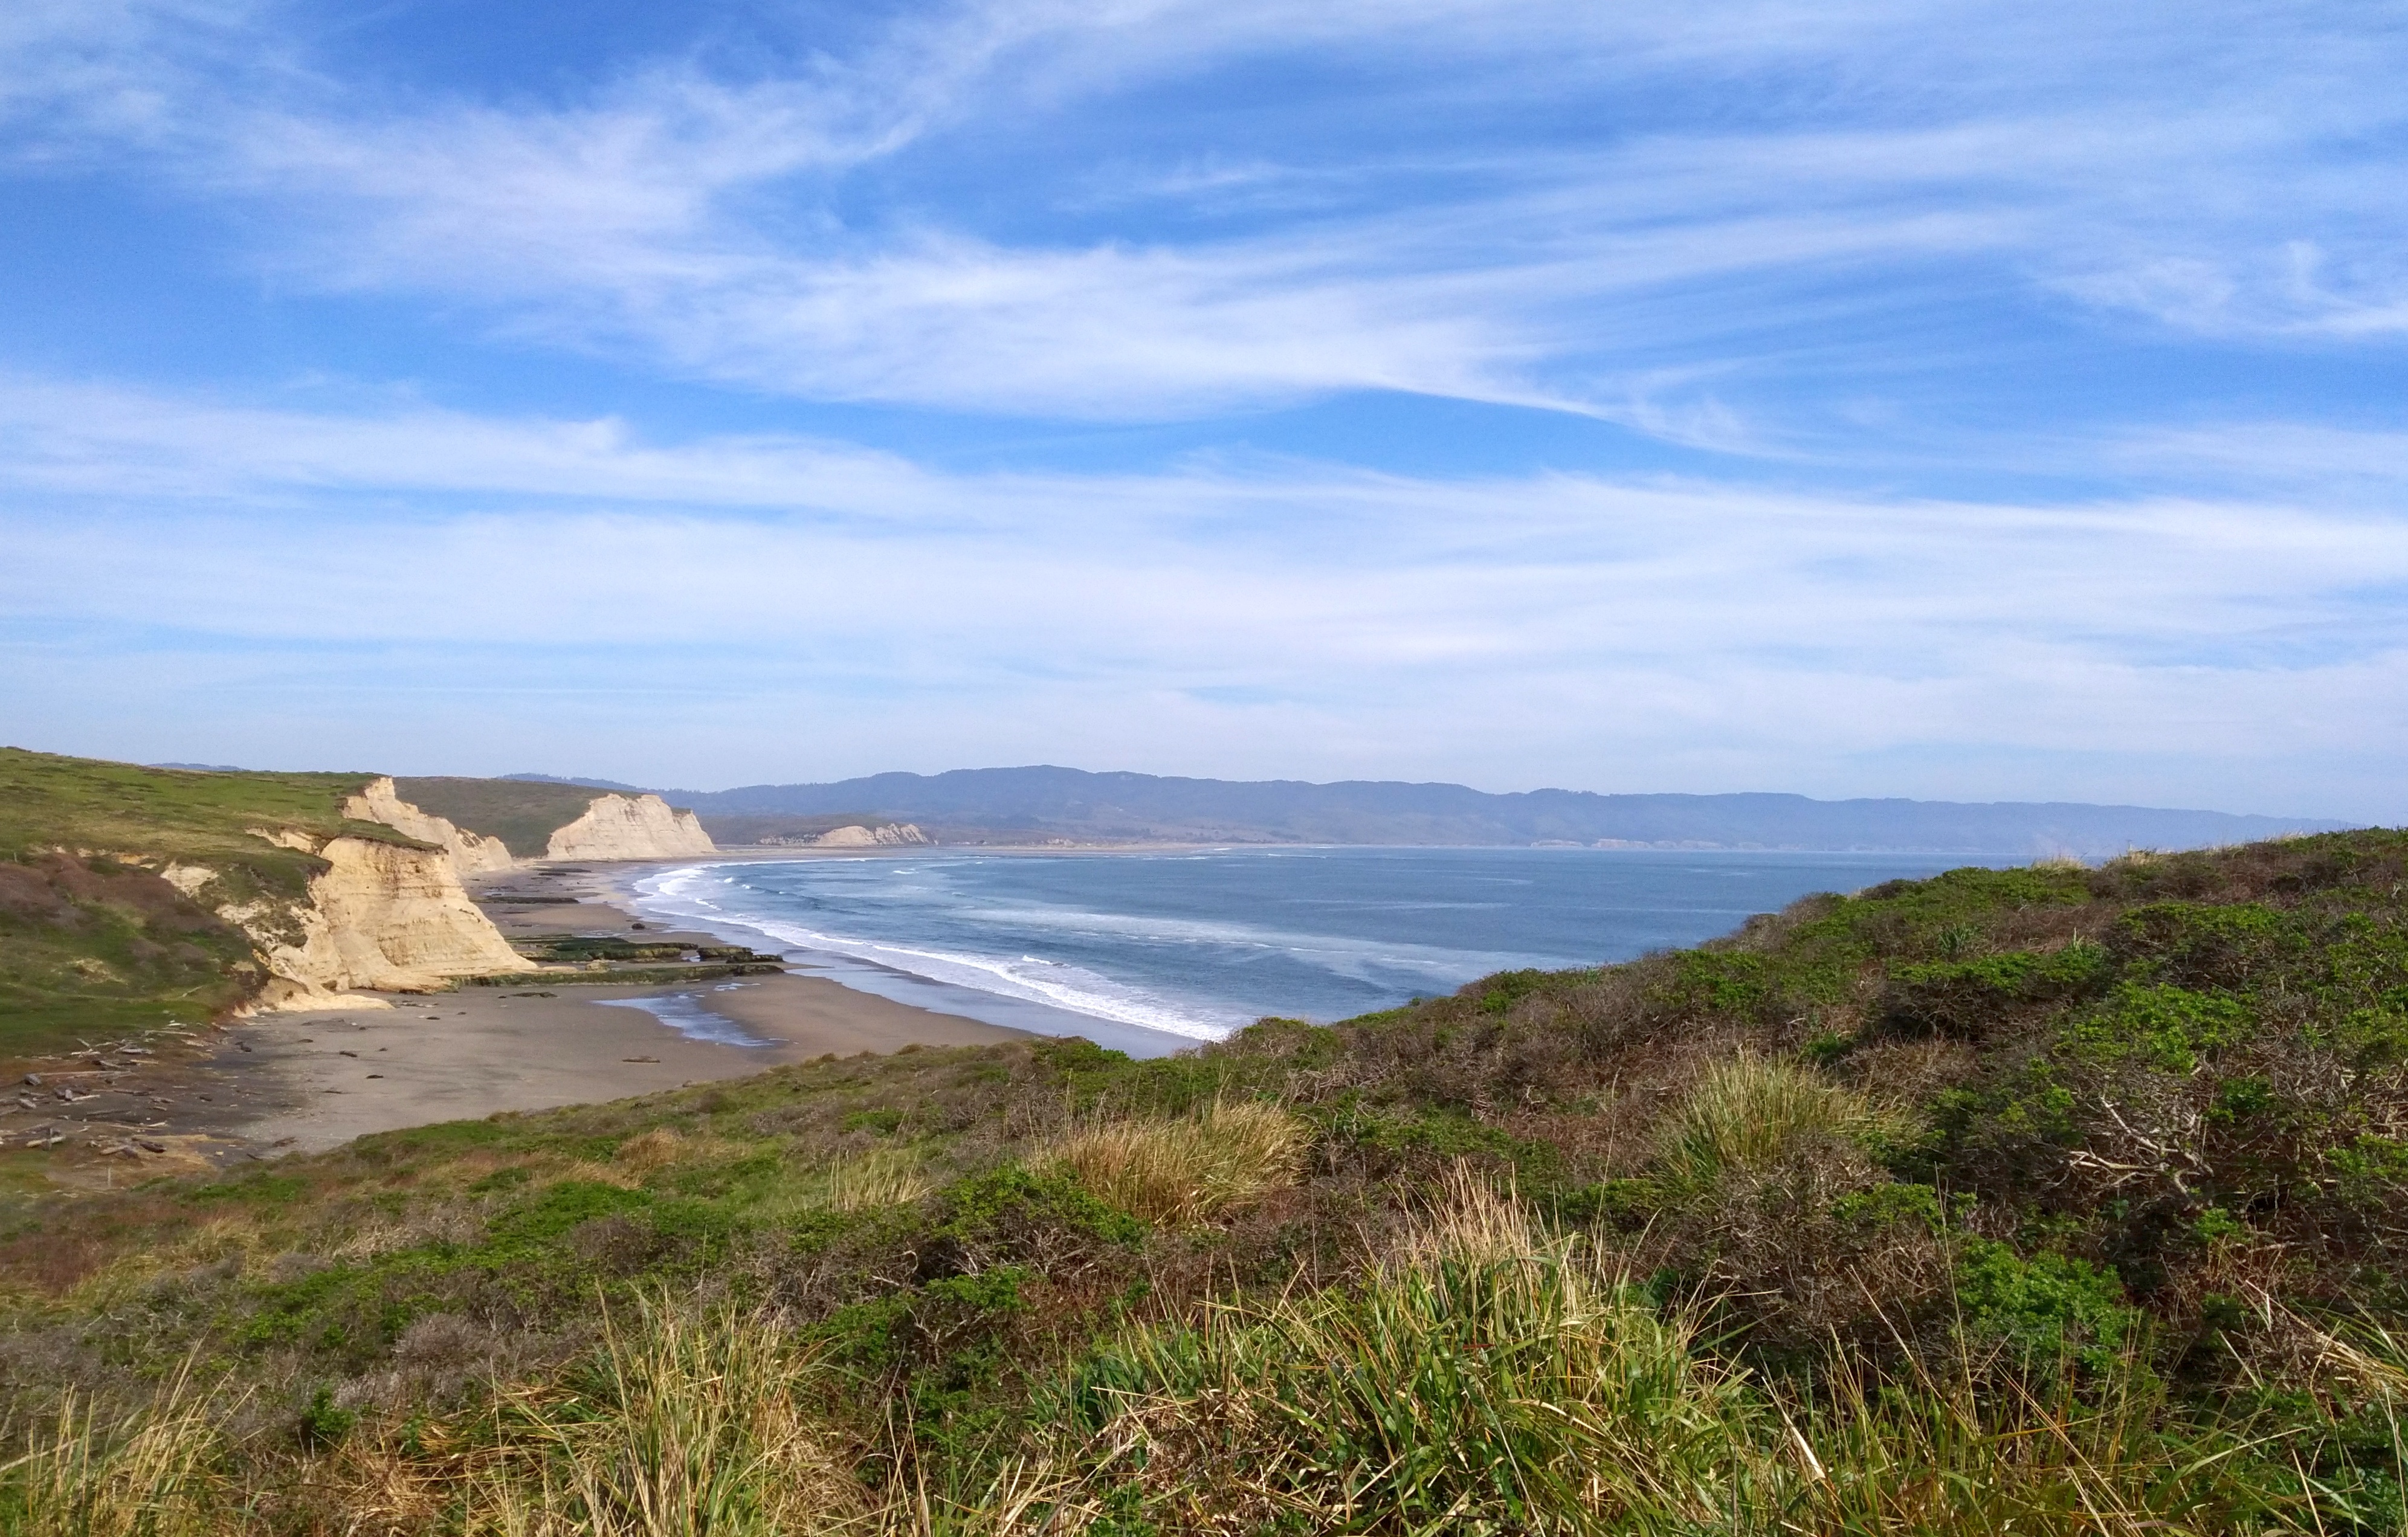
Comment: Kerrie Clarke – “Nice clean edits, Sara. It is a beautiful view, and I love the wispy clouds. Well done.”
Then we have Erez Shilat from Israel. This is an image taken a few years ago while at a workshop. He used two flashes, one is in the image and the other one is to the left, just out of the image. It is a long exposure and the flash was used twice during the exposure, so he could capture the model twice.
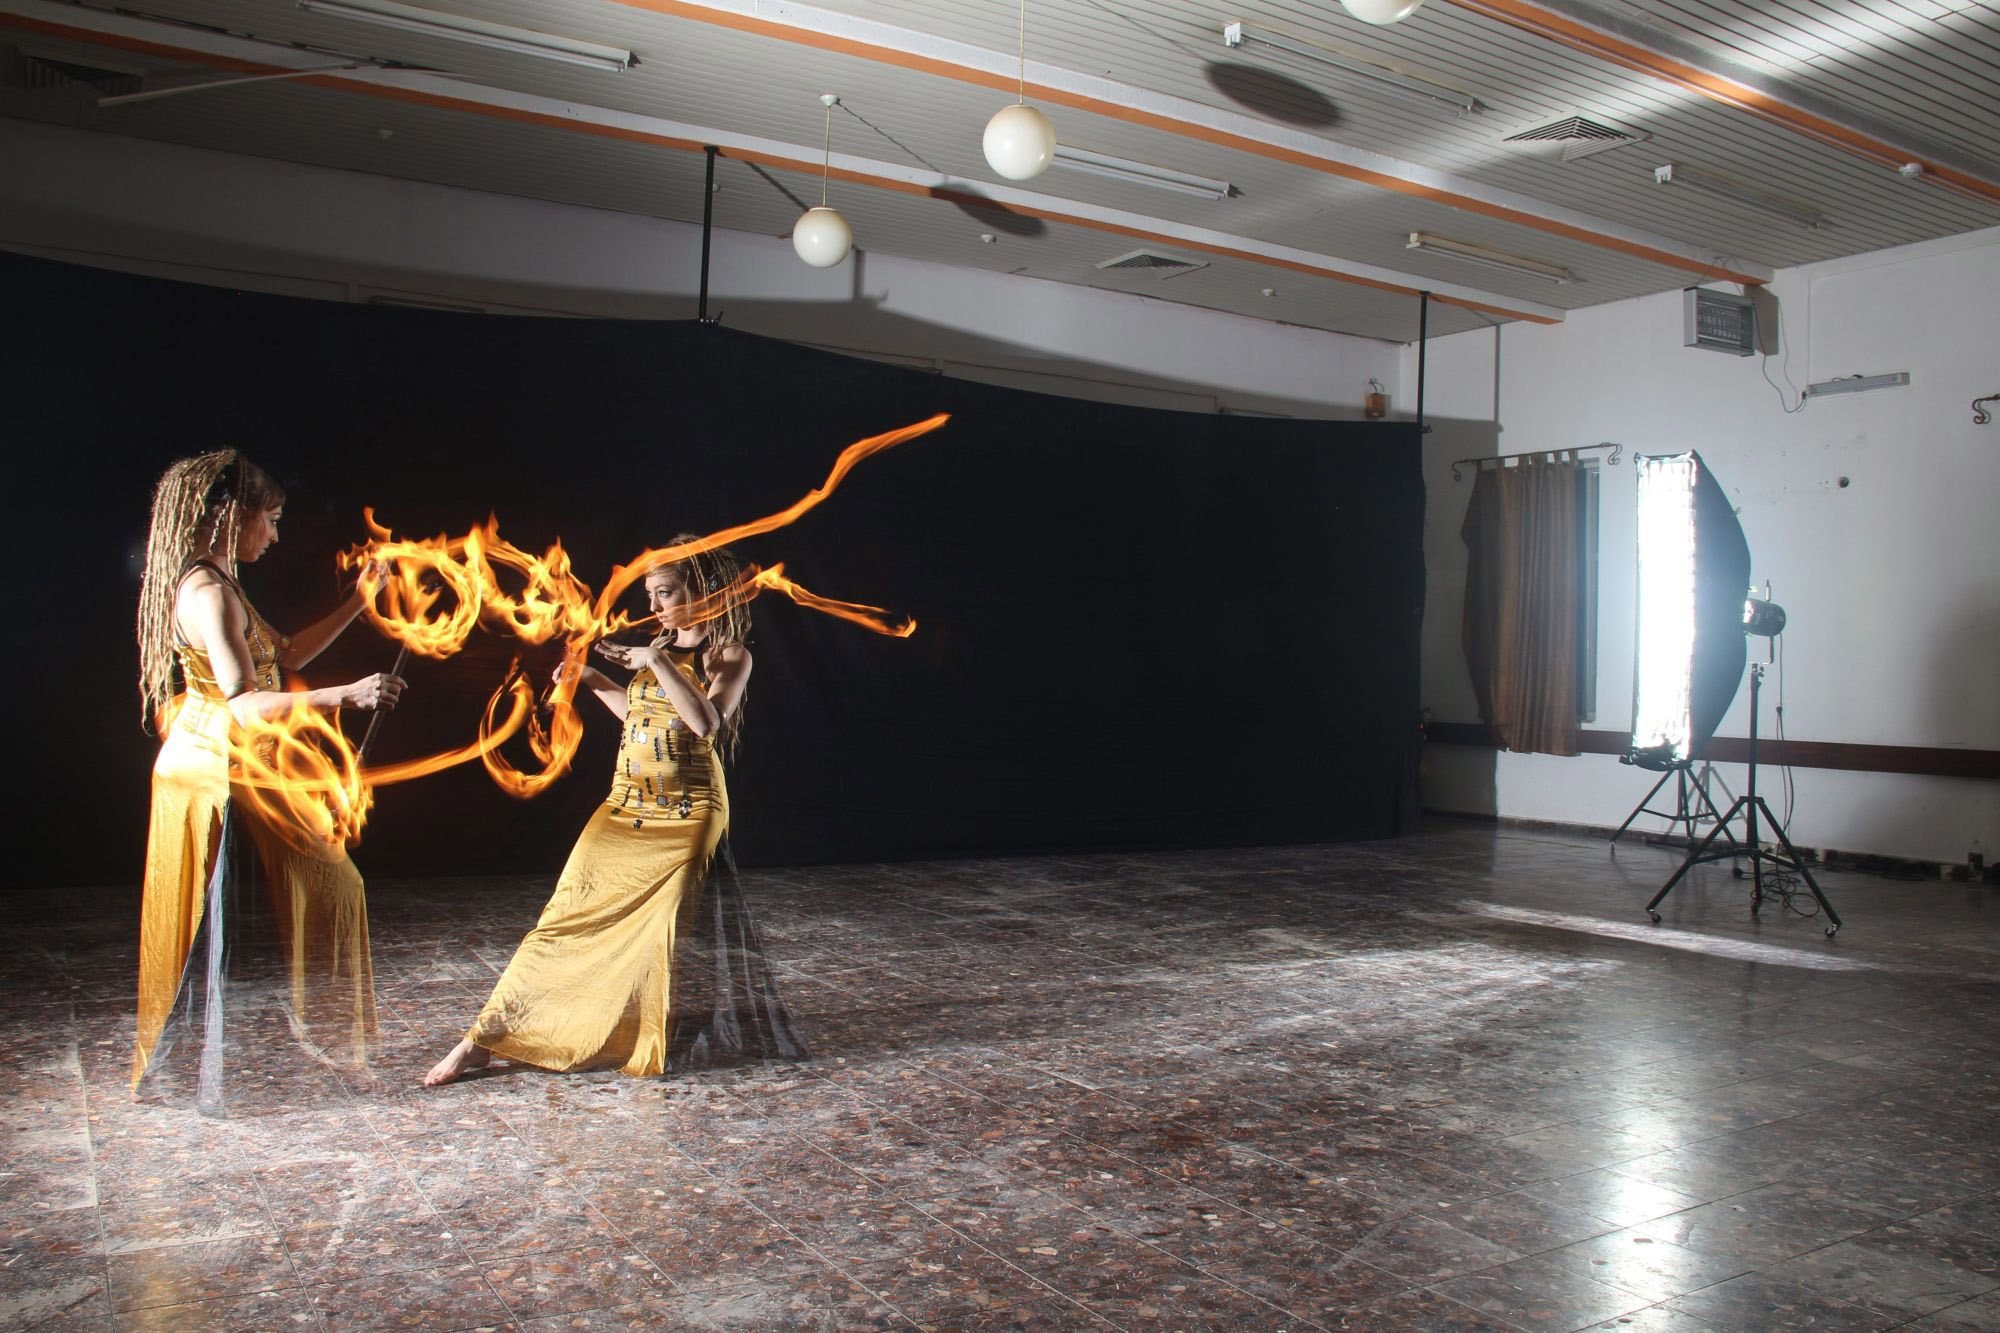
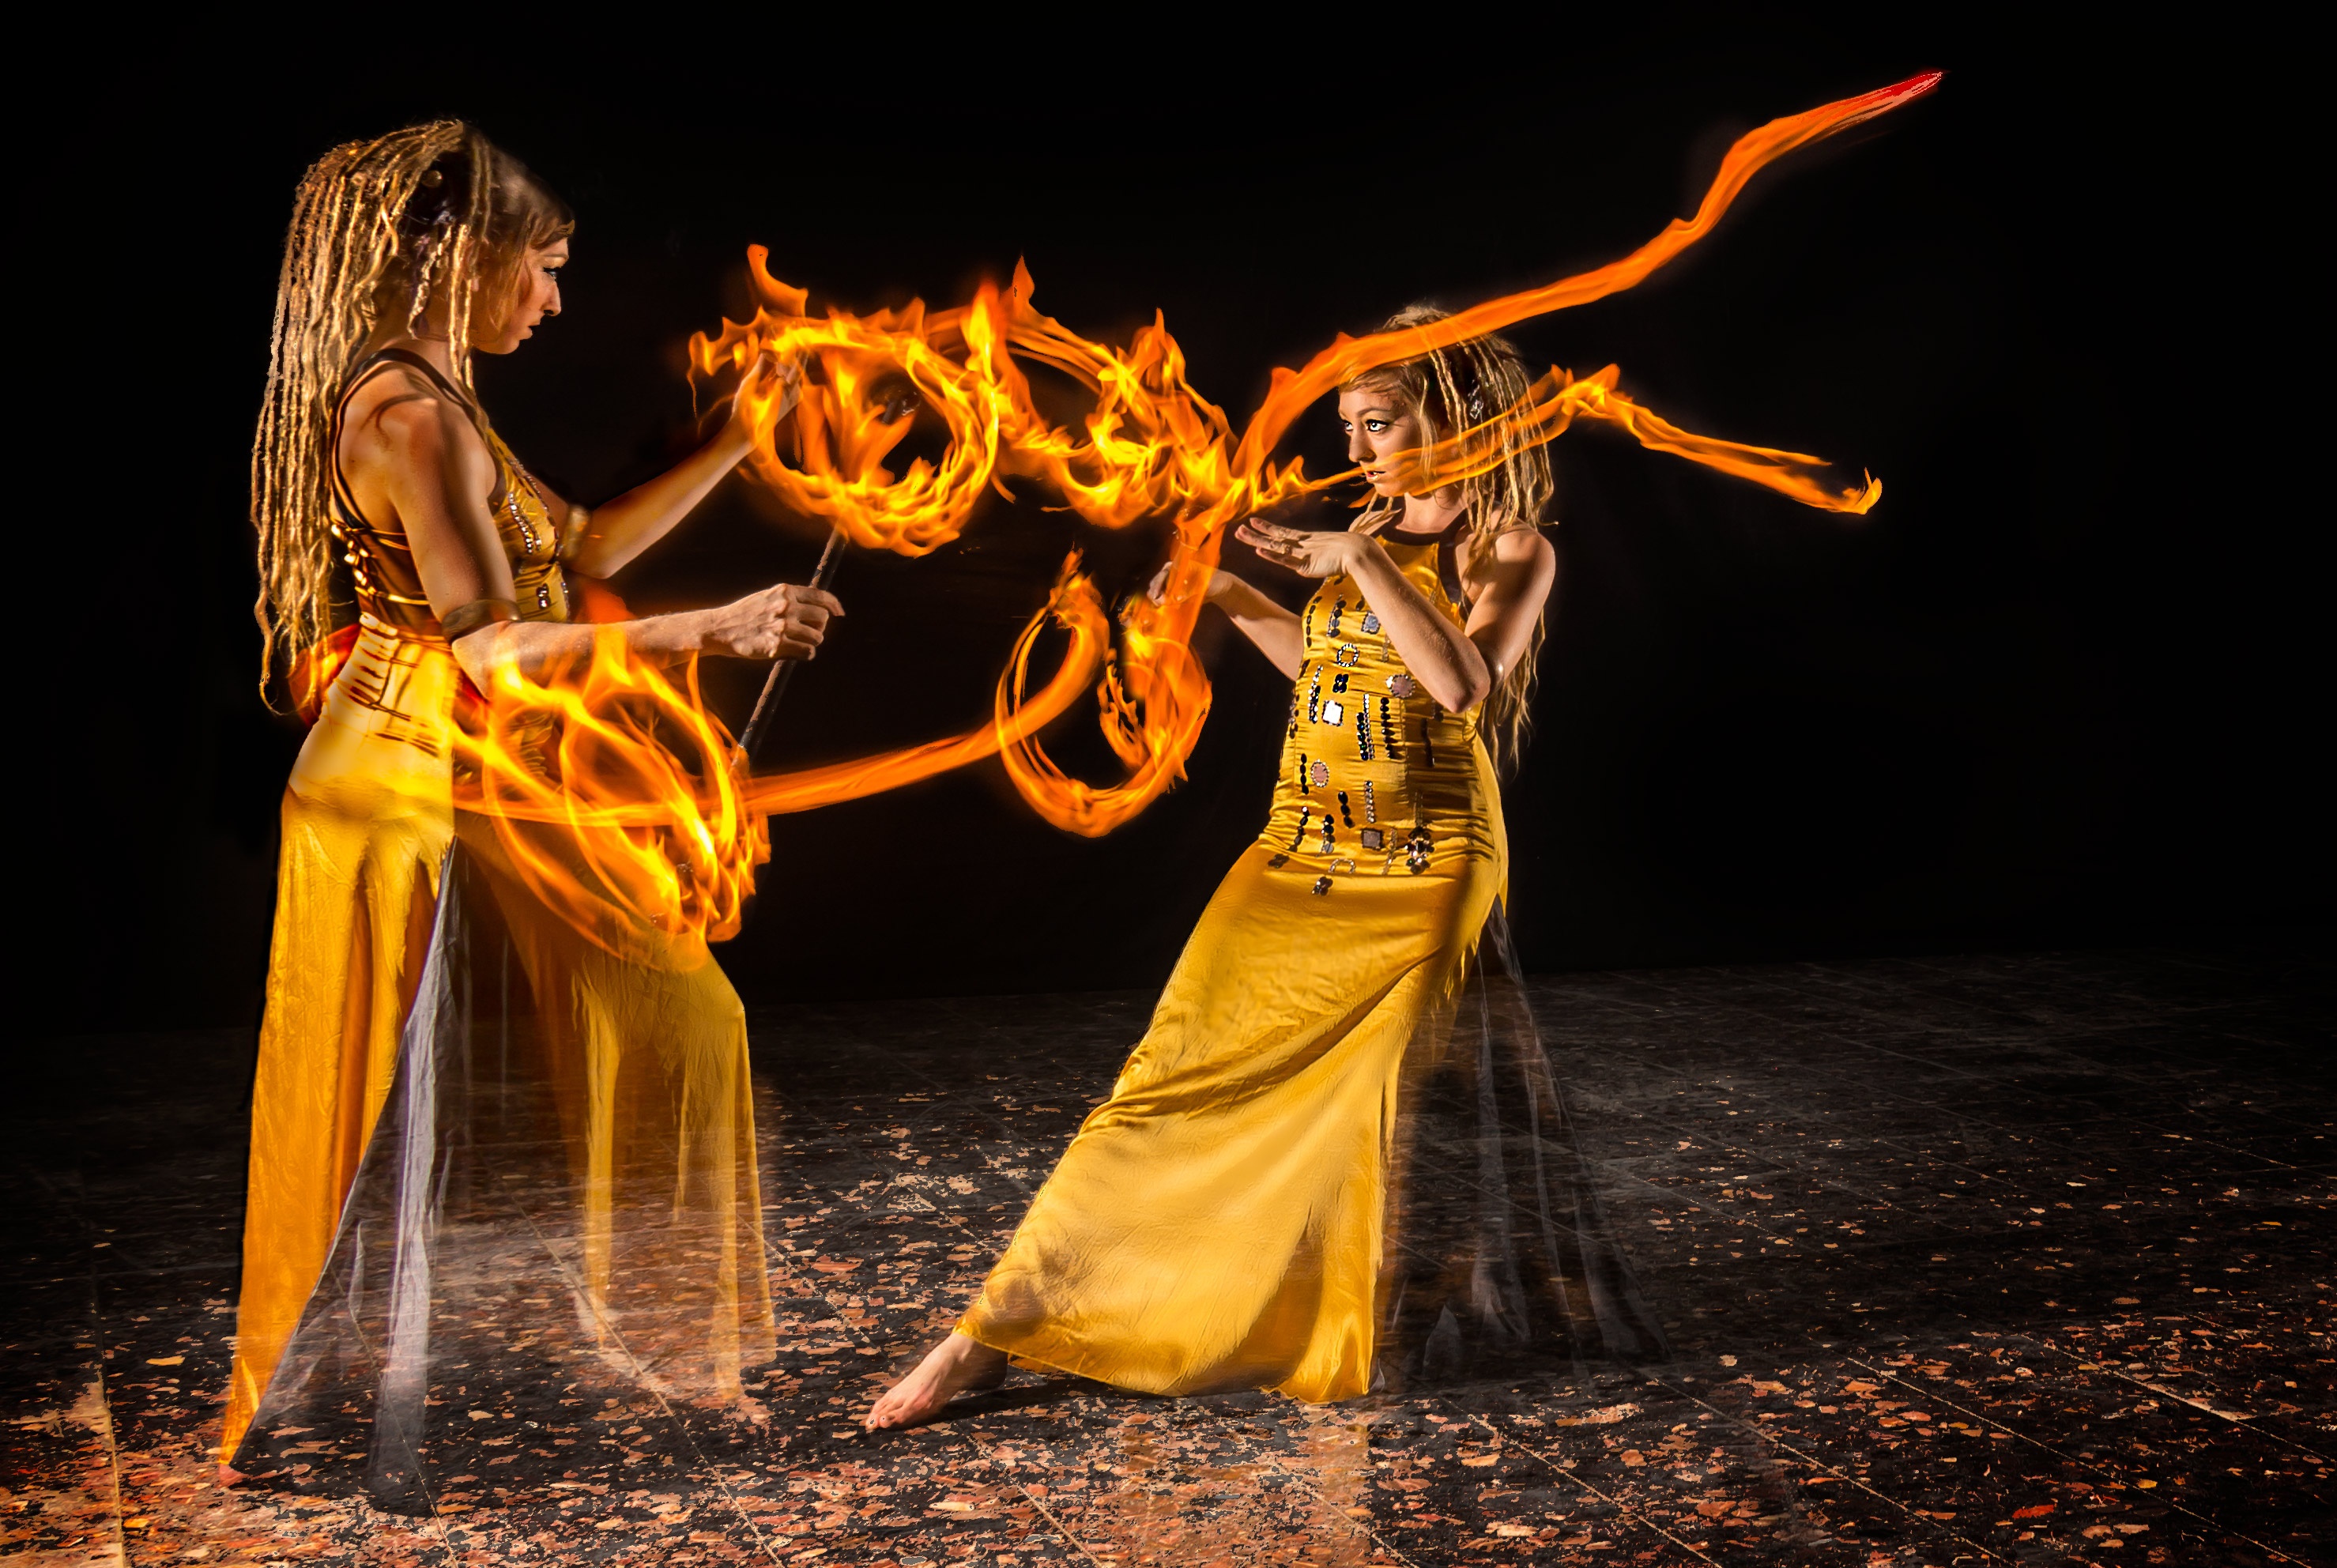
Comment: Nick Ellis – “Interesting, I wondered whether it was a double exposure. I really like the final result – great edit. Great subject matter and I really like the way the “two” fire dancers are looking at each other! Magic!”
Then we have Rodney Charlton from Australia. While the red grevillea flower is one he most frequently photographs, he still finds the intricacies, detail and shapes of it just as interesting and worthy of a photo. However, the green flower against the often close and nearby green leaves of the plant don’t always provide a lot of contrast for the grevillea flower to stand out, even with the aperture fairly open and the background blurred.


Comment: Brent Mail – “Wow Rodney, this is what I’m talking about – by simply changing your position you’ve totally changed your image by changing the background. And I think it helps that the background is a monochrome greyish colour which makes the grevillia stand out even more. This is such a great example of removing distracting elements. Well done.”
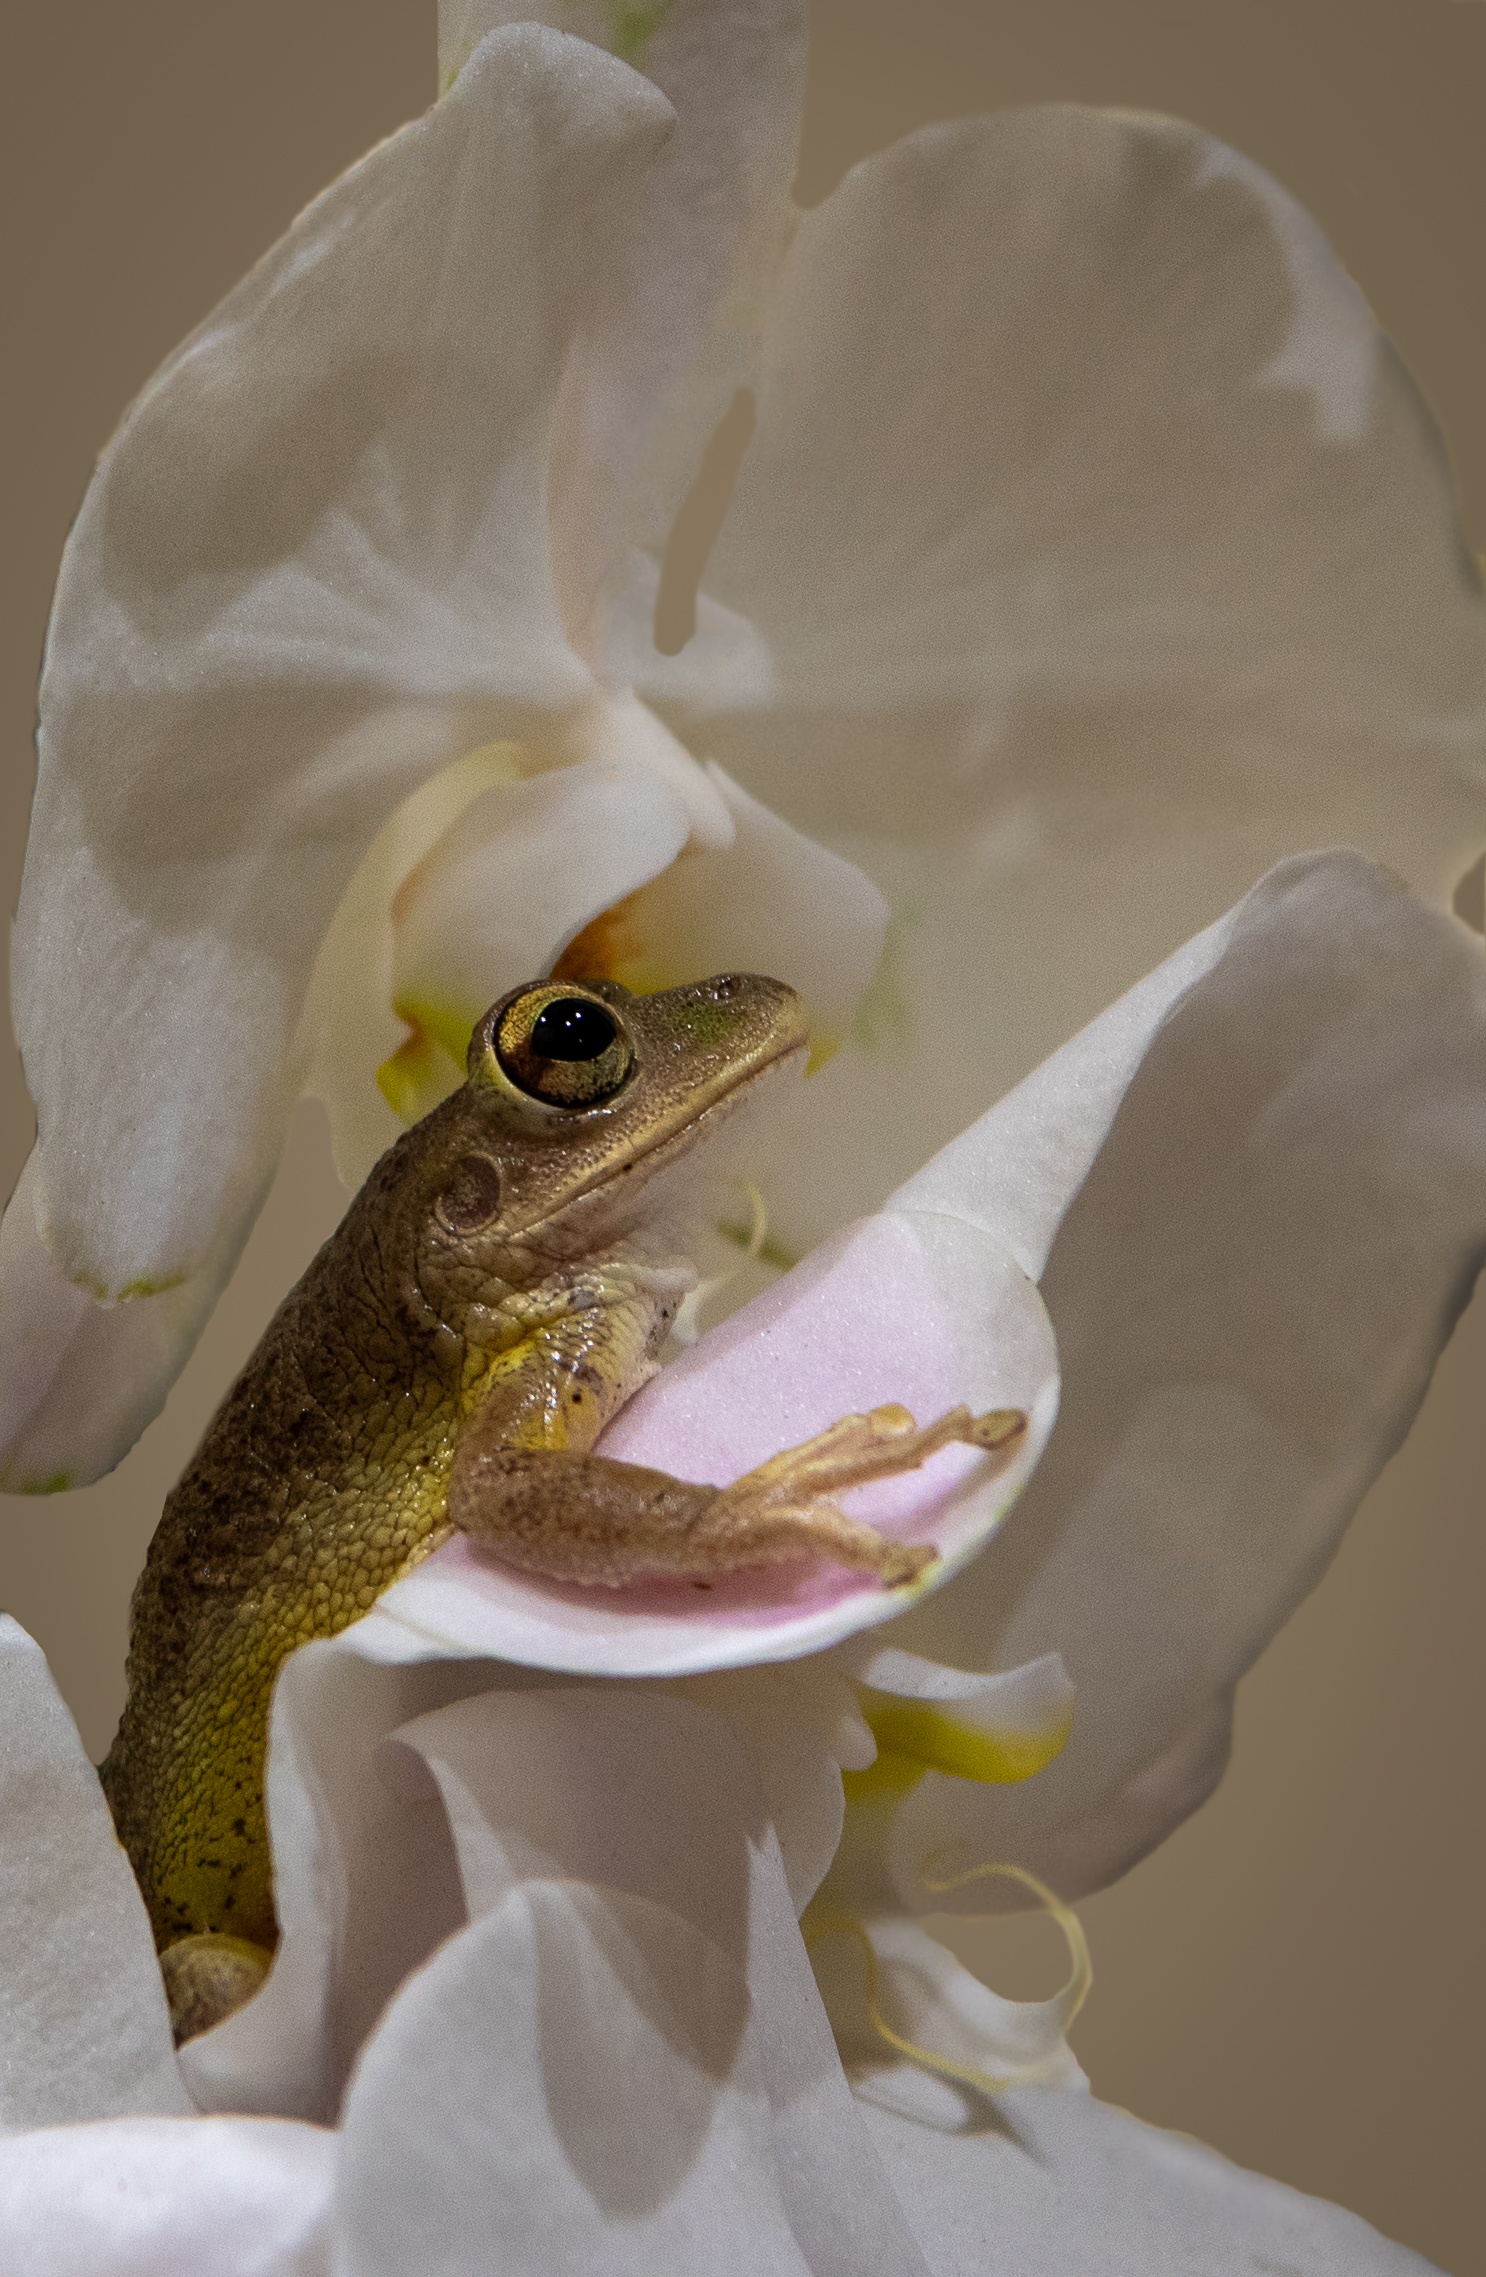
And last but not least, is this image from Sheree Ebanks who lives in the Cayman Islands. Sticking with nature, Sheree really wanted to share this with you all. One night, she was walking her dogs and saw a frog right on her orchid! This fellow looked comfortable in his hammock. She did a lot of work on this image; adjusted in LR, then in PS. The background still wasn’t working for her so she tried to replace it. She also felt it was more impactful as a portrait rather than landscape.

Comment: Richard Hutson – “Sheree, I may be the outlier here, but I really do like what you have done to create this image. The portrait crop eliminates all but the little frog happily ensconced in a beautiful cloak of white glory … it is pure elegance!”
These images are some of the amazing shots that our members have created. You can also share your images by joining our community and can count on the members to help and guide you along the way. If you are not yet a member of this awesome family now is the best time to be one. You can check out the complete BootCamp Magazine and see for yourself!
Summary
- When creating an image you want to do it so the main subject is clear and non-confusing.
- Remove any elements that take the viewer’s eye away from the story you are trying to tell.
- Use your composition, zooming and moving around in order to eliminate distractions while you are shooting.
- Post-processing can also be used by removing elements with spot removal, blurring our backgrounds and cropping.
Related Articles
Did you enjoy this article? Check out these related articles, too:
- Telling a Story Through An Image Using Patterns
Using patterns to draw your viewer’s attention to you artistic images. - Photography, Meet Simplicity
Practice minimalism to develop your artistic eye. - Leading Viewers On A Journey Through An Image!
A creative way to use leading lines to make your images more exciting and meaningful.
Do This Now
Please leave me a comment below – I’d love to know what you think. Brent
Congratulations Peter Brody for being featured, and Ruth for your cover image – well done. Brent