How to bring old images back to life and give them that WOW factor – using the graduated filter tool!
Find out how I brought these old images back to life, and made some extra $$$
Watch this video
In this episode:
(00:35) – Image restoration
(01:36) – Use graduated filter
(03:44) – 2nd image restoration
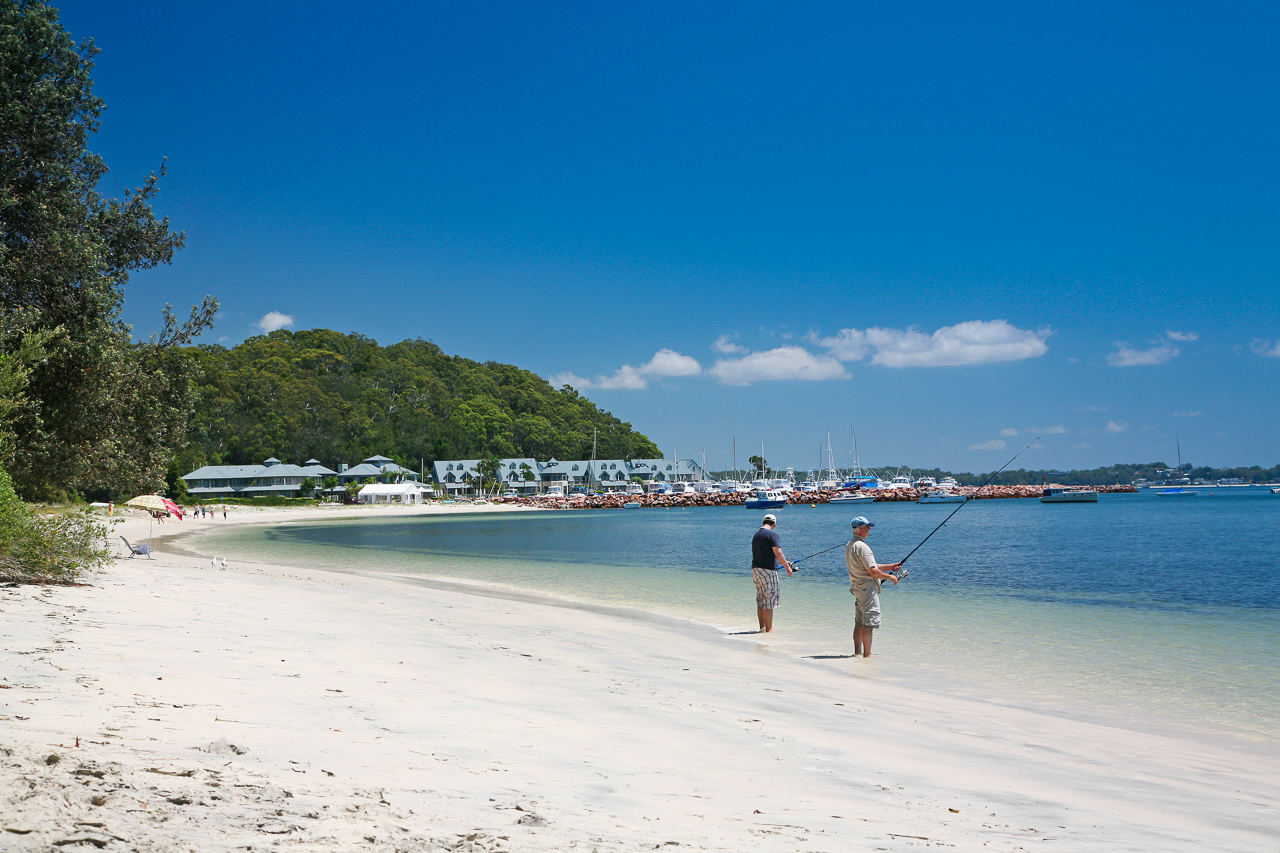
Have you ever taken a shot, then filed it in your back catalogue and forgotten all about it?
Well, I had a lesson this week to teach myself to always store my raw stock shots coherently! An image I took of some guys fishing on the beach almost a decade ago, I felt was ok but not perfect.
Recycling older images
However, I recently re-discovered the image and decided to recycle it using improved knowledge and improved technology. The new image has since sold, giving me another couple of hundred bucks in my hand, without even leaving my house!
Watch the image below change – amazing transformation!
So how did I bring these shots back to life?
Let’s look at this image in detail using Lightroom. By placing a graduated filter over the sky, we can then drag the the exposure and contrast back to zero before we adjust it any more. I use an overlay mask so I can see where the filter will take effect, which we can see here with the newly pink sky.
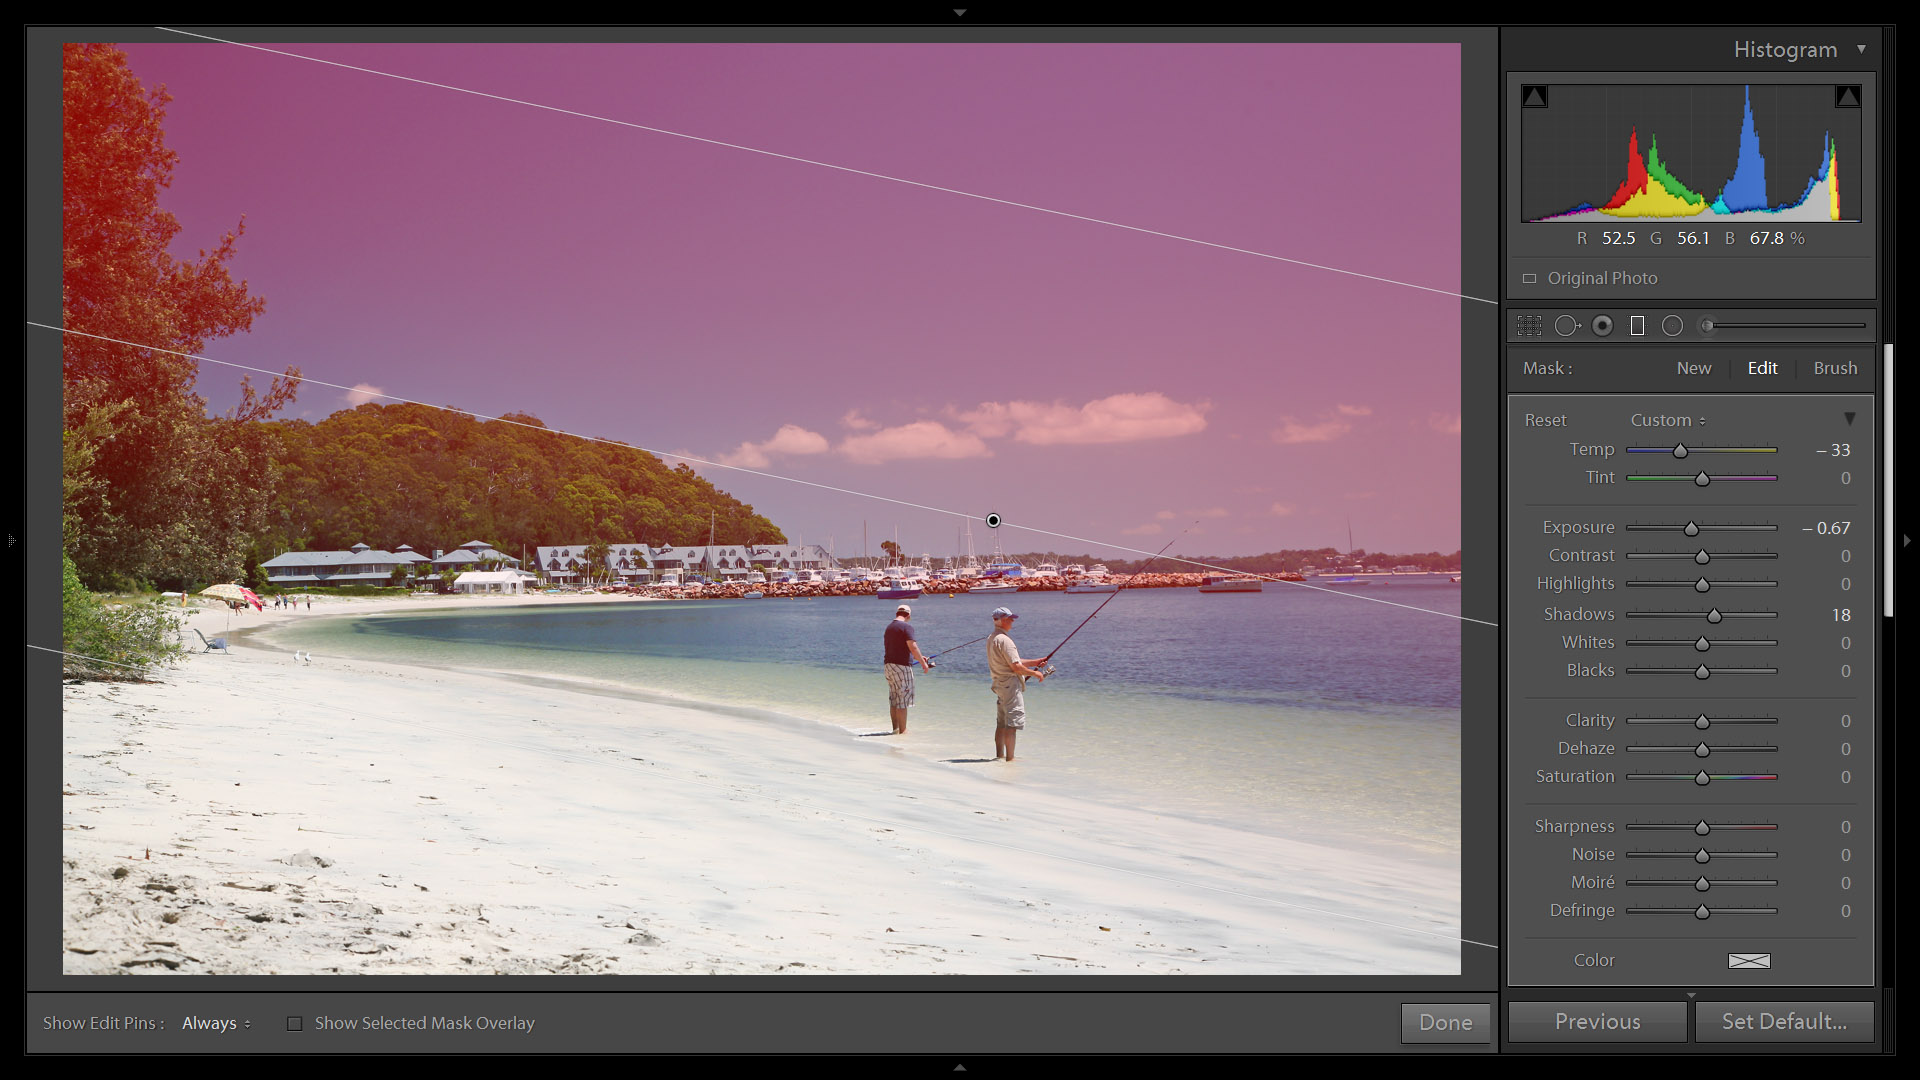
Making the sky POP
I then bring the exposure down a bit, making the sky a bit more blue…and then bring the shadows up a bit, making it not too dark in the corners. The effect is like wearing polarised glasses – very quick and easy with an effective result don’t you think?!
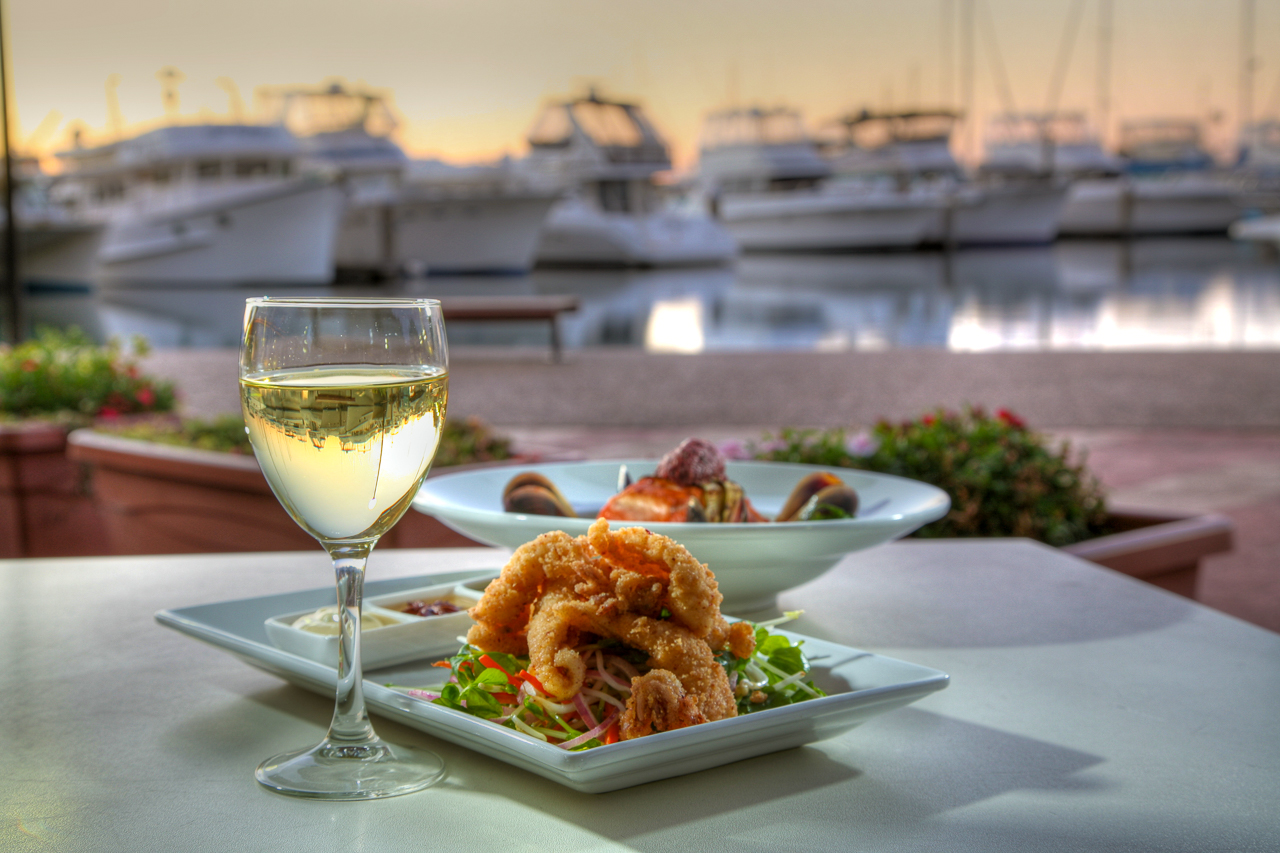
Let’s do it again, this time using an image I made at the marina some time ago. I love the original shot, but the sun had just set, so the background is a bit cold in comparison to the foreground (which was illuminated by the orange lights coming from the restaurant).
Original image too cool
I love the original shot, but the sun had just set, so the background is a bit cold in comparison to the foreground (which was illuminated by the orange lights coming from the restaurant).
Watch the image below change – amazing transformation!
So using the basic sliders, I can crank up the shadows a little bit, then increase the temperature with it.
Bringing this image back to life
I then hold down shift and double click on the whites, then the same on the blacks. The auto prediction sometimes gets it right there, but sometimes not. This time it’s not so perfect, so I’m going to bring the whites back to zero for preference.
Vibrant food is better
Then, I just add a little vibrancy to intensify the colours – a great way to make food look even more delicious!
After that, we’re going to use our good friend, the graduated filter, again. Bringing it down on the sky without including the wine glass, I can warm up the temperature of the background and bring the clarity down a bit to blur it.
What a difference!
So that’s it – I changed the shadows, added a little vibrance and then added a graduated filter – and what a difference it makes!
Leave me comments
Be sure to share your stories with me below in the comments. Perhaps you’ve re-edited an old shot you found, or maybe brought a shot back to life using the graduated filter.
Thanks for watching and please do share your thoughts!
Summary
- Using only one simple lightroom tool (grad filter)
- Restore your old images
- Give them back some LIFE
- Make some extra $$$
FREE IMAGE EDITING COURSE
Learn to Edit an Image in Just 10 Days!
Brett great job! Love your quick tips, very easy to understand and put into practice. Thank you for taking the time to do this for us novices.
No worries, glad you like them. B
Thanks, Brent. Two really good, simple examples of the use of the Gradient Filter and Vibrance. They show the utility of Gradient Filter tool really nicely!
Thanks David. B